
Styling sheets
You can customize the style of your sheet changing the title and description, adding conditions for when the sheet displays in the application and adding sheet thumbnails.
Changing the title and description of a sheet
You can change the title and description of your sheets. You can either use a fixed sheet title, or a dynamic sheet title based on an expression.
Do the following:
-
In the application overview, click
 to view the sheets.
- Do one of the following:
- If you are in grid view,
 , click the sheet title followed by clicking
  .
. - If you are in list view,
 , click .
- If you are in grid view,
- Edit Title and Description.
- Click outside the text area.
Using a dynamic sheet title
You can set a dynamic sheet title based on an expression in the Title expression property of the sheet properties panel. You can use any valid chart expression. For more information, see Using expressions in visualizations.
If you set a dynamic sheet title, the fixed title (Title) is not used.
Creating dynamic sheet titles using expressions
Hiding toolbar, sheet header, and application navigation bar options
You can hide the toolbar and sheet header in your application. This means that these areas will not display on any sheet, for any user, regardless of permissions. Any user with Can edit rights in the application can toggle these elements on or off. You can also hide individual elements in your application navigation bar, toolbar, and sheet header.
Toolbar
The toolbar is the area above the sheet that contains the following buttons:
Assets
Sheets
Bookmarks
Insight Advisor
Smart search (
 )
)Selection buttons:
Step back selection (
 )
)Step forward selection (
 )
)Clear all selections (
 )
)
Selections tool (
 )
)Edit sheet
You can optionally hide Assets, Sheets, and Bookmarks buttons to the toolbar. If you remove Assets, Sheets and Bookmarks will display without the assets panel.
Do the following:
In the application navigation bar, click
 and then click
  Settings.
In the menu, switch to the UI settings tab.
Do one of the following:
- To hide the toolbar, turn off Toolbar.
- To hide Assets, under Toolbar, select Assets.
- To hide Sheets, under Toolbar, select Sheets.
- To hide Bookmarks, under Toolbar, select Bookmarks.
- Click Done.
Sheet header
The sheet header is the area on the sheet that contains the sheet title, title image, and the sheet navigation arrows.
If you hide the sheet header, the navigation arrows move to the toolbar.
You can optionally hide the sheet title.
Do the following:
In the application navigation bar, click
and then click Settings.In the menu, switch to the UI settings tab.
Do one of the following:
- To hide the sheet header, turn off Sheet header.
- To hide the sheet title, under Sheet header, select Sheet title.
- Click Done.
Application navigation bar
You can optionally hide the following options in the application navigation bar for your application:
Logo
Navigation
Ask Insight Advisor
Resource center
Notifications
Profile
Do the following:
In the application navigation bar, click
and then click Settings.In the menu, switch to the UI settings tab.
- Under App navigation bar, select the options you want to hide in the application navigation bar.
- Click Done.
When to hide application interface elements
Advantages
Hiding the toolbar and sheet headers creates more space for charts, filter panes, and other objects.
Turning off sheet headers means that this area will not appear when you download or share sheets, send subscriptions, or generate Qlik Automate reports. This is helpful if you are using your sheets to create PowerPoint presentations or dashboards.
Removing the toolbar means application developers have more control over which features other users can access easily. For example, hiding the Edit sheet button might discourage other application developers from editing the application.
Disadvantages
Hiding the toolbar does not completely remove capabilities such as bookmarks, notes, Insight Advisor, or sheet editing. For example, bookmarks can still be found in the application overview. However, application consumers may think that these features are no longer available.
If you hide the toolbar and sheet header, the only way to navigate between sheets is by using keyboard shortcuts or button objects. For more information, see Keyboard navigation and shortcuts in apps and Creating buttons.
If the selections area is hidden, users may not realize that selections have been applied to the application. You may need to add filter panes to your sheets or filters to individual charts. For more information, see Creating filter panes and Applying filters to visualizations.
Examples
A sheet displaying the toolbar and sheet header. The toolbar shows Notes, Insight Advisor, current selections, and more. The sheet header contains the title image, sheet title, and navigation arrows.

The same sheet as above, but the toolbar is visible and the sheet header is hidden. Users can no longer see the title image, sheet title, or navigation arrows.

The same sheet as above, but the sheet header is visible and the toolbar is hidden. Users cannot see which selections have been applied.

The same sheet as above, but the header and toolbar have both been hidden.

Adding custom logos
You can add custom logos to application navigation bars. These replace logos set in the navigation bar of tenants.
Do the following:
In the application navigation bar, click
and then click Settings.In the menu, switch to the UI settings tab.
Under App navigation bar, click
 .
.Under Logo, click
 .
.Select an existing image or upload a new image.
Click Insert.
Styling the application navigation bar
You can style the navigation bar in the application with custom colors.
Do the following:
In the application navigation bar, click
and then click Settings.In the menu, switch to the UI settings tab.
Under App navigation bar, click
.Under Options, set the Background color and Foreground color.
Click Done.
Setting a show condition for a sheet
You can set a condition in Show condition to show or hide a sheet in an application depending on if an expression evaluates as true or false. The sheet is only shown if the expression evaluates as true. Hiding a sheet does not hide or exclude data in an application.
For example, you could create a sheet that is only available if certain values are present in your data. Typically, you should use an if function. For more information, see if Script and chart function.
Setting a show condition for a sheet
Changing the sheet thumbnail
You can replace the default thumbnail, to make it easier to distinguish between sheets in the application overview and in the assets panel. You can generate an image of the sheet, use one of the default images, or use an image of your own.
Note the following:
- The following formats are supported: .png, .jpg, .jpeg, and .gif.
- The optimal aspect ratio of a thumbnail is 8:5 (width:height).
- You can only add or change the thumbnail of a private sheet.
Do the following:
-
In the application overview, click to view the sheets.
- Do one of the following:
- If you are in grid view, , click the sheet title followed by clicking .
- If you are in list view, , click .
- If you are in grid view,
- Do one of the following:
If you want to generate a thumbnail based on the sheet, click
 .
.If you want to select a thumbnail image, do the following:
Click
on the default thumbnail.The Media library opens.
- Select the image you want to use as a thumbnail for the sheet and click Insert.
- Click
 to stop editing.
The image you selected is now used as a thumbnail for the sheet, and is visible in the assets panel and in the application overview.
Fore more information, see Managing a Qlik Sense site: Uploading objects to content libraries.
Adding a background color or image
You can customize the background of a sheet. You can choose a specific background color, or color by expression. Any image in the media library can be set as a background. The image can be positioned and resized so it does not fill the entire background.
The following formats are supported: .png, .jpg, .jpeg, and .gif. If you use a .gif, it can be animated or static.
Qlik Cloud Government does not support background images or colors in sheets.
Do the following:
- Open the sheet in Edit mode.
- Under Sheet properties, click Styling.
- Set Background to Custom. The default is Auto.
Background color:
Single color: Choose a color using the color picker.
By expression: Set a color using a user-defined expression. For more information, see Color by expression.
- Background image: Select Image from media library. The default is None.
Click
on the default thumbnail.The Media library opens.
Select the image you want to use and click Insert.
If the image you want is not already in the media library, click New upload and add the image.
- Use the drop down to change the size of your image:
- Original size
- Always fit
- Fit to width
- Fit to height
- Stretch to fit
- Always fill
- Under Position, you can change the alignment of the image. For example, the image can be centered on the sheet, or in the top-right corner.
The image and background color you selected is now visible on the sheet.
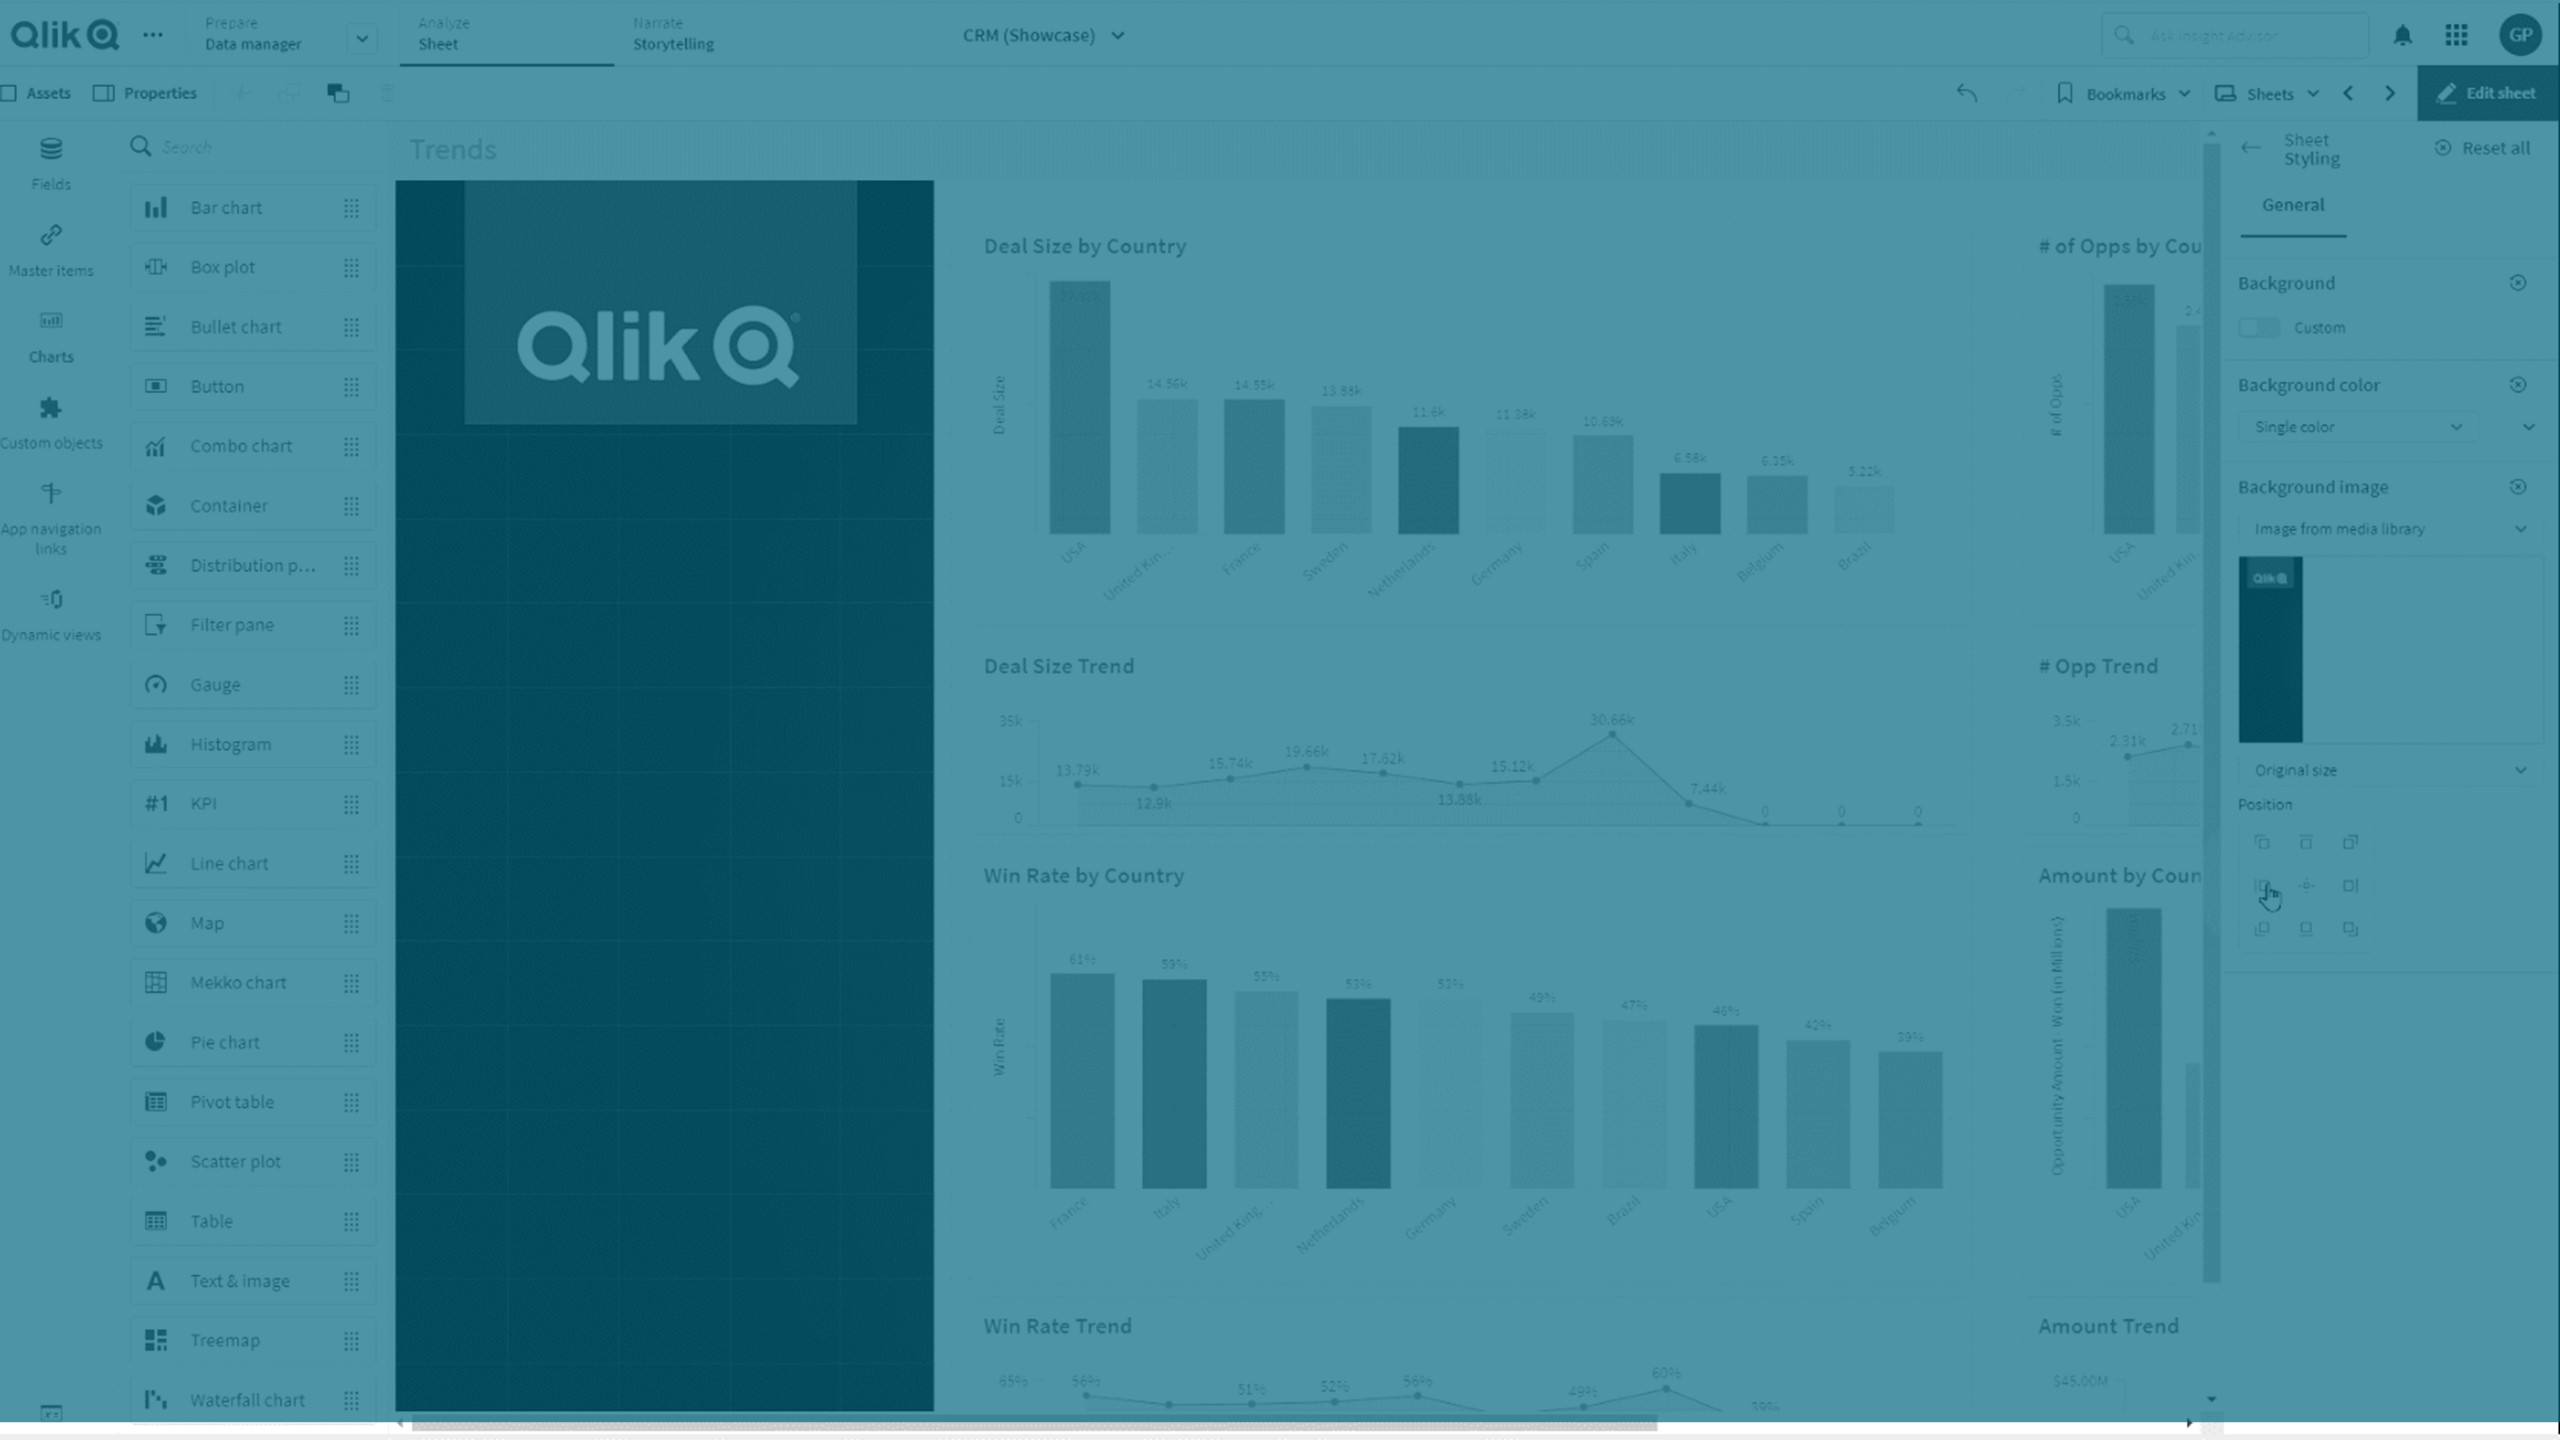
Sheet in Edit mode, with a background image set on the left

Customizing sheet styling with CSS
You can customize the styling of individual sheets with CSS. This can help supplement custom themes by allowing you to customize elements not covered by themes. Customized sheet styling can also be used to override any styling from the themes applied in the application.
It is recommended that the use of CSS sheet styling be minimized as much as possible. It is recommended to use the available styling properties and styling options wherever possible instead of custom CSS.
CSS styling is best used only when there are no other options available. The CSS structure of any sheet is not static, it is not an API, and may change at any time. Keep CSS styling to a minimum, ensure it is correct, and make sure that it is easy to modify if a change happens that breaks it.
Custom CSS styling applied to sheets is not included in reports.

For more about custom themes, see Custom themes.
Do the following:
- Open the sheet in Edit mode.
- Under Sheet properties, click Styling.
- Set Custom styles to Activated.
- Enter your CSS styling in the input box.
Limitations
Custom CSS styling for sheets has several limitations. Added CSS is parsed and sanitized to remove and ignore any elements that would hide or break application functionality. You will be notified if you enter unsupported CSS. The following outlines some of the limitations when using CSS to style sheets:
font-size cannot be larger than 18 px.
HTML tags are not supported.
The following selectors are not allowed:
Pseudo-selectors
Root selectors
* selectors
The following @rules are not supported:
charset
color-profile
counter-style
font-face
font-feature-values
font-palette-values
import
keyframes
media
namespace
page
position-try
property
Injection is not allowed.
display:none is only supported for custom user-defined elements or classes.
Comments are not applied.
Custom CSS styling is not supported by applications in the Qlik Analytics mobile app.
Custom CSS styling applied to sheets is not included in reports.