
Changing sheet layouts
You can move visualizations around in edit mode. You can also change the size of your sheet and how the sheet is laid out.
Changing the grid sizing of a sheet
You can adjust the grid sizing of the sheet to be able to fit more visualizations on a sheet, or have more control over how visualizations are positioned. The grid displays when you are adding, moving, or resizing a visualization.
Grid size can be changed in the Sheet properties pane

Do the following:
- Go to the Grid spacing setting under Sheet properties.
- Change spacing from Wide (the default option) to Medium, Narrow, or Custom.
- If you choose Custom, a slider will appear. Use the slider to change the grid size. The higher the number, the more narrow the grid spacing is.
Customizing sheet size
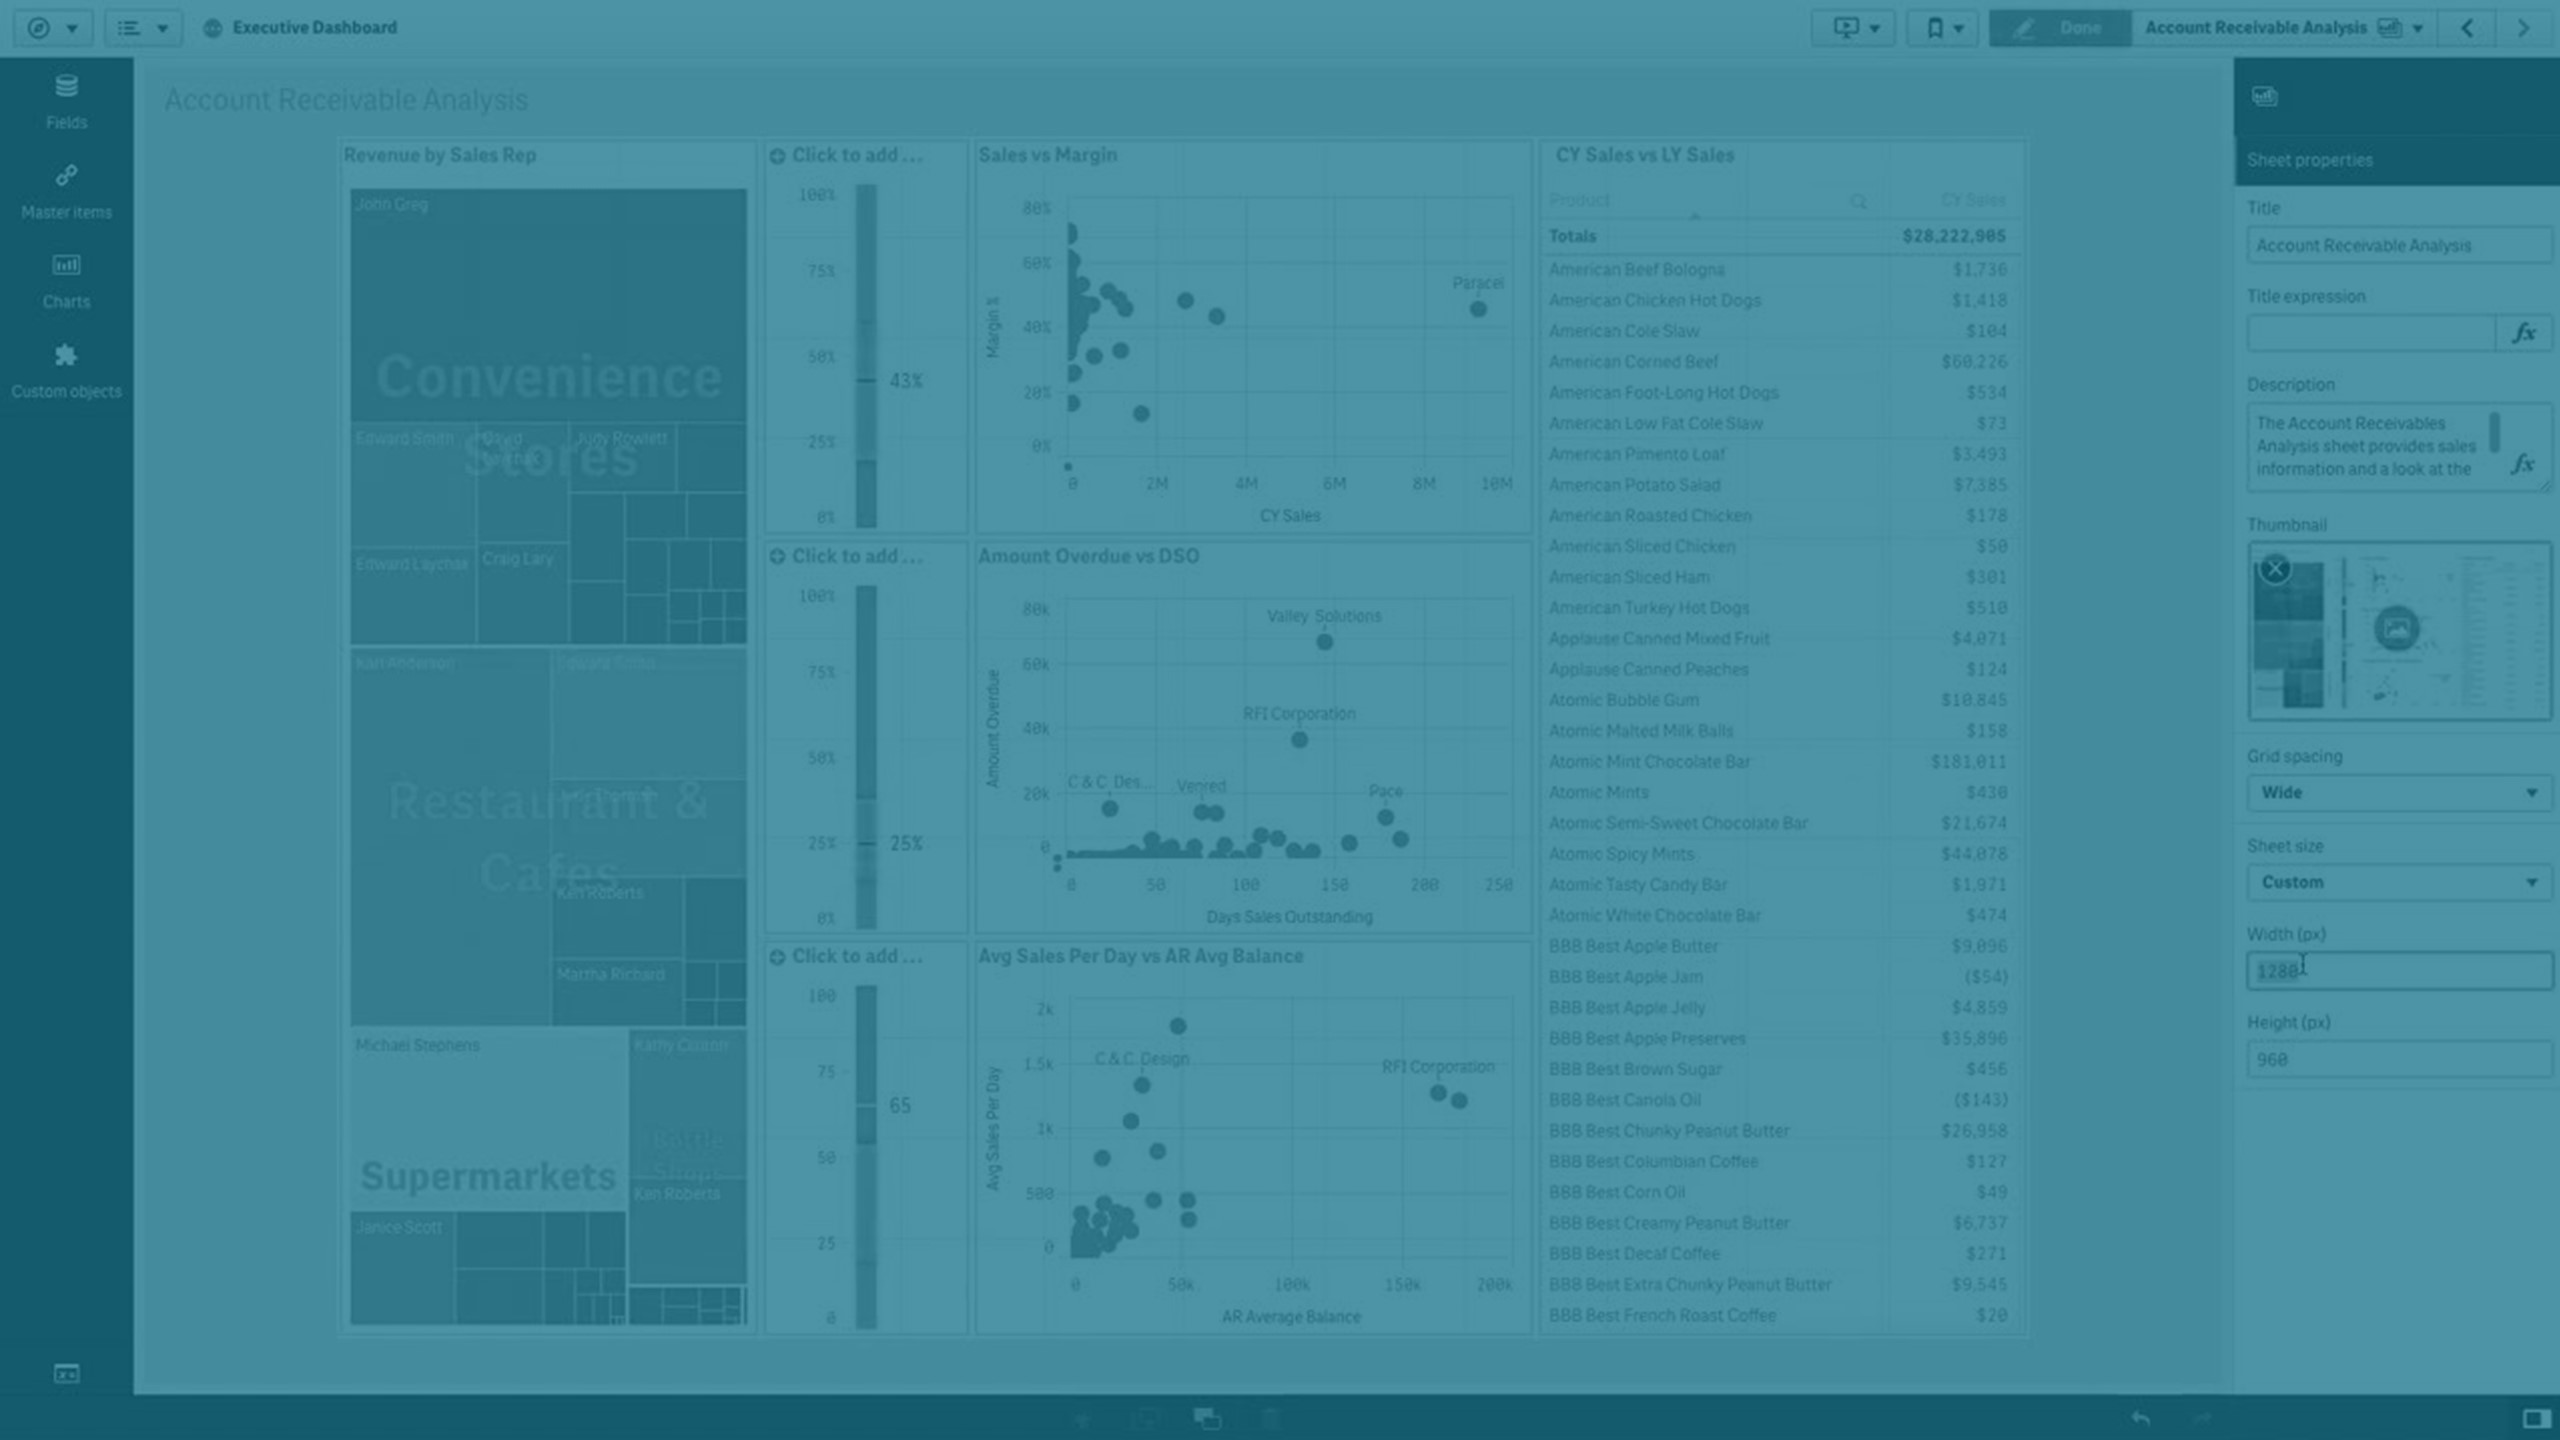
By default, Qlik Sense uses a responsive layout for sheets that adjusts the sheet to the dimensions of the user’s screen. You can set a custom width and height for the sheet if you want to use a non-responsive layout for your sheets. This ensures that your dashboard will be presented to users exactly as you created them, with no adjustments for responsiveness. You can set the height and width of a sheet anywhere between 300 pixels and 4,000 pixels.
If the PDF download of your sheet appears overly zoomed in, switching the Sheet size from Responsive to Custom is recommended.
When a sheet is using a custom size, you can change the grid spacing, but you cannot use Extend sheet to change the size.
For Responsive sheets that are not extended, the exported PDF of the sheet will be:
- Landscape orientation: 1680 by 1120 pixels
- Portrait orientation: 1120 by 1680 pixels
If you are using a Custom sheet size, the PDF output of the sheet will keep the custom pixel values for width and height.
Changing the Sheet size from Responsive to Custom may impact the clarity of the PDF output. If you are manually exporting a custom-sized sheet as a PDF, the best practice is:
-
Portrait orientation: values of 1680 by 1120 pixels, or a ratio of 1:1.5
-
Landscape orientation: values of 1120 by 1680 pixels, or a ratio of 1.5:1
Extended sheets and custom-sized sheets may have a lower-resolution PDF output if the sheet is too large to clearly display on a single PDF page.
Do the following:
- Change the Sheet size setting from Responsive to Custom.
-
Enter a width for the sheet in pixels.
-
Enter a height for the sheet in pixels.
Changing the small screen layout
By default, sheets are displayed in List view when viewed on small screens. You can change them to display as a grid. Sheets must be set to responsive layout to display as grid on small screens.
A sheet viewed on a small screen in List view (left) and Grid view (right)

Grid view shows a small preview of your visualizations. List view only shows the visualization titles.
Do the following:
- Under Sheet properties, go to Small screen layout.
- From the drop-down, select Grid view.
Extending the sheet area
You can extend the area of a sheet vertically if you need to add more visualizations than what can fit on a screen.
Downloaded extended sheets may have a lower quality PDF output if the sheet is too large to clearly display on a single PDF page.
Note the following:
- You need to activate Extend sheet under Sheet properties.
- Each extension adds 50% of the original sheet height.
- If you have visualizations that scroll, this can interfere with scrolling of an extended sheet. You should leave some empty space that allows for scrolling when you design the sheet.
You can extend the sheet in two different ways:
Do the following:
- Drag an object to the bottom of the sheet and drop it on the drop zone that appears.
- Toggle Extend sheet under Sheet properties.
The sheet is now expanded by 50% of the original height. You can scroll vertically in the sheet to access all content.