
Adding users to Qlik Cloud
The individual who creates the tenant is the service account owner. If you are the service account owner, you are also the first tenant administrator and the only user with access to the tenant. Add more users by sending email invitations or configure an identity provider.
This topic is applicable to Qlik Sense Enterprise SaaS, Qlik Sense Business, and Qlik Cloud Government. If you have a subscription for the Standard, Premium, or Enterprise edition of Qlik Cloud Analytics or Qlik Talend Data Integration, see Managing users - Capacity-based subscriptions.
You can add users by configuring an identity provider (IdP), or by sending individual email invitations, but not both. However, when you switch from using the invite option to using an identity provider configuration, the invite option will remain available until the identity provider has been activated.
Ensure that users can meet the Qlik Cloud requirements. For more information, see System requirements and supported browsers.
Adding users with an identity provider
If you have an identity provider (IdP), you can create an IdP configuration under Identity provider in the Administration activity center.
For more information, see Identity providers in Qlik Cloud.
Adding users by email invitations
To send an email invitation, you must be a tenant administrator. You can invite users to join the tenant from the Manage users pane in the Administration activity center or from your user profile menu.
-
In the invitation window, enter one or more email addresses separated by commas or spaces.
-
When the user receives the email invitation, they can join the tenant by clicking the link in the email. The link is valid for a limited period and redirects the user to a registration page.
You can view invitation status under Manage users > All users in the Administration activity center:
-
Select Pending invites from the dropdown list or from the Status column.
-
Hover over an invite to see the expiry date. Expired invites appear in red.
-
When a user registers, the status changes to Active.
If needed, you can resend or delete invitations. Deleting an invitation prevents the user from registering, even if the link has not expired.
Steps to invite a user
Do the following:
- In the Administration activity center, go to Manage users and click Invite.
-
Enter the email addresses of the users that you want to invite, and then click Invite.
-
The invited users are listed in the table in the Manage users pane.
Managing users in the Administration activity center
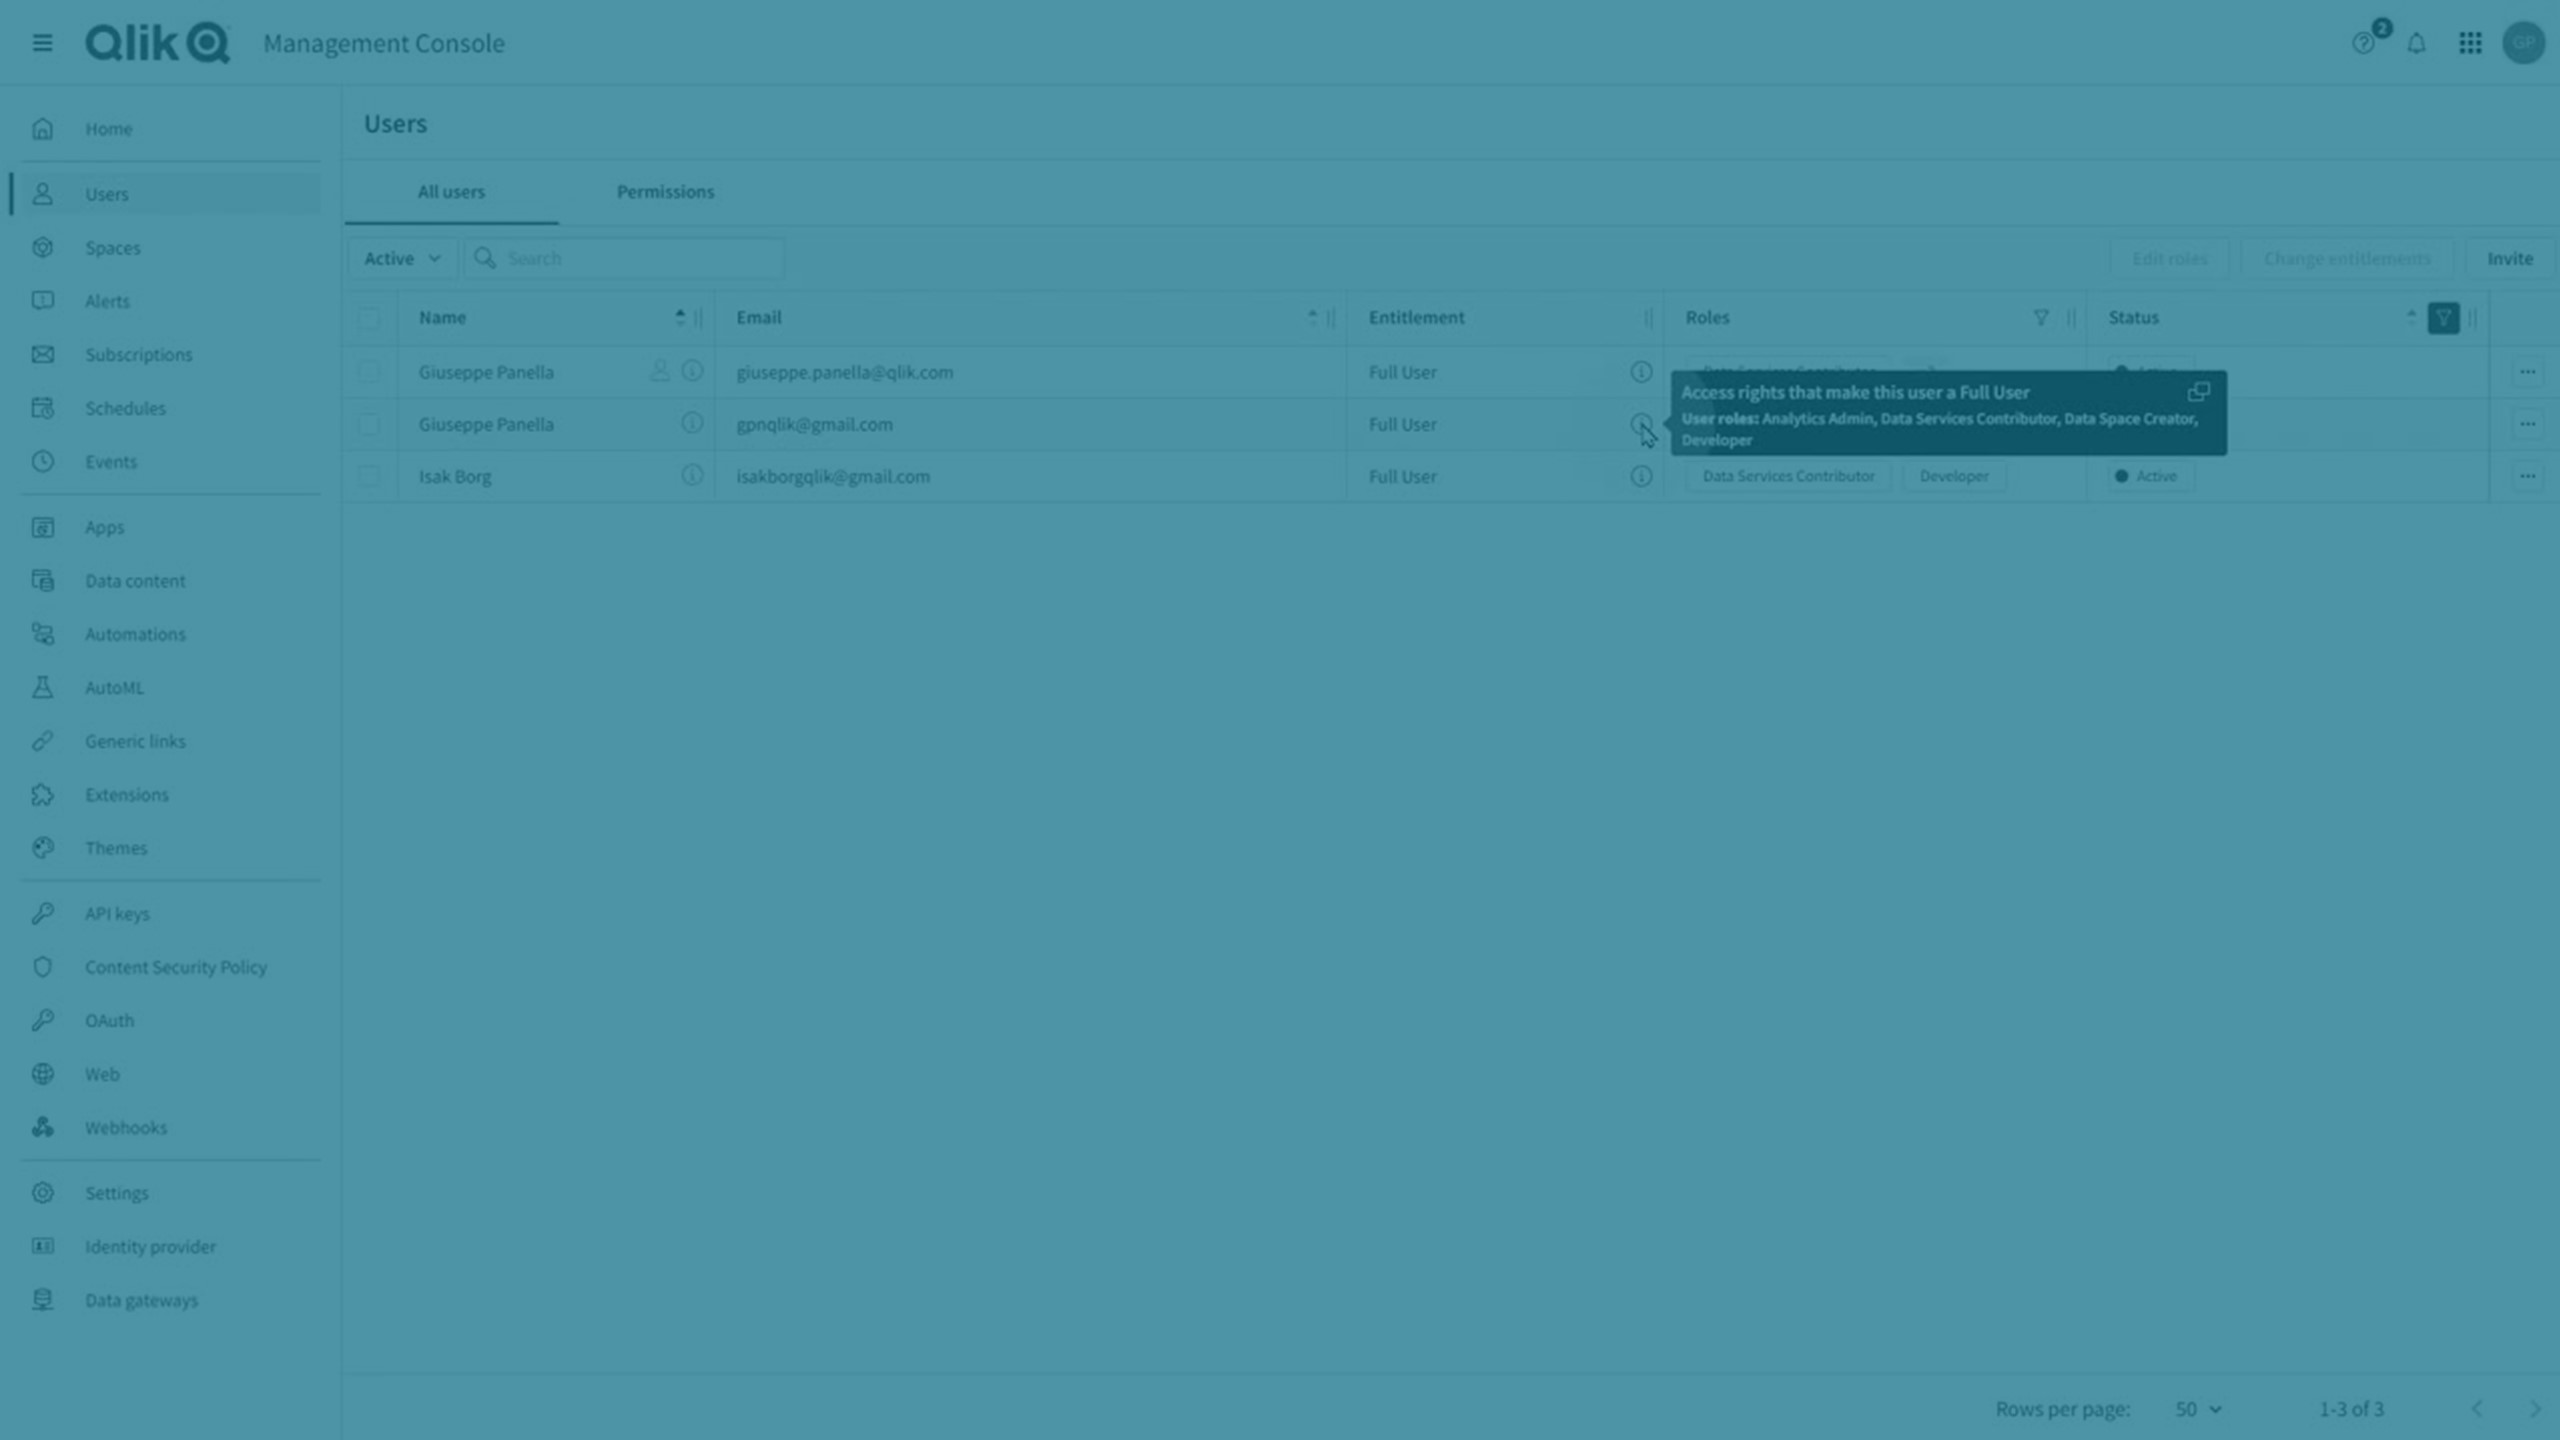
When users are added to the tenant, they are listed under Manage users > All users in the Administration activity center.
You can search for users by name, email, user ID, or IdP subject. The search on user ID and IdP subject must be an exact match. Hover over the information icon ![]() in the Name column to see user ID and IdP subject. The IdP subject field can be used for distinguishing one user from another if the names are identical.
in the Name column to see user ID and IdP subject. The IdP subject field can be used for distinguishing one user from another if the names are identical.
For each user in the table, click ![]() to open a menu where you can assign and remove security roles, change user entitlement, activate or disable users, revoke mobile access if it has been granted, and delete users.
to open a menu where you can assign and remove security roles, change user entitlement, activate or disable users, revoke mobile access if it has been granted, and delete users.
User statuses
Each user has a status depending on whether they are a fully registered user, a user who has been invited but not yet registered, or a user who has been disabled. You can select a status to filter by in the dropdown list.
User status dropdown list

| Status | Description |
|---|---|
| Active | The user is fully registered. They can use the product according to their user entitlement and assigned roles. For more information, see Managing user entitlements and Assigning security roles and custom roles. |
| Disabled |
The user cannot access their account or use the product. All alerts owned by the user will be disabled. |
| Provisioned | The user is provisioned by the SCIM connector but has not yet registered. You can assign roles to groups of provisioned users and add the groups to spaces. For more information, see Provisioning users and groups using SCIM. |
|
Pending invites |
The user is invited but has not yet registered. A user ID is created but no entitlement has been assigned. |
| Orphans |
The user has been assigned an entitlement to their IdP subject from the license service. The user has not yet registered, and no user ID has been created. |
| Requested |
The user is invited to the tenant but the number of users exceeds the limit in the subscription. The user does not have access to the product until the administrator either adds more user entitlements or removes access for other users, which frees up the entitlements for the requested users. |