
Monitoring data with alerts
Detect outliers and anomalies in your data quickly with alerts, without the need to open the application. You define conditions based on measures or dimensions of the data that you want to monitor. When the conditions are met, a notification with a preview of the data is sent to you.
When to use alerts
The two main things to consider when setting up an alert are:
-
Which data do I want to monitor?
-
You can monitor any measure, including measures used in a visualization and master measures. If you want to reuse measures, you can create master measures before setting up the alert. For more information, see Reusing measures with master measures.
-
You can also split up the data with a dimension to see more detailed data.
-
You can filter the data using selections. You can either use current selections, or selections from a bookmark. For more information, see Creating bookmarks.
-
-
When do I want the alert to be triggered?
-
You can set up multiple conditions that need to be fulfilled to trigger the alert. Each condition compares one of the measures or dimensions in the alert with a value, another measure, the last evaluation, or the current set.
-
For information on conditions, see Conditions.
-
You can evaluate the alert every time application data has changed, or set a fixed time schedule. You can also set a snooze to stop notifications for a limited time.
You can share the alert with other users that have access to the application. They will get the same notification, but they cannot edit the alert.
Other ways to share data insights
-
If you want to receive regular chart or sheet updates based solely on a schedule, you can create a subscription. For more information, see Scheduling reports with subscriptions. You can add Qlik users to a subscription.
-
If you want to generate customizable reports based on an entire application and send them to recipients outside of your Qlik Sense environment, see Reporting from Qlik Cloud Analytics with Qlik Automate.
-
The Discovery Agent offers AI-assisted anomaly and outlier detection. With this service, insights are generated and presented to users in a scrollable feed, making it easier to detect when your data has changed over time.
Prerequisites
There are some prerequisites for creating an alert:
- Data alerts must be enabled on the tenant. A tenant admin can enable data alerts in the Settings page in Administration. For more information, see Enabling and managing data alerts.
- You need to have view permissions for the application in which you want to create an alert.
-
If you want to share an alert that you created with other recipients:
- The sheet must be public if you want the recipients to be able to go to the sheet from the notification.
- All recipients must have view permissions for the application. Alerts can be shared with recipients who do not have view permissions, but in this case the evaluation of the alert will fail.
-
If the application data is reduced with section access the recipients must have access to data used in selections in the alert. Alerts can be shared with recipients who are not defined in the section access, but in this case the evaluation of the alert will fail.
Creating an alert
You can create an alert based on a visualization that you want to monitor, or any master measure or dimension in your application.
Do the following on the sheet in analysis mode:
-
Right-click on a visualization, and select Alerts and then Create new alert.
-
Enter a title and description for the alert.
The title is copied from the title of the chart but you can change it.
-
The measures in the chart are automatically added to Add data to the alert. You can drag the measures to reorder them. You can also expand the measure to edit the name and expression, or delete the measure from the alert.
You can see the result in Preview data.
-
Click Add additional measure to add one or more additional measures to display in the notification.
You can use master measures, and measures based on an expression.
Tip noteLater when you define the conditions for the alert, you can only use measures that are defined in the alert, so you should add them now. -
You can get more specific results by splitting up the measure values by a dimension. The first dimension in the chart is selected by default, but you can select another dimension in Show by dimension.
-
If you want to show more detailed data, expand Selections.
You can show the result using the current selections in the application, with no selections or with selections from a bookmark. You can also click Edit to make a custom selection.
The selections are stored in the alert. This means that they are not affected if you delete the bookmark.
- When the result displayed in Preview data meets your expectations, click Next.
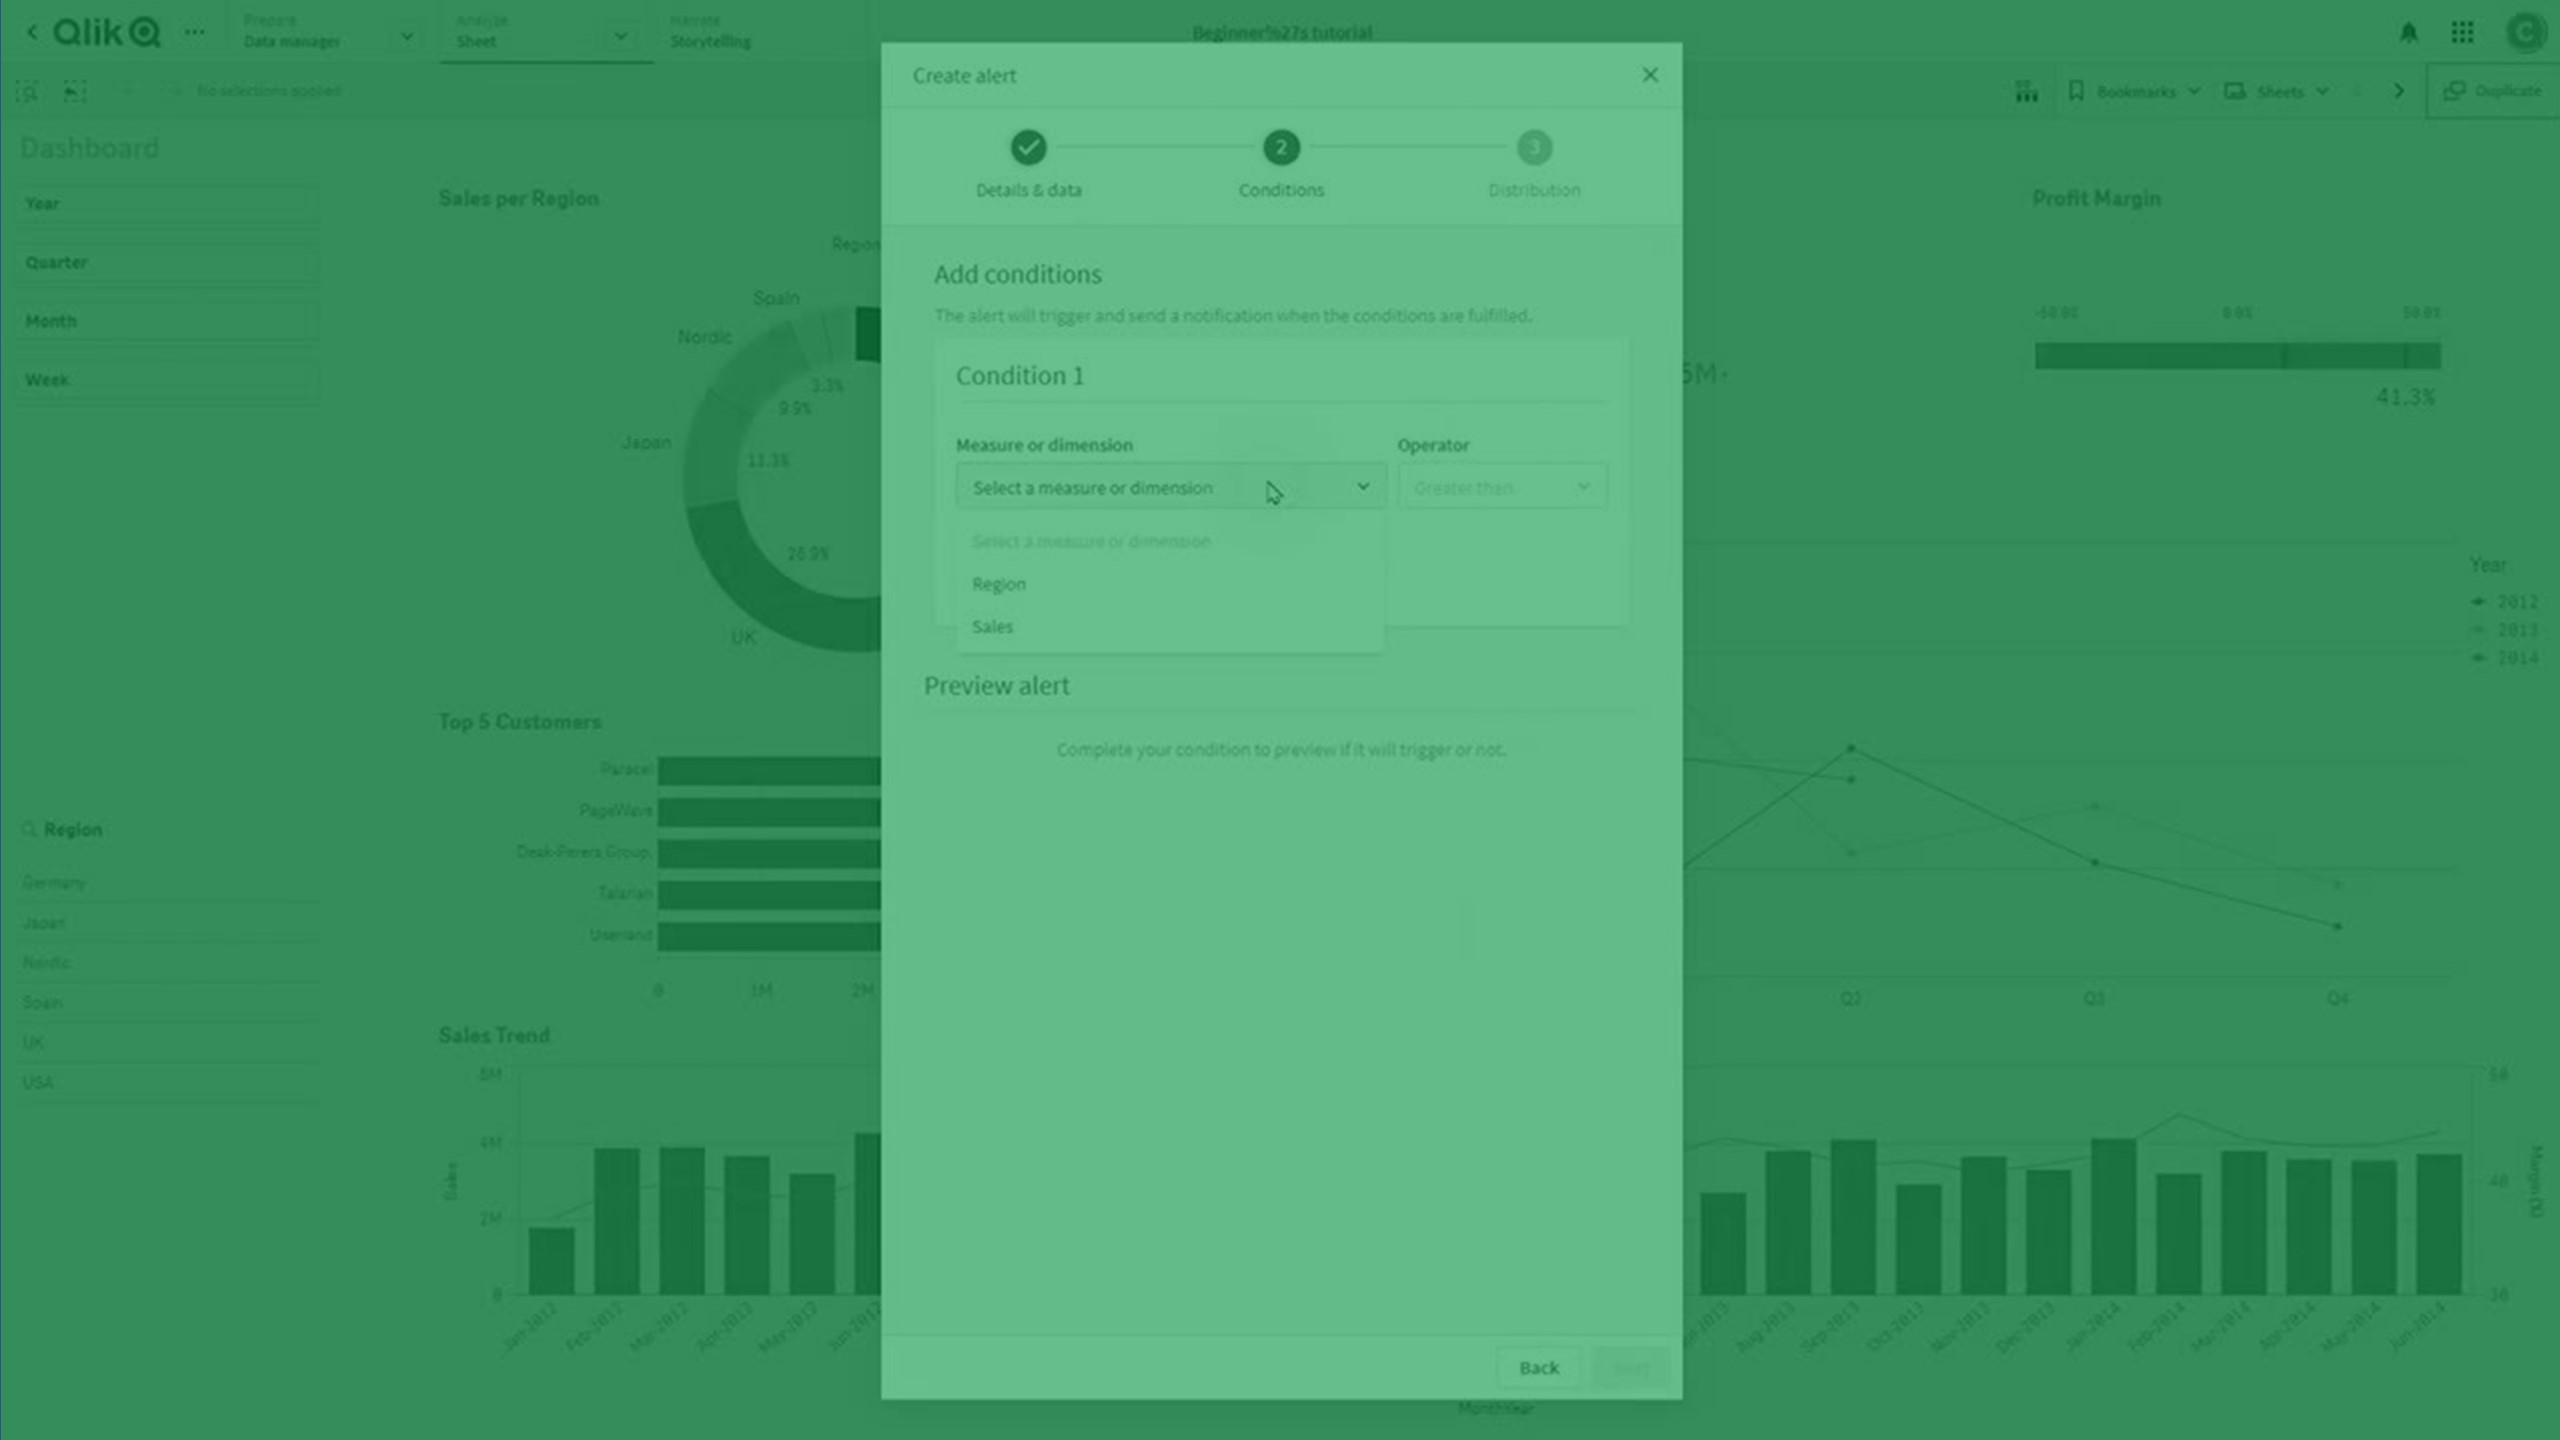
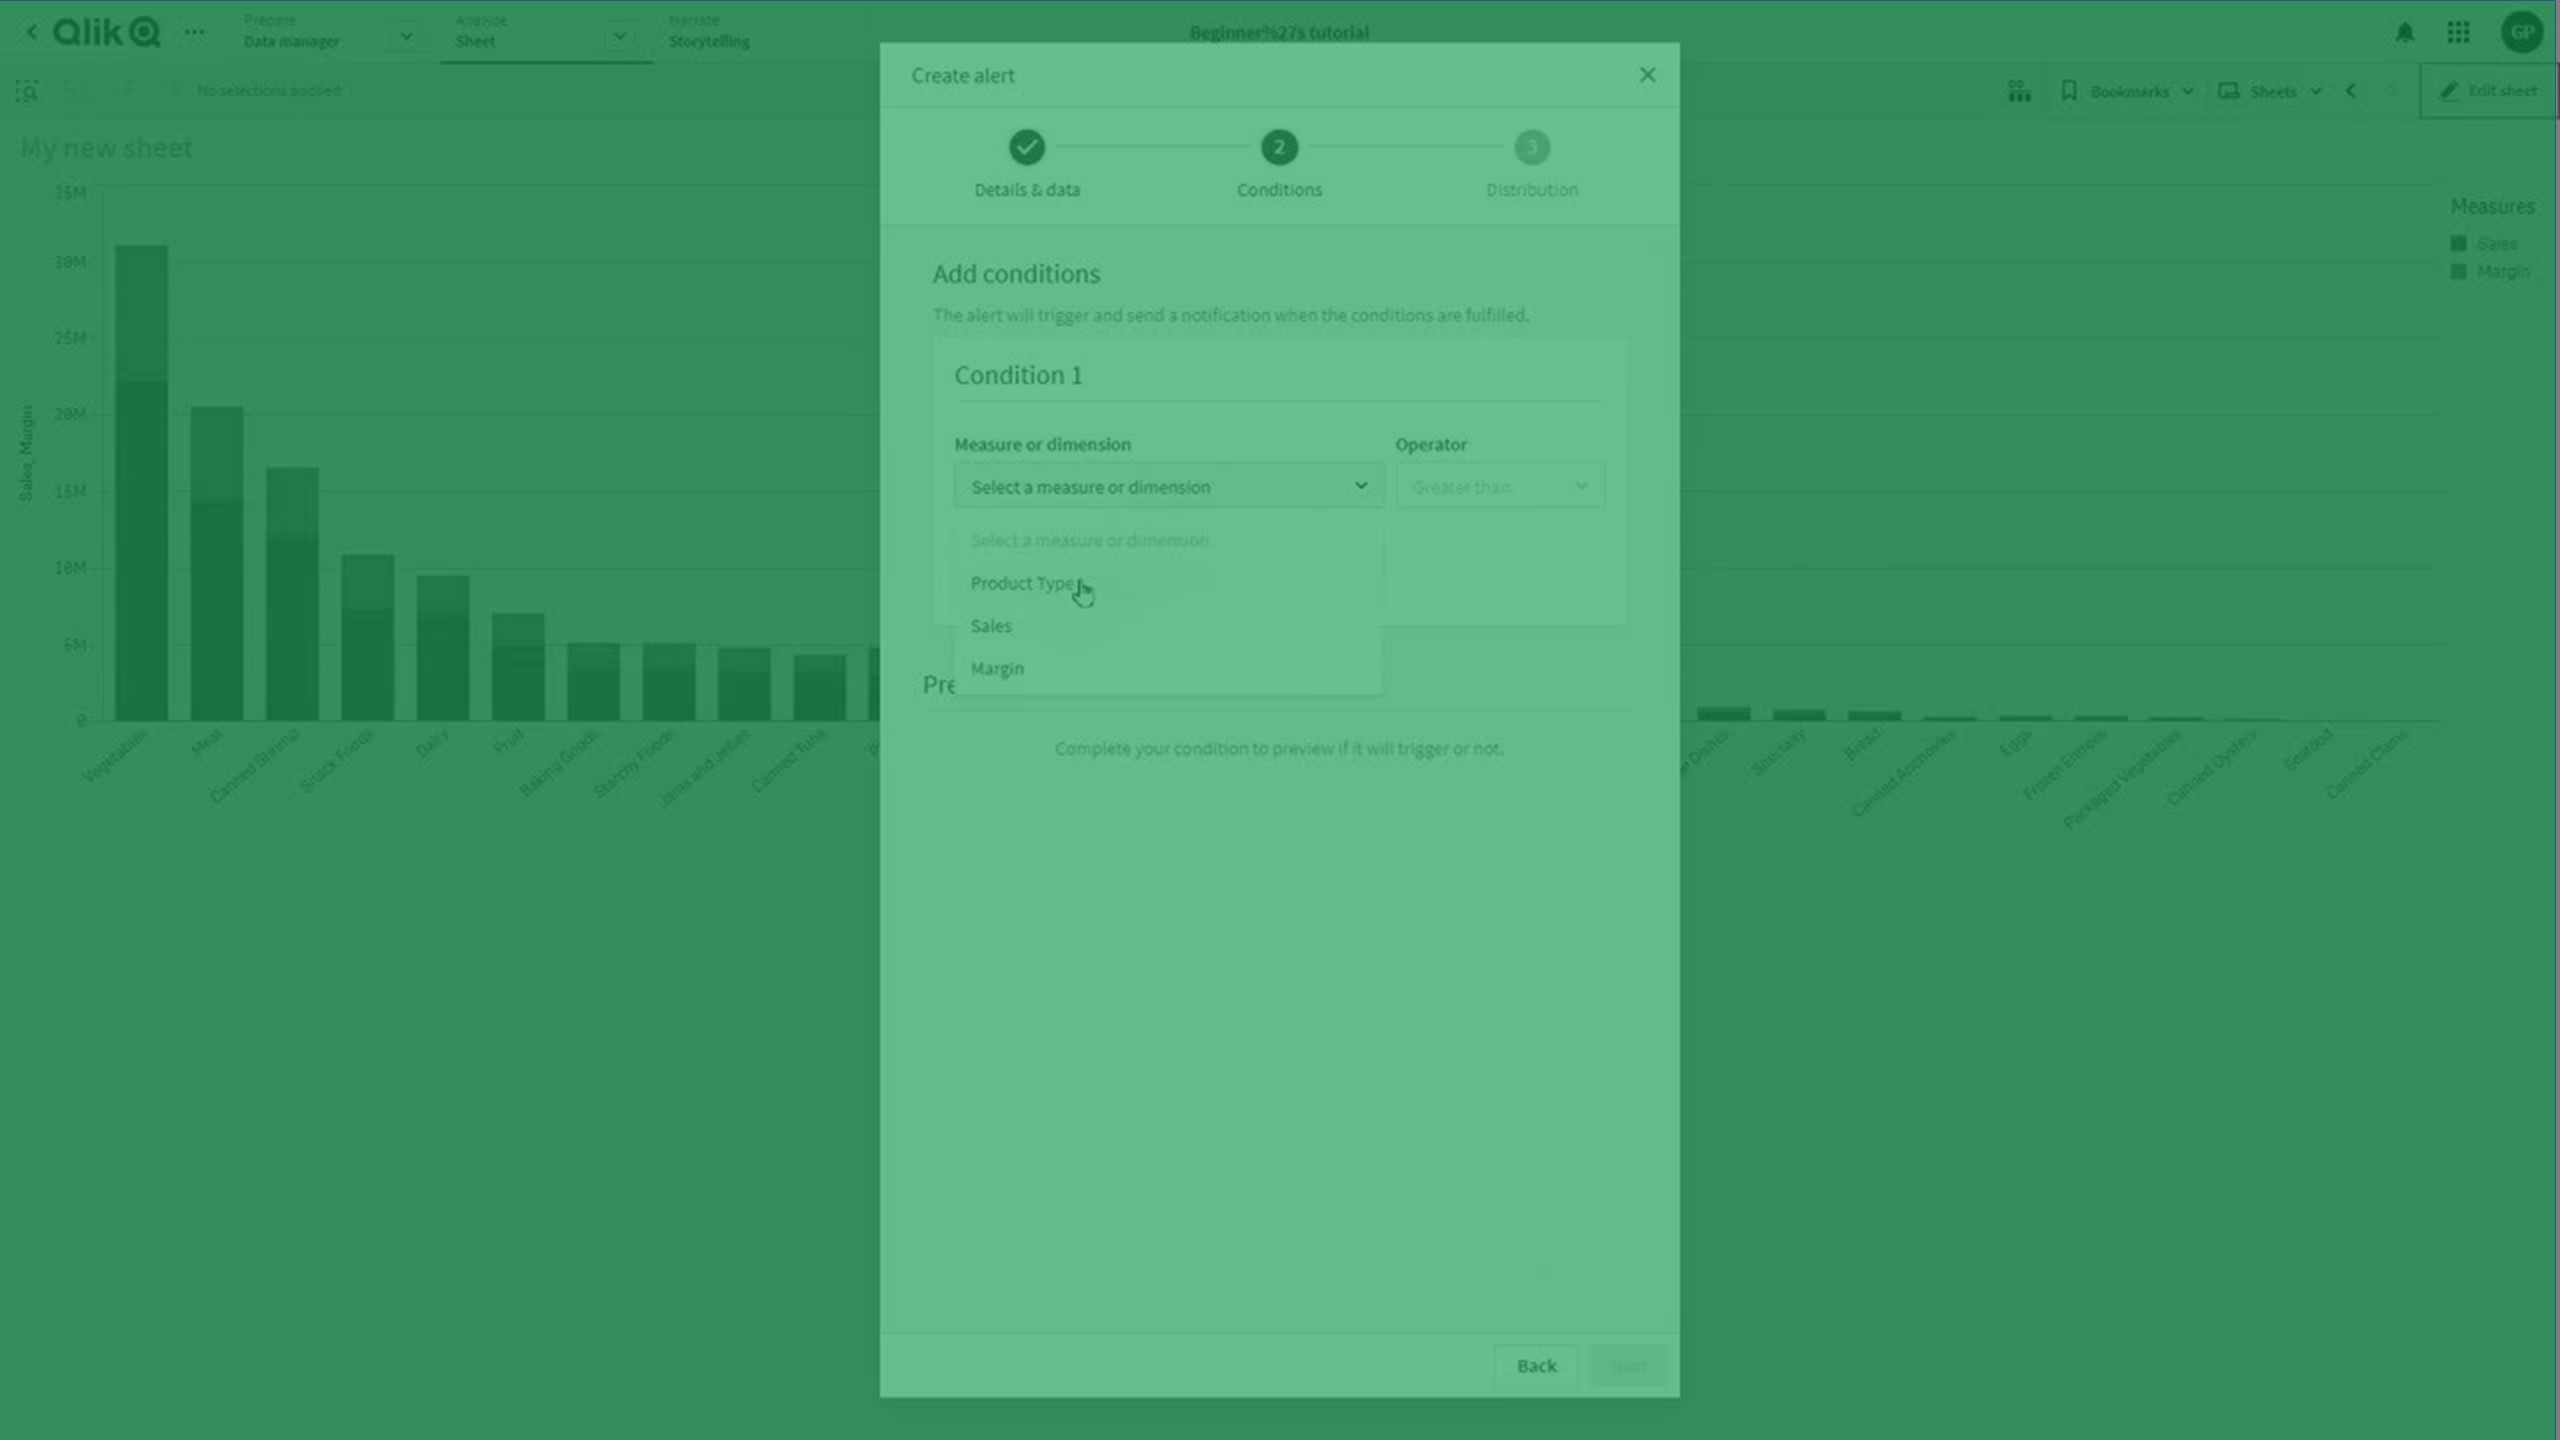
-
Add the conditions that you want to use to trigger the alerts. You can compare a measure with a value, another measure, the last evaluation, or the current set. You can also define an offset when comparing the values. You can combine multiple conditions with AND and OR.
- When you have defined the conditions, you can check under Preview to see if the alert would trigger with the current data. When you are done, click Next.
-
You can schedule when to evaluate the alert. The following options are available:
-
When data changes: Evaluate the alert only when application data has changed. Changes in application data are recognized as either of the following:
-
Data values in the application change after a reload.
-
Data values change in a source application, and then the application is republished to a managed space using the Include data option (given that the alert is configured for the published application).
-
-
Fixed time schedule: You can create a Daily, Weekly, Monthly, or Yearly schedule. The scheduled interval can be widely customized regarding times, dates, and months. You can also set when to start and stop evaluating the alert.
-
- You can stop notifications by the alert for a limited time with Snooze notifications. If you keep the setting Off, you will be notified every time the alert is triggered. If the alert is shared, notifications for this alert stop for a limited time for all recipients as well.
- You can share the alert with other recipients. Make sure that all recipients have access to the application. Recipients can turn off notifications about alerts at any time.
- Click Create to finish.
The alert is now created, and when it is triggered by the conditions you receive a notification. For more information about notifications, see Customizing alert notifications and Managing space notifications.
Editing an alert
You can edit alerts that you own. There are two ways you can edit an alert.
-
You can edit an alert in the Alerts page. To open the Alerts page, click Alerts from the Analytics activity center or click Alerts from the user profile menu. In the list of alerts, select Edit from the action menu of the alert that you want to edit.
Tip noteYou can also click an alert to open it, and then click Edit. -
You can also right-click on any visualization in the application, select Alerts, and then select the name of the alert.
The alert is opened in the application and the sheet where it was created, with the selections used in the alert. You can edit the alert, and then save it.
Conditions
You can set up multiple conditions that need to be fulfilled to trigger the alert. Each condition compares one of the measures or dimensions in the alert with:
-
Another value that can be fixed, or calculated by an expression.
-
Another measure.
-
An aggregation of the current data set.
You can combine multiple conditions with AND and OR. You can also create multi-step conditions by grouping conditions and applying them in order.
You can also compare using an offset, a value that you want to offset the returned value by.
For more information about how to set conditions for alerts, see Setting conditions for alerts.
Customizing alert notifications
By default, you will receive notifications when:
-
An alert you own or subscribe to is triggered.
-
You are added to an alert.
-
An alert you own or subscribe to stops or fails.
You can receive notifications in several ways:
-
Web: In the browser when you are using Qlik Sense.
-
Push: On your mobile if you have the Qlik Analytics mobile application installed.
Qlik Cloud Government noteThe Qlik Analytics mobile application is not supported in a Qlik Cloud Government subscription. -
Email: Notifications are sent to the email address registered for the account.
-
Daily email digest: Selected notifications are gathered in a single email, which is sent daily to the email address registered for the account.
You can manage notifications in your personal settings. From your user profile menu, go to Settings > Notifications to change your global alert settings. To edit the settings for a specific alert, open Alerts in the Analytics activity center, find the alert, click the ![]() menu, and select Notifications.
menu, and select Notifications.