Line layers
A line layer enables you to display lines between points on your map.

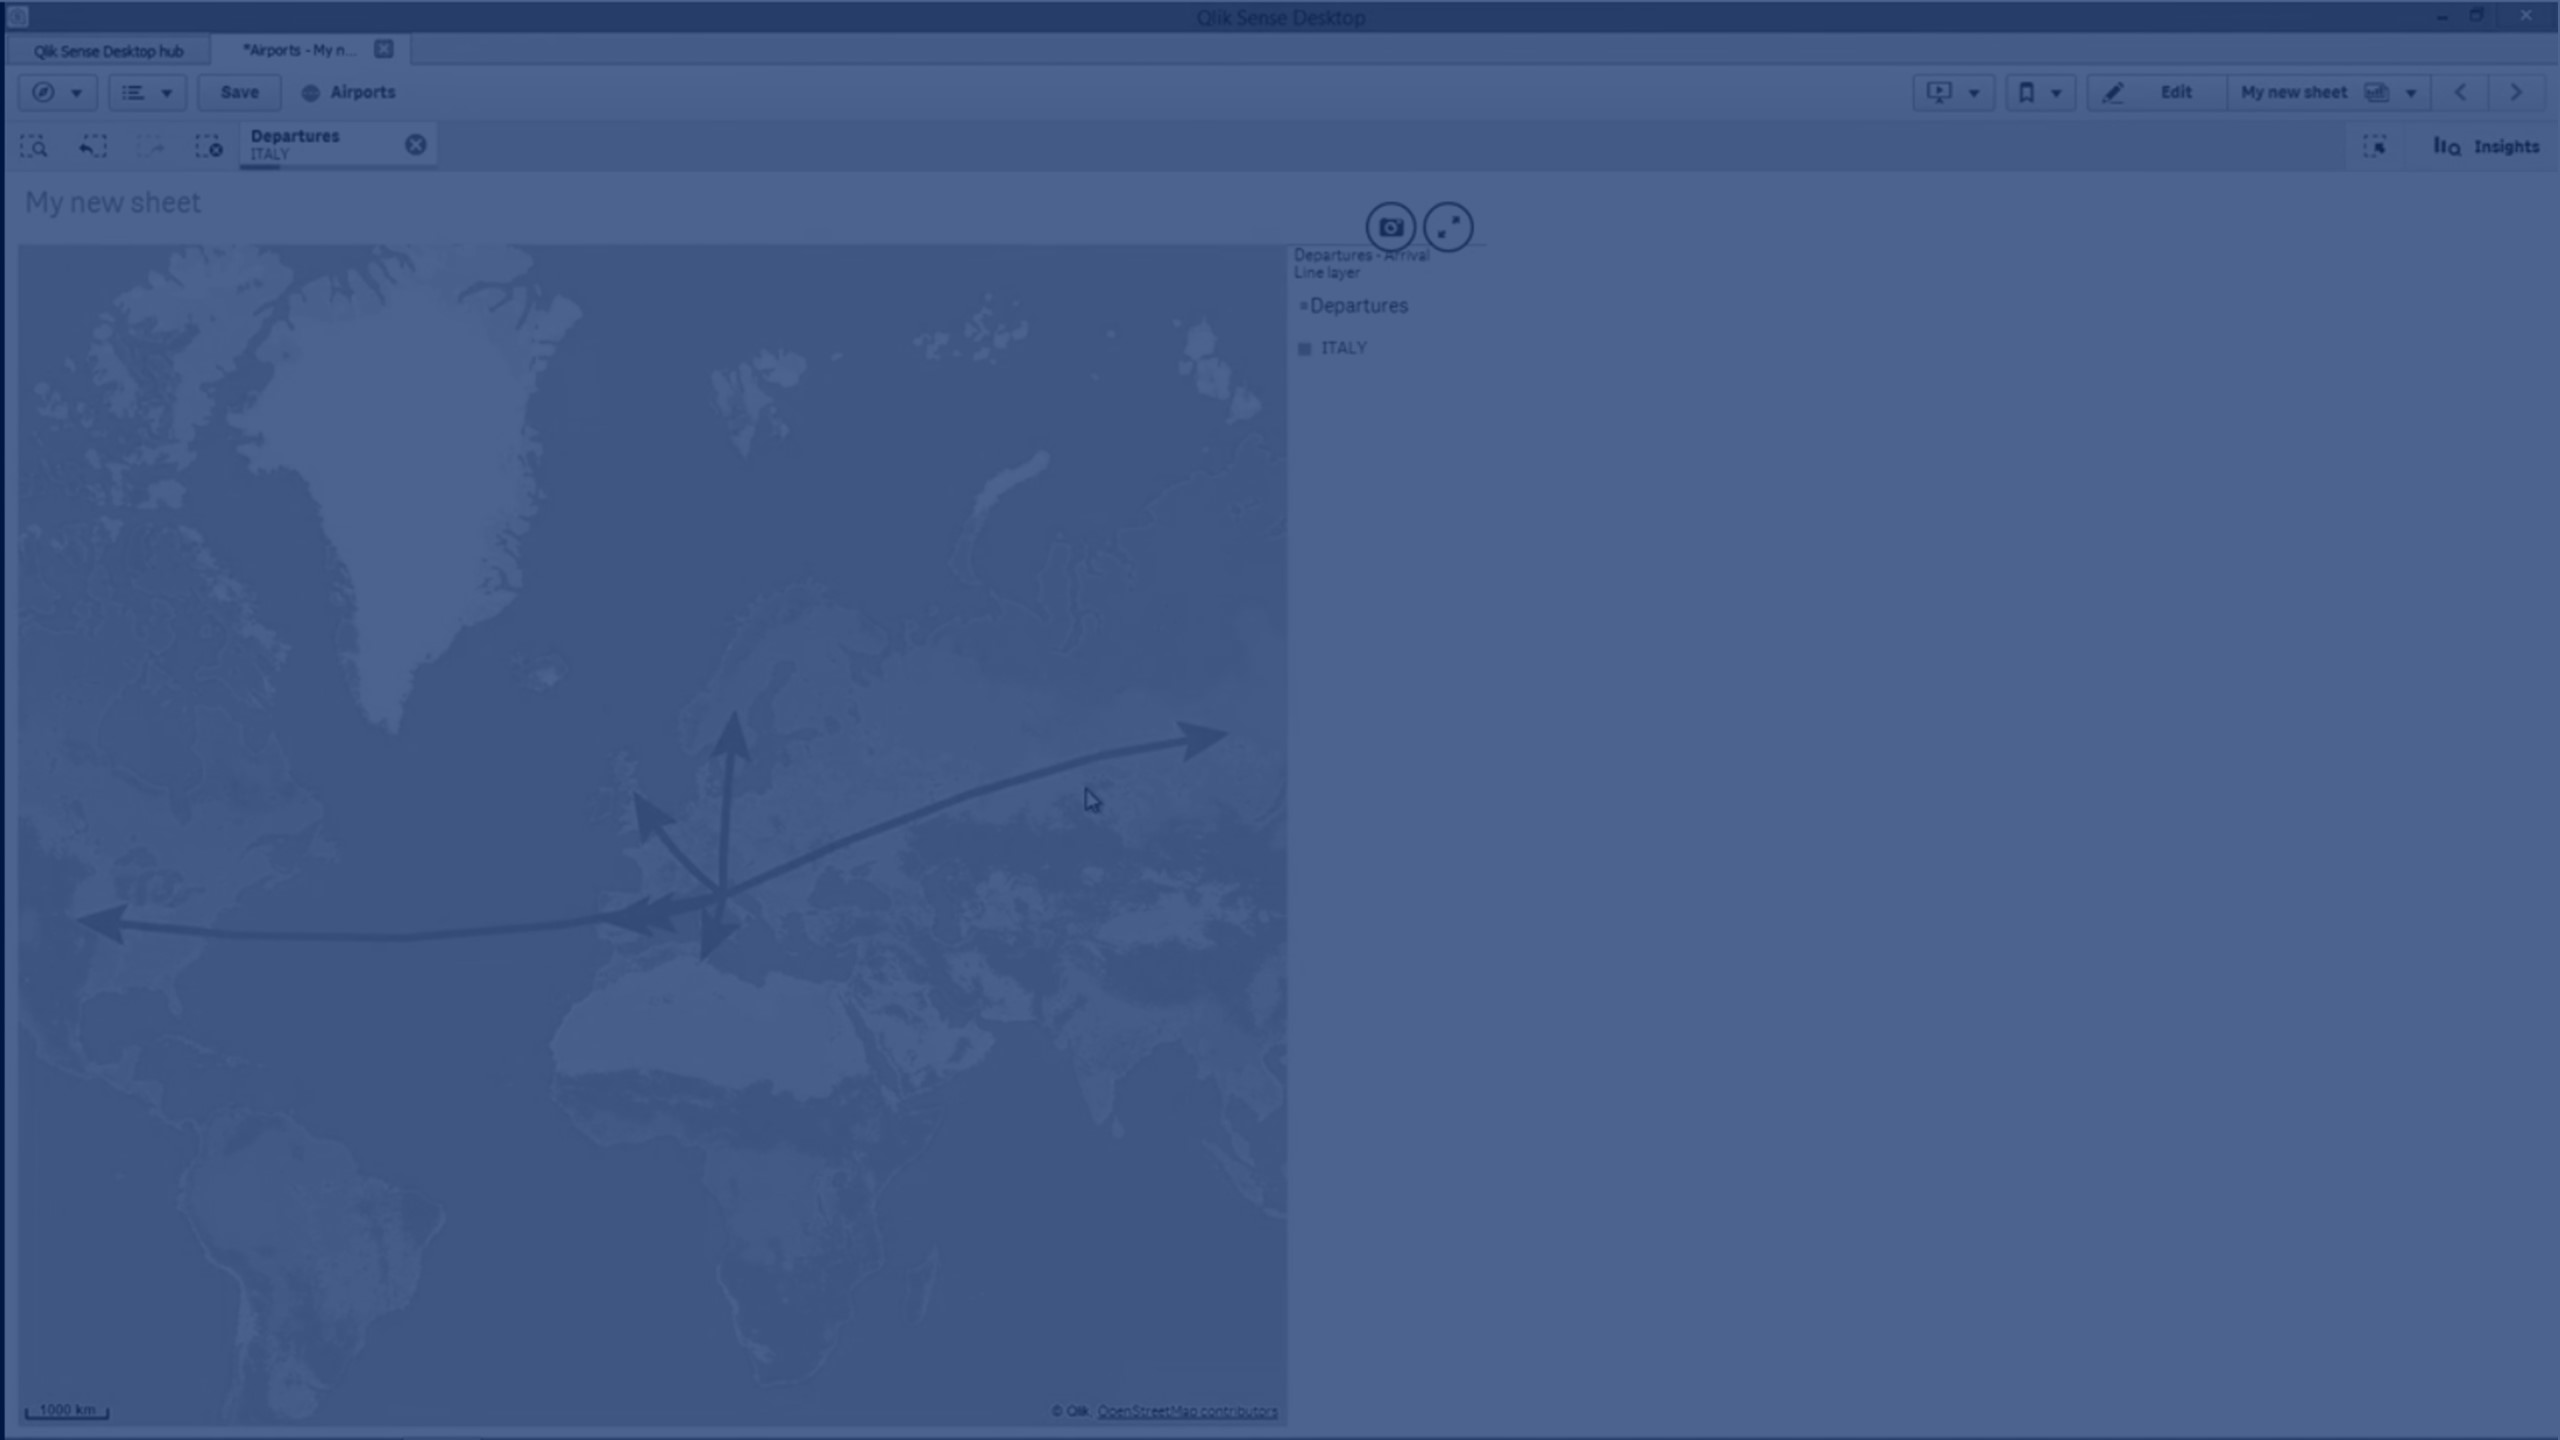
For example, you can use a line layer to show aircraft flights between cities. With a line layer, you can use two fields containing point data to define the start points and end points for lines in the layer. Alternatively, you can use a field containing line geometry in either GeoJSON LineString or MultiLineString format. You can customize the width and curvature of lines in the line layer and add directional arrows to your lines.
Map with line layer displaying departing flights between airports in Europe.

Adding a line layer
Line layers display lines using either start and end points, where two fields are used to determine where lines start and end, or using line geometries in GeoJSONLineString or MultiLineString format.
If you are using a start and end point line layer, the dimension you select for your line layer should represent the fields selected as the start and end points in your Location settings. For example, if you wanted to visualize where your shipments are being sent, you could set Shipments as the dimension and then use Distribution Center Location and Shipping Destination as the start point and end point in Location.
Alternatively, you can add two dimensions to the line layer and use these as the start and end points. This is useful if you want to display lines between all locations in the first dimensions to all locations in the second dimension, which has an association to the first dimension.
Adding a line layer with start and end points
Gehen Sie folgendermaßen vor:
-
Gehen Sie folgendermaßen vor:
- Drag and drop a field containing start point data onto the map, select Add as new layer, and select Add as line layer.
- From Layers in the properties panel, click Add layer and select Line layer. In Dimensions, click Add and select a field to use as the dimension.
-
If your dimension contains start point data, add a field containing end point data. Do one of the following:
- Drag and drop a field containing end point data onto the map, select Use in <layer name>, and select Add <field name> as a second dimension.
- In Data, click Add and select a field containing end point data.
- If your dimension does not contain start or end point data, in Location, add the fields containing the start point data and end point data as location fields.
-
If there are issues with the start and end point locations, adjust the location settings in Location in the properties panel.
Line layers using start point field and end point fields each have separate location settings in Location.
For more information, see Limiting location scope in map layers.
Once the layer is added, you can adjust settings for the layer in the properties panel.
Adding a line layer with line geometries
Gehen Sie folgendermaßen vor:
-
Gehen Sie folgendermaßen vor:
-
Drag and drop a field containing line geometries onto the map, select Add as new layer, and select Add as line layer.
-
From Layers in the properties panel, click Add layer and select Line layer. In Dimensions, click Add and select a field to use as the dimension.
-
-
In Location, select Line geometry and then select a field in Line geometry field.
By default, your dimension is selected as the Line geometry field.
Once the layer is added, you can adjust settings for the layer in the properties panel.
