
Zoom
This is a step-by-step guide detailing how Zoom can be added to a new or existing Blend.
Adding Zoom to your Blend
- Select Zoom from the available datasources in the automation editor.
Selecting a datasource.
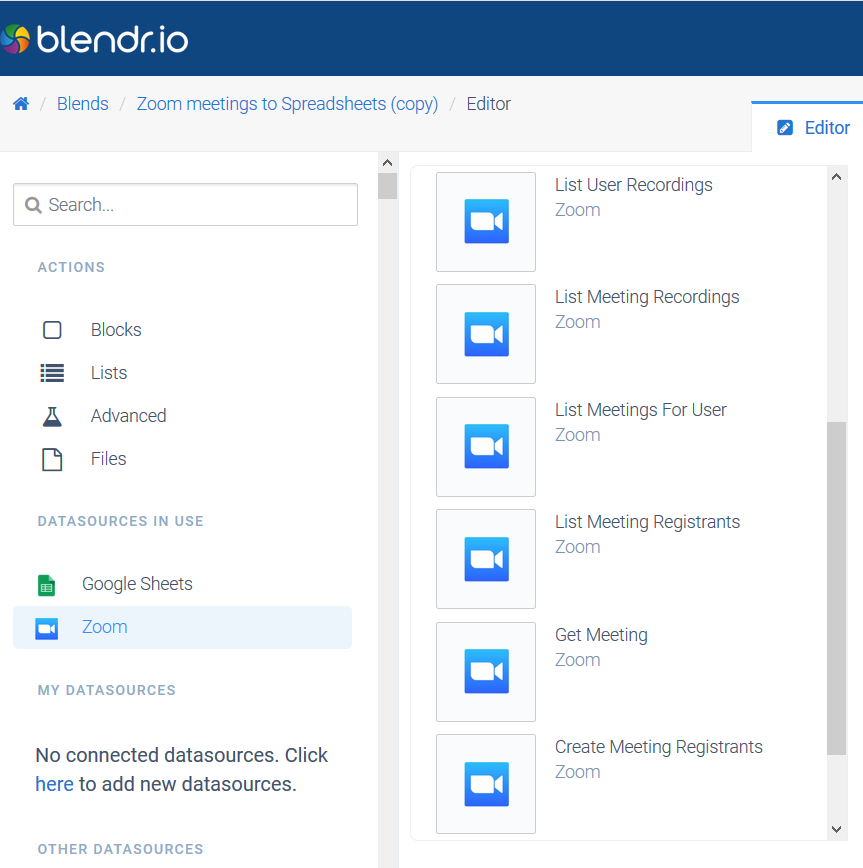
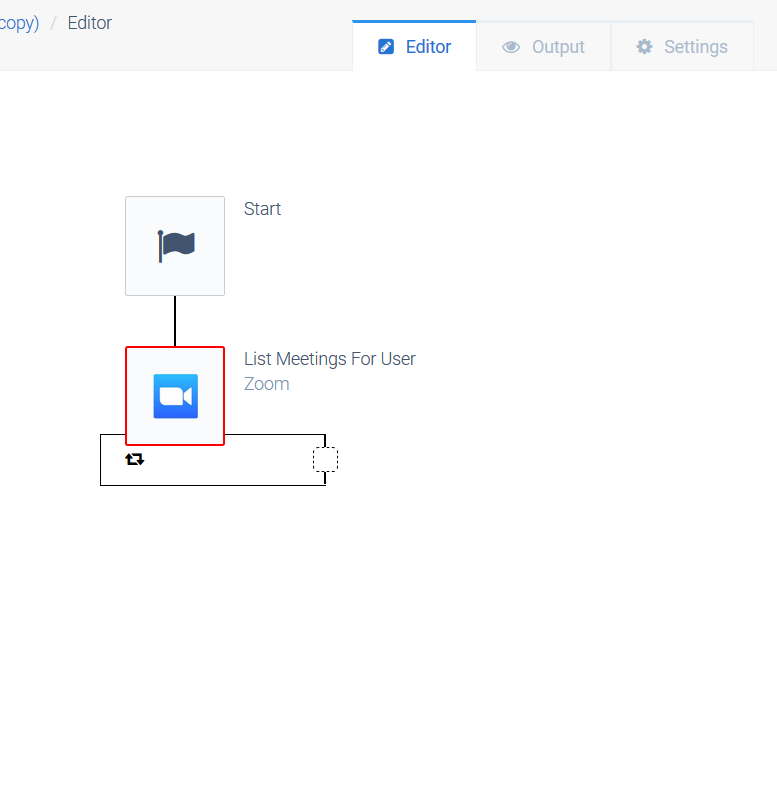
- Drag a Zoom block corresponding to the action you want to perform inside the automation editors editing space.
Using a Zoom block in an automation.
- Go to the tab “Datasource” and connect your Zoom account to the Zoom datasource.
Connecting Zoom.
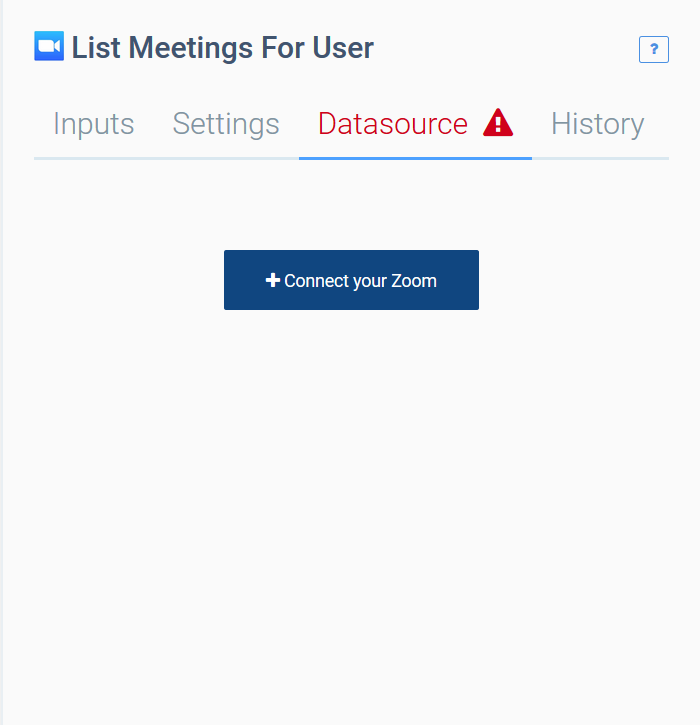
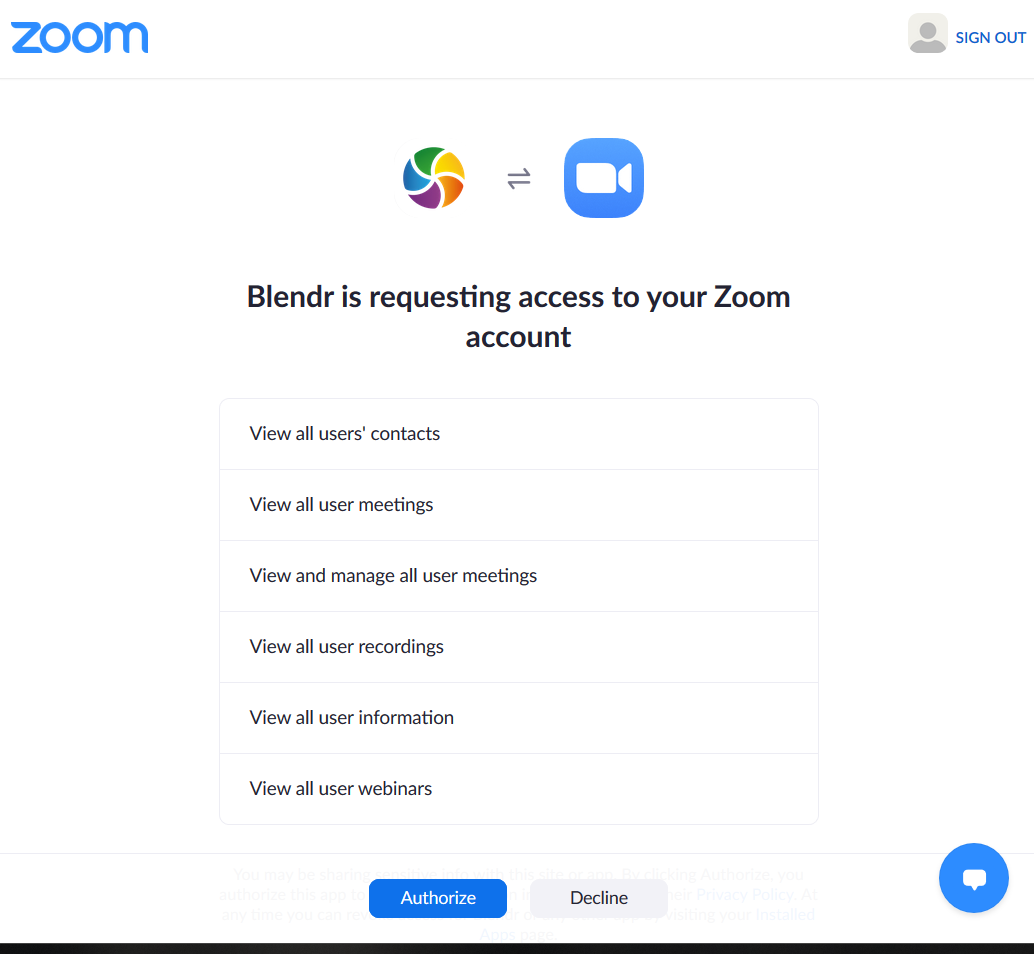
- After clicking “Connect your Zoom” a popup will appear that might require you to login to your Zoom account. After doing this the next window will appear and you’ll need to authorize Qlik Application Automation for OEM to access your Zoom account.
Authorizing Qlik Application Automation for OEM to access Zoom.
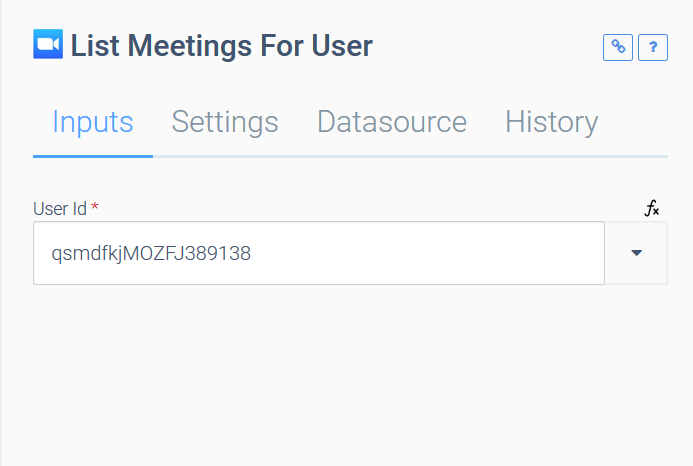
- Go to the tab “Inputs” and enter required details for the block, e.g. the User id for the block
List meetings for user
.
Entering the User Id.
- Zoom is now ready to be used in your Blend. Keep in mind that other Zoom blocks will require different details in the “Input” tab.
Retrieving a User Id
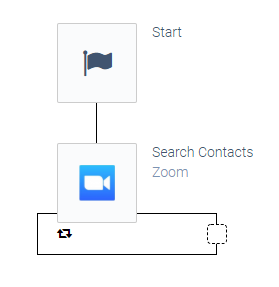
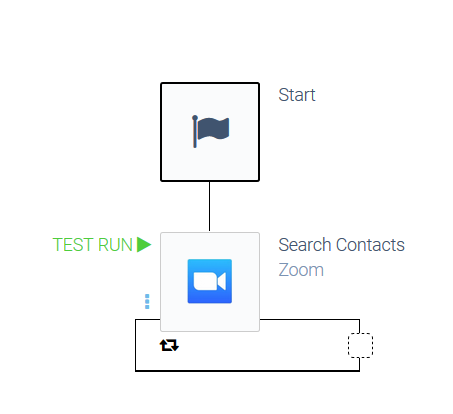
- Create an automation with the
Search Contacts
block.
an automation containing a Search Contacts block.
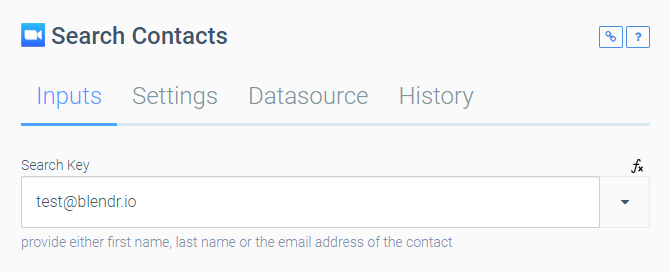
- In the menu on the right, enter the email address for which user you want to retrieve the User Id.
Entering an email address.
- Executing this automation will return a user object with a User Id corresponding to the entered email address.
Removing Qlik Application Automation for OEMApp from your Zoom account
- Login to your Zoom Account and navigate to the Zoom App Marketplace.
- Click Manage > Installed Apps and search for the Qlik Application Automation for OEMapp.
- Click the Uninstall button next to the Qlik Application Automation for OEMapp.
Removing Zoom connection from within your Blend
- Select a Zoom block inside your automation and go to the “Datasource” tab in the menu on the right.
The Datasource tab.
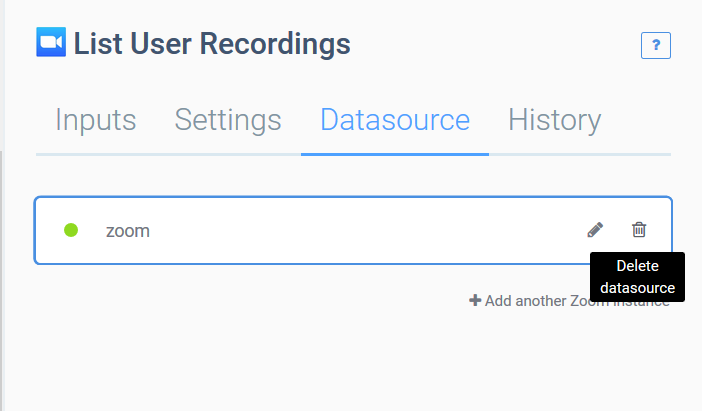
- Click the Trash can icon to remove the Zoom connection from this blend. This will also remove the corresponding connection from your Qlik Application Automation for OEM account.
Removing Zoom connection from My Datasource overview
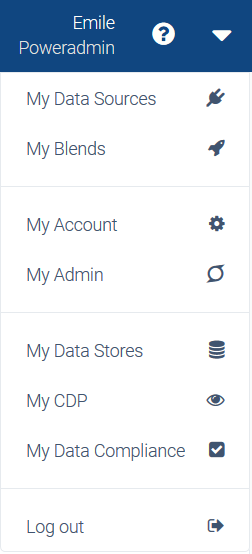
- Open the account menu in the upper right corner of your screen and select “My Data Sources”.
The account menu dropdown.
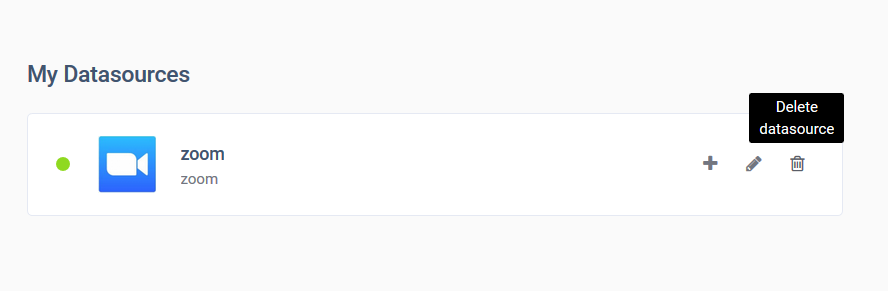
- Go to the Zoom datasource and click the Trash can icon to remove the connection between your Zoom account and your Qlik Application Automation for OEM account.
Removing a Zoom connection.
Remove Zoom from your automation without deleting the corresponding account-level datasource.
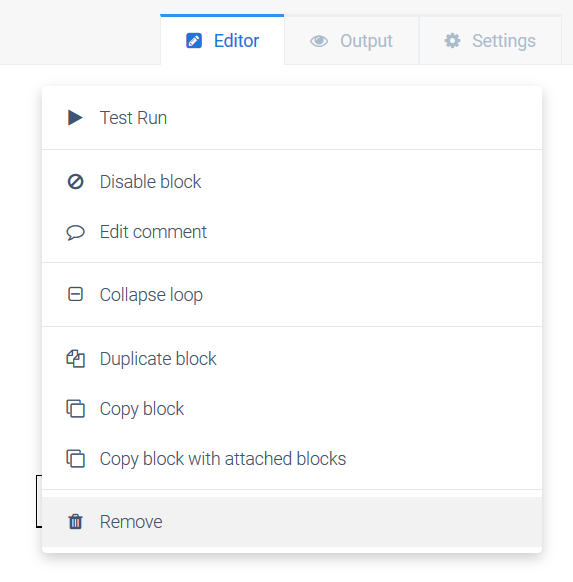
- Hover over the Zoom block to display the menu button.
Hovering over a Zoom block.
- Click “Remove” in the menu to delete the Zoom block in your Blend. Keep in mind that the connection between your Zoom account and your Qlik Application Automation for OEM account will still exist. To delete this connection refer to “Removing Zoom connection from datasource overview”.
Removing a connection through a block.
Did this page help you?
If you find any issues with this page or its content – a typo, a missing step, or a technical error – let us know how we can improve!