
AmoCRM
The AmoCRM connector allows you to build integrations between AmoCRM and 500+ other cloud applications usingQlik Application Automation for OEM. You can read data from AmoCRM and write to AmoCRM.
Example use cases
- Push company and contact information from various sources into AmoCRM
- VoIP integrations between your cloud telephony platform and AmoCRM, e.g. sync call information to AmoCRM. More info
- Extract data from AmoCRM for dashboarding, analytics, and applying AI to gain new insights
Getting started
See the Qlik Application Automation for OEM Getting Started articles for a general introduction intoQlik Application Automation for OEM.
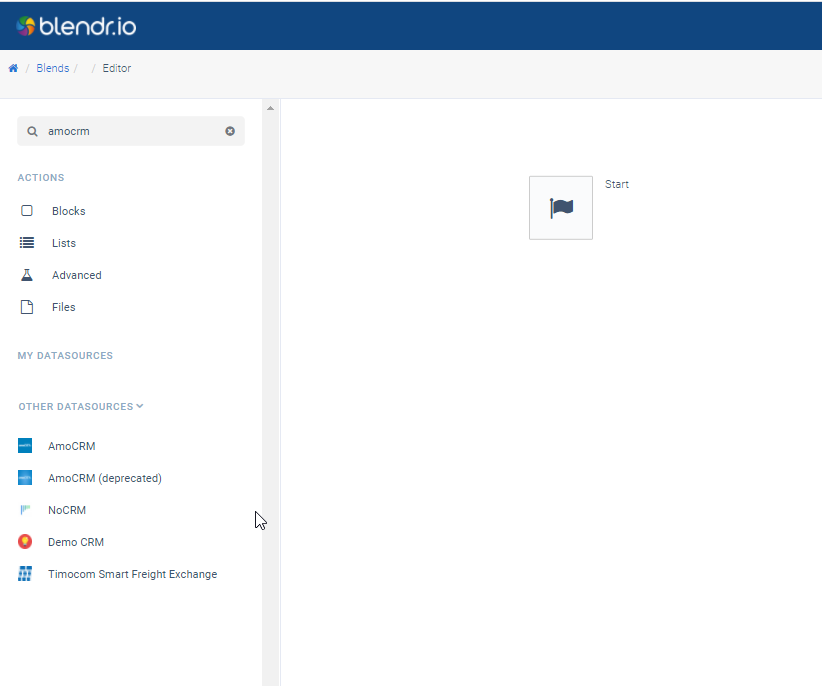
After logging in, click the New automation
button to start building a workflow (automation). In the automation editor, find and click AmoCRM in the left pane.
The automation editor.
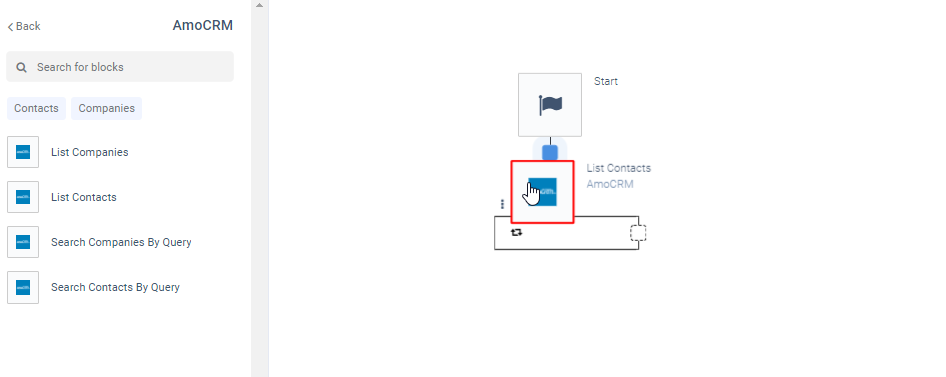
You can select any of the amoCRM building blocks, for example List contacts
.
Adding the List Contacts block.
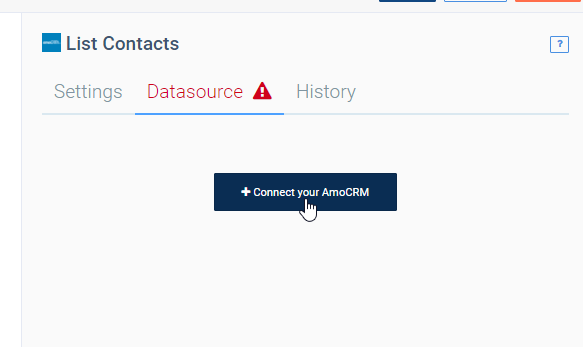
Go to the tab “Datasource” and connect your AmoCRM account.
The Datasource tab.
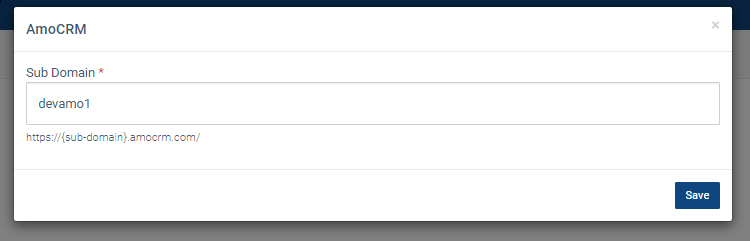
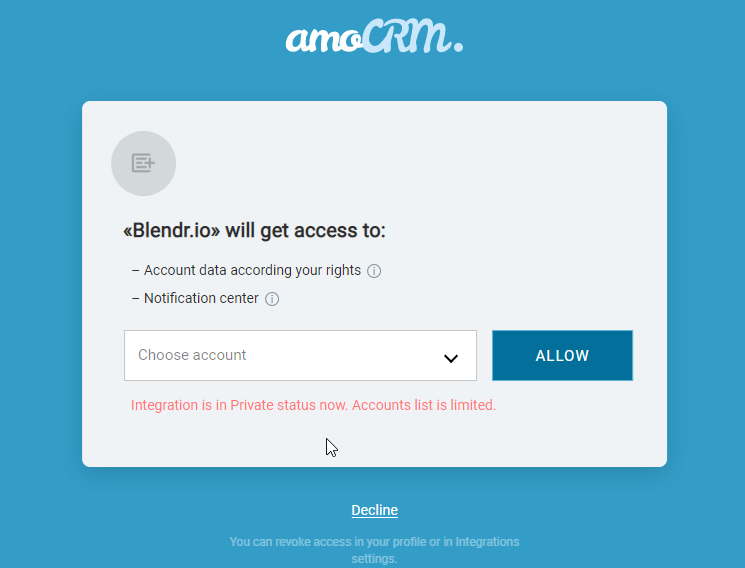
After selecting “Connect your AmoCRM ” a popup will appear that will require you to enter your sub domain, login to your AmoCRM account, and grant Qlik Application Automation for OEM access to your AmoCRM account.
The AmoCRM popup.
Qlik Application Automation for OEMrequesting access to AmoCRM.
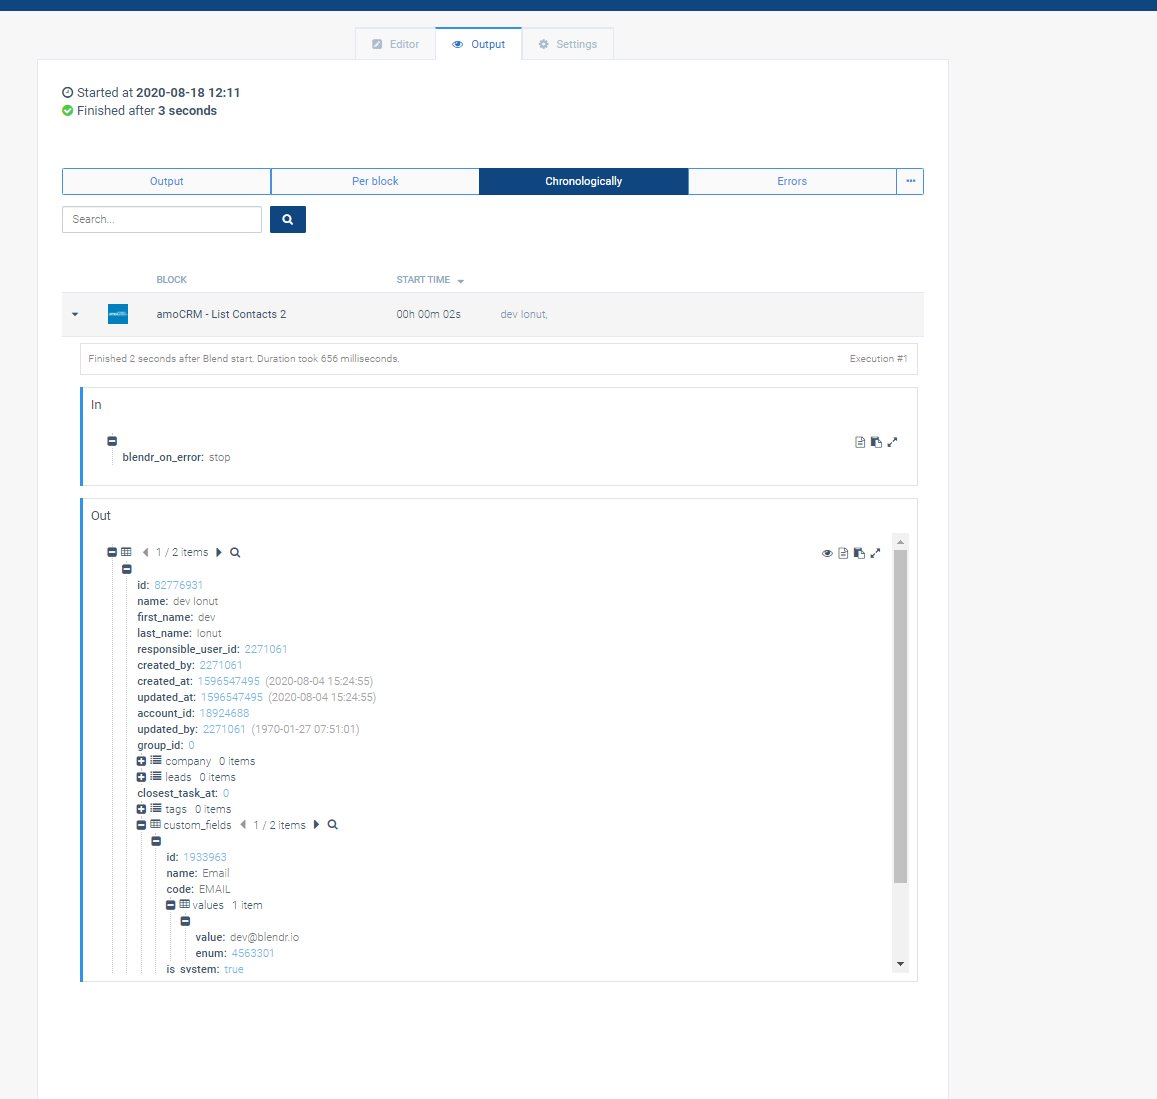
Now your AmoCRM instance is connected through the Qlik Application Automation for OEM platform and you can build workflows integrating AmoCRM with other systems.
A sample Qlik Application Automation for OEMoutput with AmoCRM integrated.
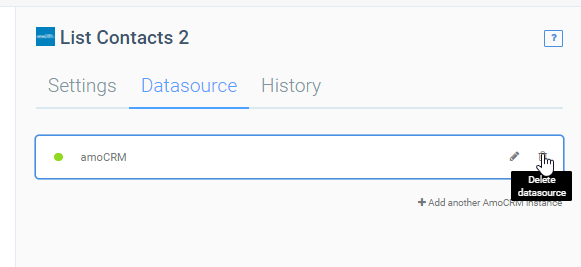
Removing an AmoCRM connection from within your automation
- Select an AmoCRM block inside your automation and go to the “Datasource” tab in the menu on the right.
- Click the bin icon to remove the AmoCRM connection from this automation. This will also remove the corresponding connection from your Qlik Application Automation for OEM account.
Accessing the bin icon in the Datasource tab.
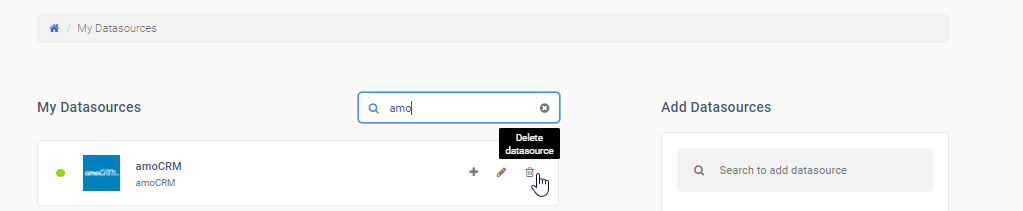
Alternatively, you can remove the datasource from your connector overview:
- Open the account menu in the upper right corner of your screen and select “My Data Sources”. This will redirect you to a page with all your active datasource subscriptions.
- Go to the item describing the AmoCRM subscription and click the bin icon to remove the connection between your AmoCRM account and your Qlik Application Automation for OEM account.
Accessing the bin icon in the connector overview.
Did this page help you?
If you find any issues with this page or its content – a typo, a missing step, or a technical error – let us know how we can improve!