
New Facebook apps can be created here: Facebook apps This page covers some basic steps only, for more details visit: Facebook app documentation
App creation steps
- Go to the Facebook apps page
- Click
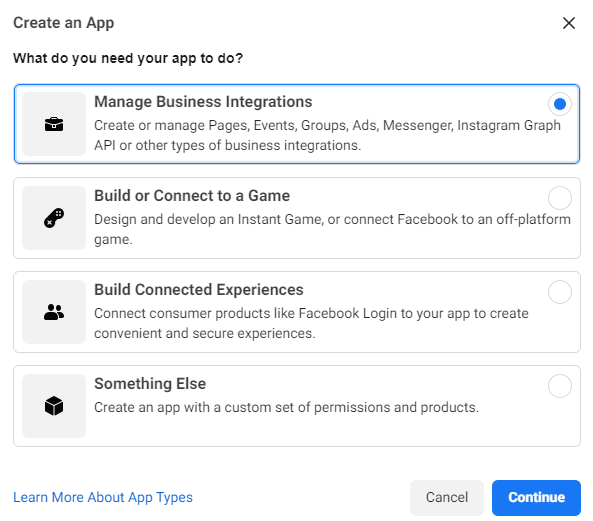
Create App
. You'll be prompted for the App type; chooseManage Business Integrations
.
The Create an App page..
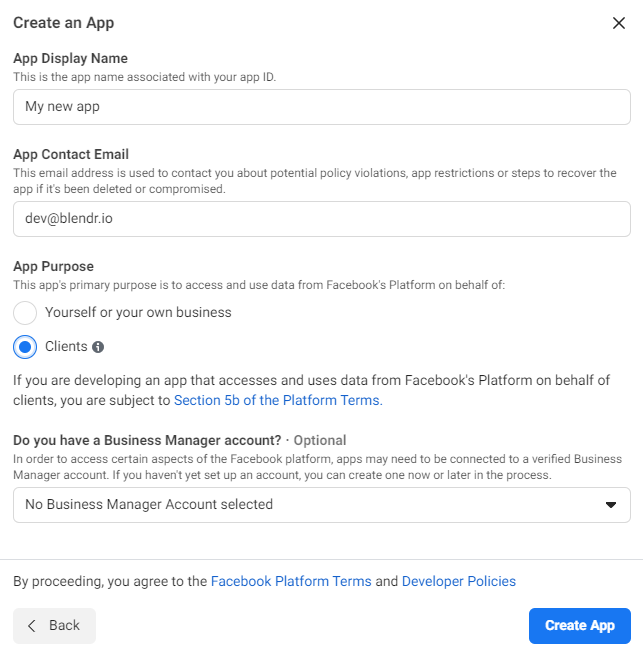
- Next, fill in your app name & app contact email. Select
Clients
as app purpose and link a Business Manager account if you need to (this is needed for Facebook Ads).
Configuring new app settings.
- Finally, the app overview page will show where the app can be further configured.
App configuration
The following configurations are available when creating an app.
Settings
To be fully functional, the app requires some extra information that can be entered under Settings > Basic
.
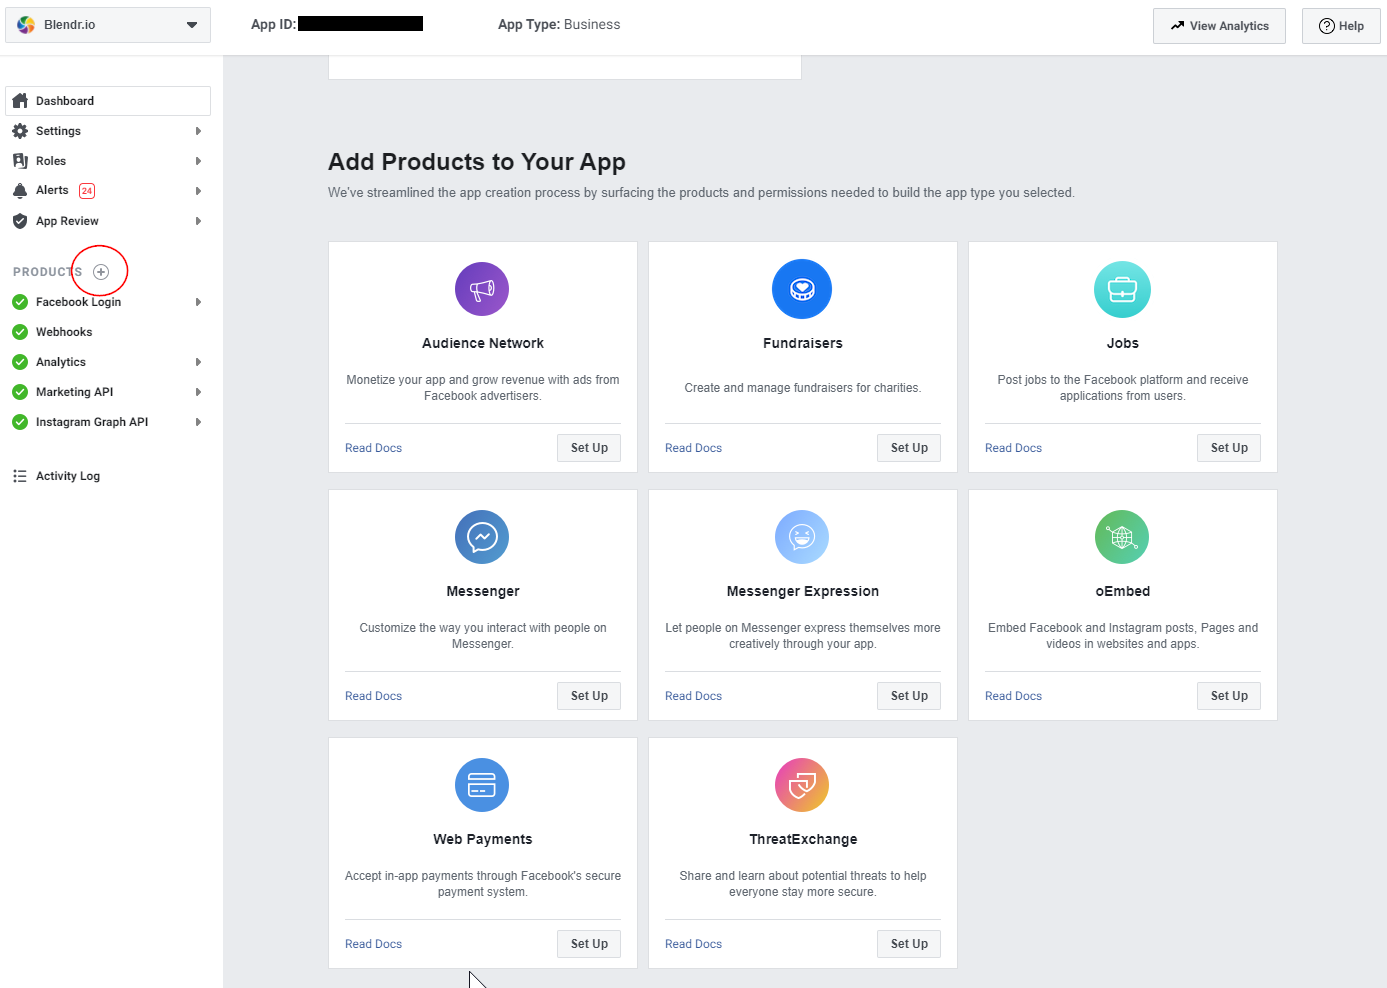
Products
The functionality of an app is divided across multiple "products". Click the icon next to Products in the left-pane menu to add additional products to your app. To useQlik Application Automation for OEM's Facebook Ads connector, for example, the Marketing API should be added to the App's products.
Adding new products.
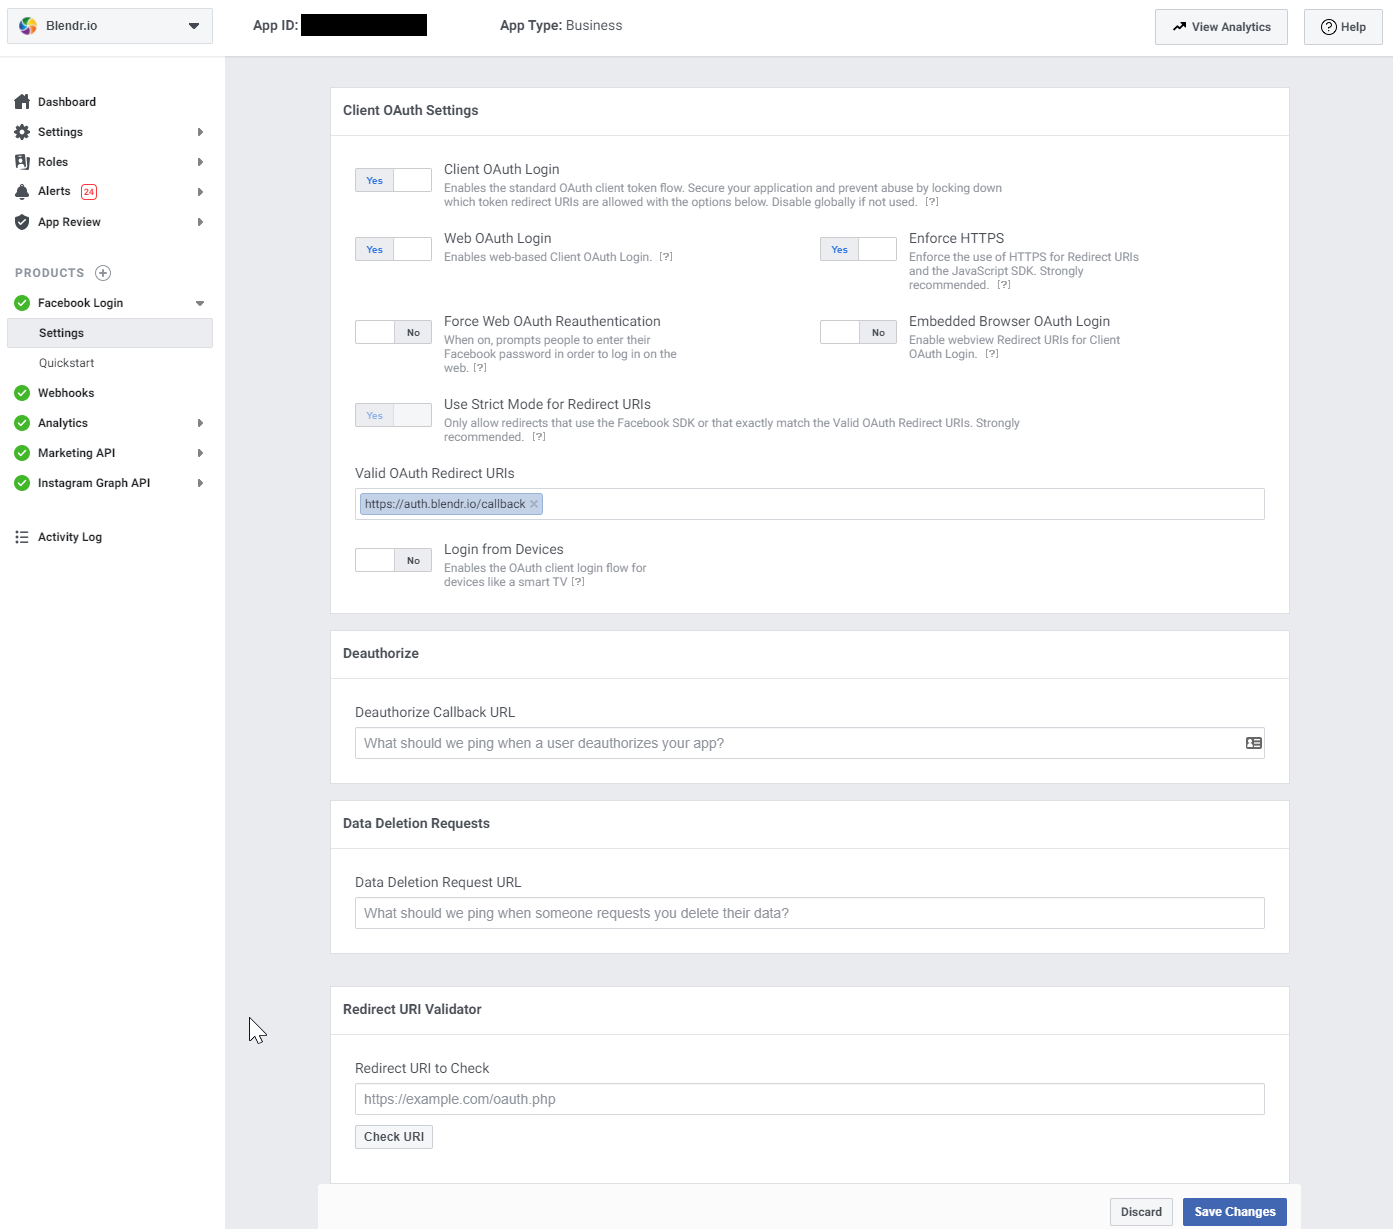
Be sure to add Facebook Login
to the App's products. This will allow users to connect to your app through an OAuth flow. Configure the Facebook Login
product under the Settings
tab.
A sample app's Settings screen.
App scopes
App scopes will regulate what your app is allowed to do once a user is connected. Each scope request will be thoroughly reviewed by Facebook and only granted if it meets their high standards. From our experience it can take up to two weeks to get feedback on a scope request, so make sure everything is filled in correctly.
To add new scopes to an app, log in to your app dashboard and go to App Review > Permissions and Features
. This page contains an overview of all scopes and allows you to request access to those scopes. After requesting a scope from this page, go to App Review > Requests
for an overview of your past and current scope approval requests. Click Edit Request
on a current request the see all requirements for the requested scopes.
The Complete App Verification page.
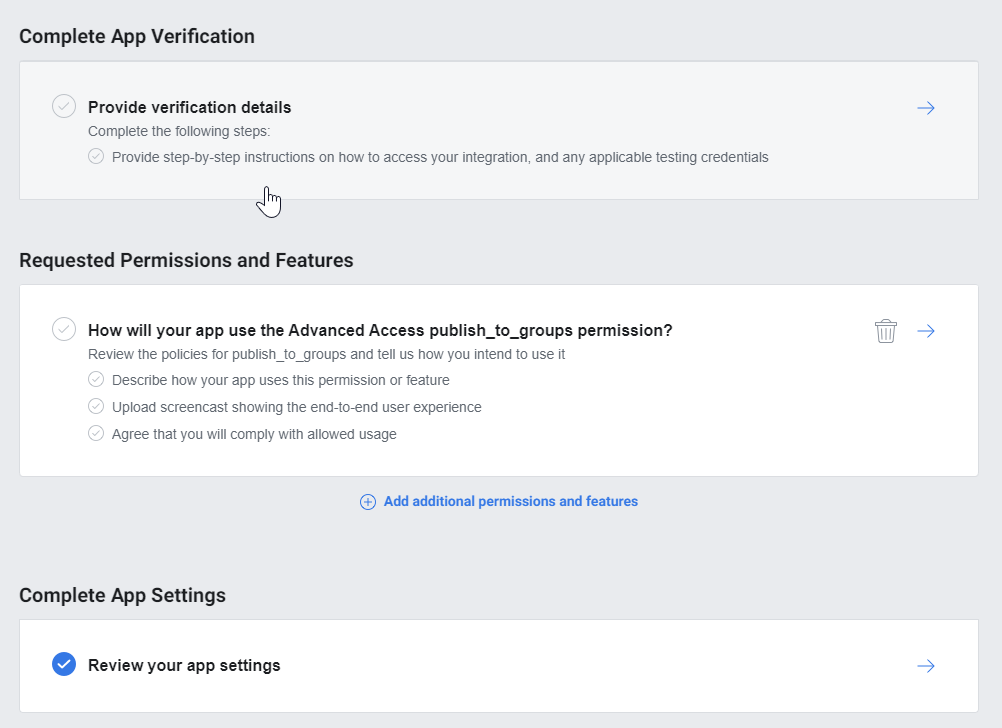
The Submit for Review
button will only be available after checking all requirements.
App credentials
The App ID and App Secret can be found under Settings > Basic
.
Adding a new page to an existing app
If a new page is created after an app is linked to a Facebook account, the app won't automatically have access to that page.
Follow these steps to give an app access to the new page.
- Log in to a Facebook account that has created the app or has at least a developer role in the app.
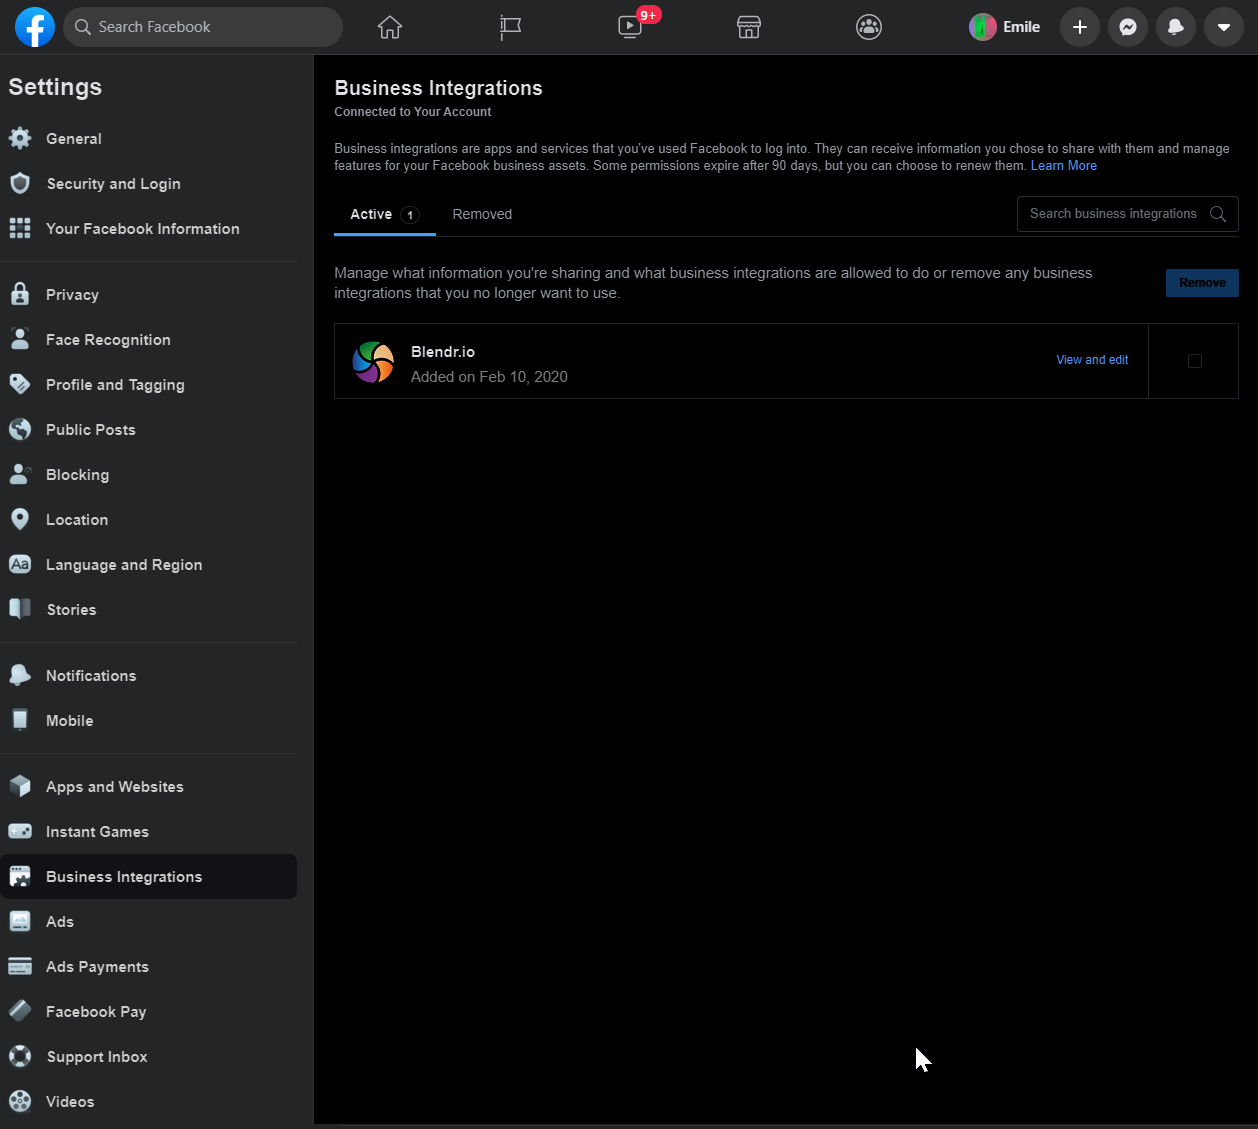
- Go to
Settings > Business integrations
- Locate your app and click
View and edit
- A popup will appear where you can manage the page access for this app. Save your changes and the app should now have access to the new page.
- If you already had a datasource that was linked to the Facebook account that's used in the above app, remove this datasource from Qlik Application Automation for OEM and reconnect.
The Facebook business integrations page.
Did this page help you?
If you find any issues with this page or its content – a typo, a missing step, or a technical error – let us know how we can improve!