
Input block
The Input block is used in an automation to request external input from a user (input forms) or from another system (e.g. in an API call).
The Input block.
An Input block is needed in following situations:
- When the automation needs input from a user.
- When an automation is executed via its REST API endpoint (Webhook URL) and it needs to receive input from the calling system.
- When an automation is called from another automation and it needs to receive input from the calling .
Please note that every block inside an automation has inputs and outputs, but these inputs and outputs are limited in scope to the current automation. The Input block is the only block that can accept
data from the outside world.
Note that an Input block should not be used for automations that are scheduled, since the automation cannot ask for user input when it is executed as part of its schedule.
Defining inputs
The inputs block can have one or more inputs. Each input has a label, help text and is from a certain type:
Example of an Input block in use.
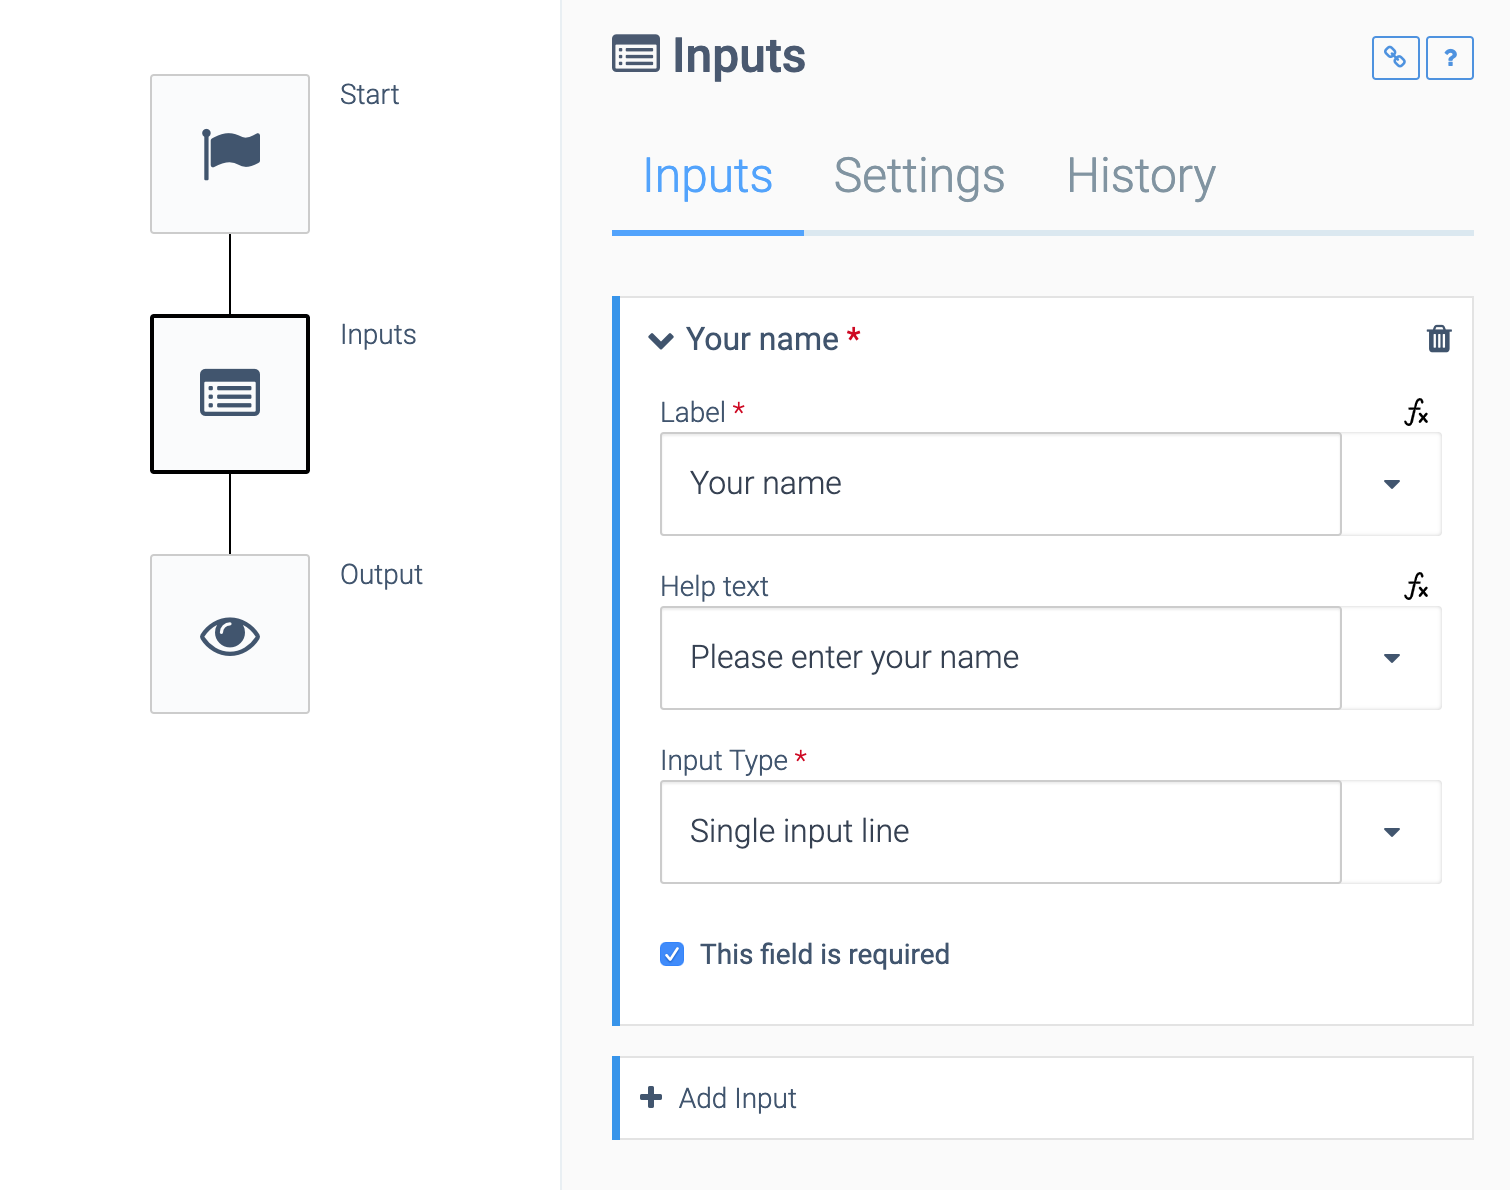
For each input you can define whether it is required or optional. The label
is the field name.
Reading (referencing) an input
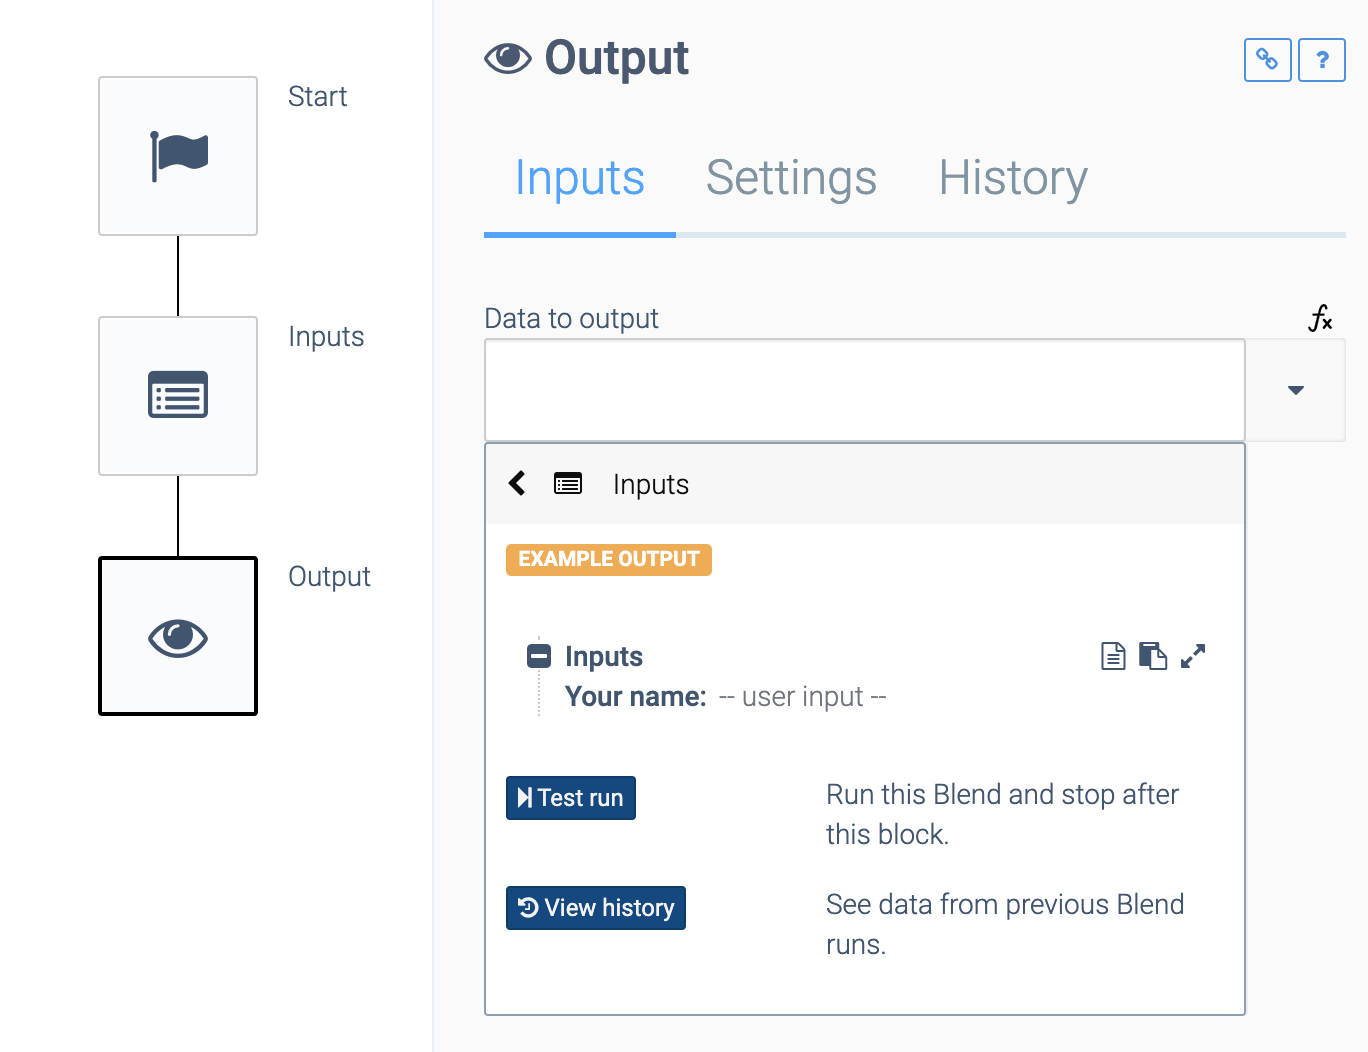
Once an input is defined, you can add a mapping to it in another block, by using the lookup
dropdown. Click inside an input field, and select the Inputs block in the dropdown:
The Data to output dropdown.
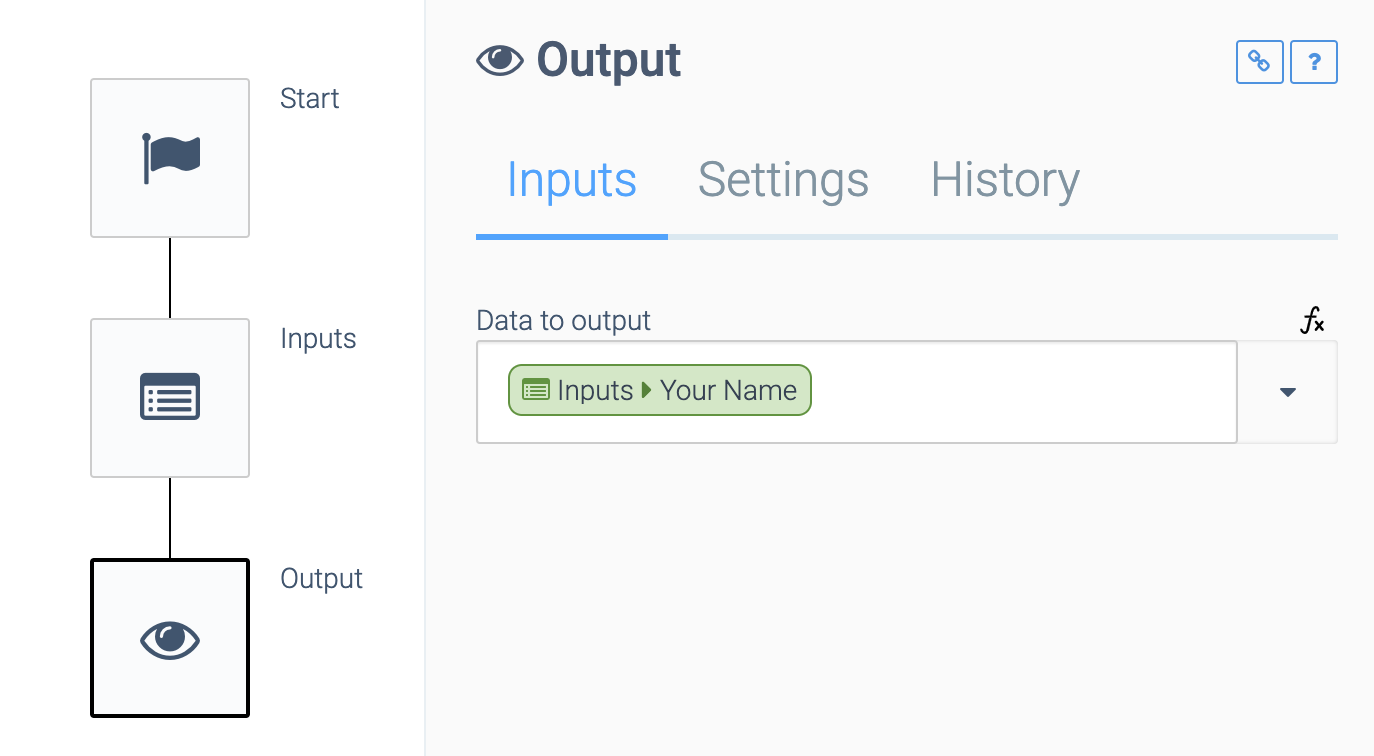
Click on one of the inputs, e.g. Your name
in the above example. This will add a field mapping to that specific input:
Outputting input.
This is the field mapping in raw view:
Outputting input, in raw code.
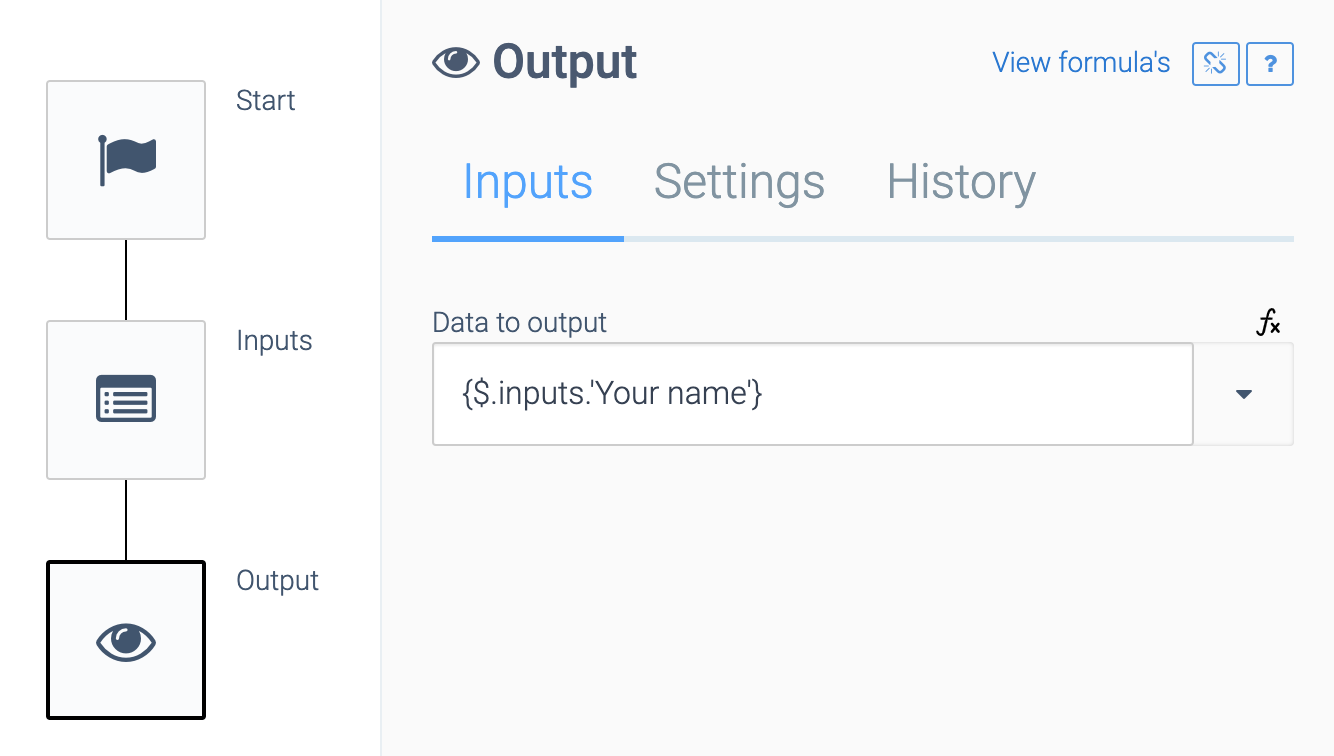
The path to an input is {$.inputs."Your name"} where inputs
is the name of the inputs block and "Your name" is the label of the input field. Note the single quotes in the path, these are only required if the label contains special characters such as spaces.
Persisting user inputs
You can define if user inputs should be persisted by opening the Settings tab of the input block:
The Persist user input dropdown.
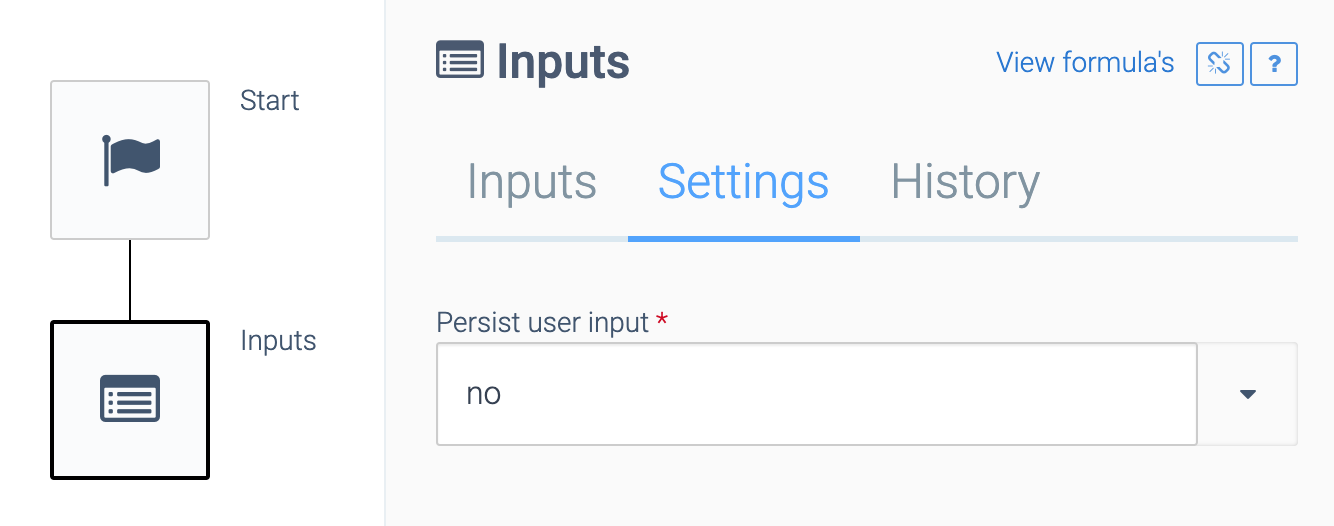
If Persist user input
is set to Yes, the inputs will be persisted (remembered) across automation runs. This is typically used in the Settings and Setup flow of an automation. Inputs are only entered once by the user, and should be remembered for each automation run.
Input types
Input type Singe input line
This input type allows the user to enter a single line of text.
Input type Multiple input line
This input type allows the user to enter multiple lines of text.
Input type Dropdown
This input allows the user to select one item from a dropdown.
Use a comma-separated list of potential values:
Setup for user selection.

The result of the Input block will be the selected option.
You can also provide a list of options, where each option has keys id
and name
. Example:
[
 { "id": "123", "name": "Banana" },
 { "id": "456", "name": "Orange" }
]
The user will see the names in the dropdown. The result of the Input block will be the id of the selected option.
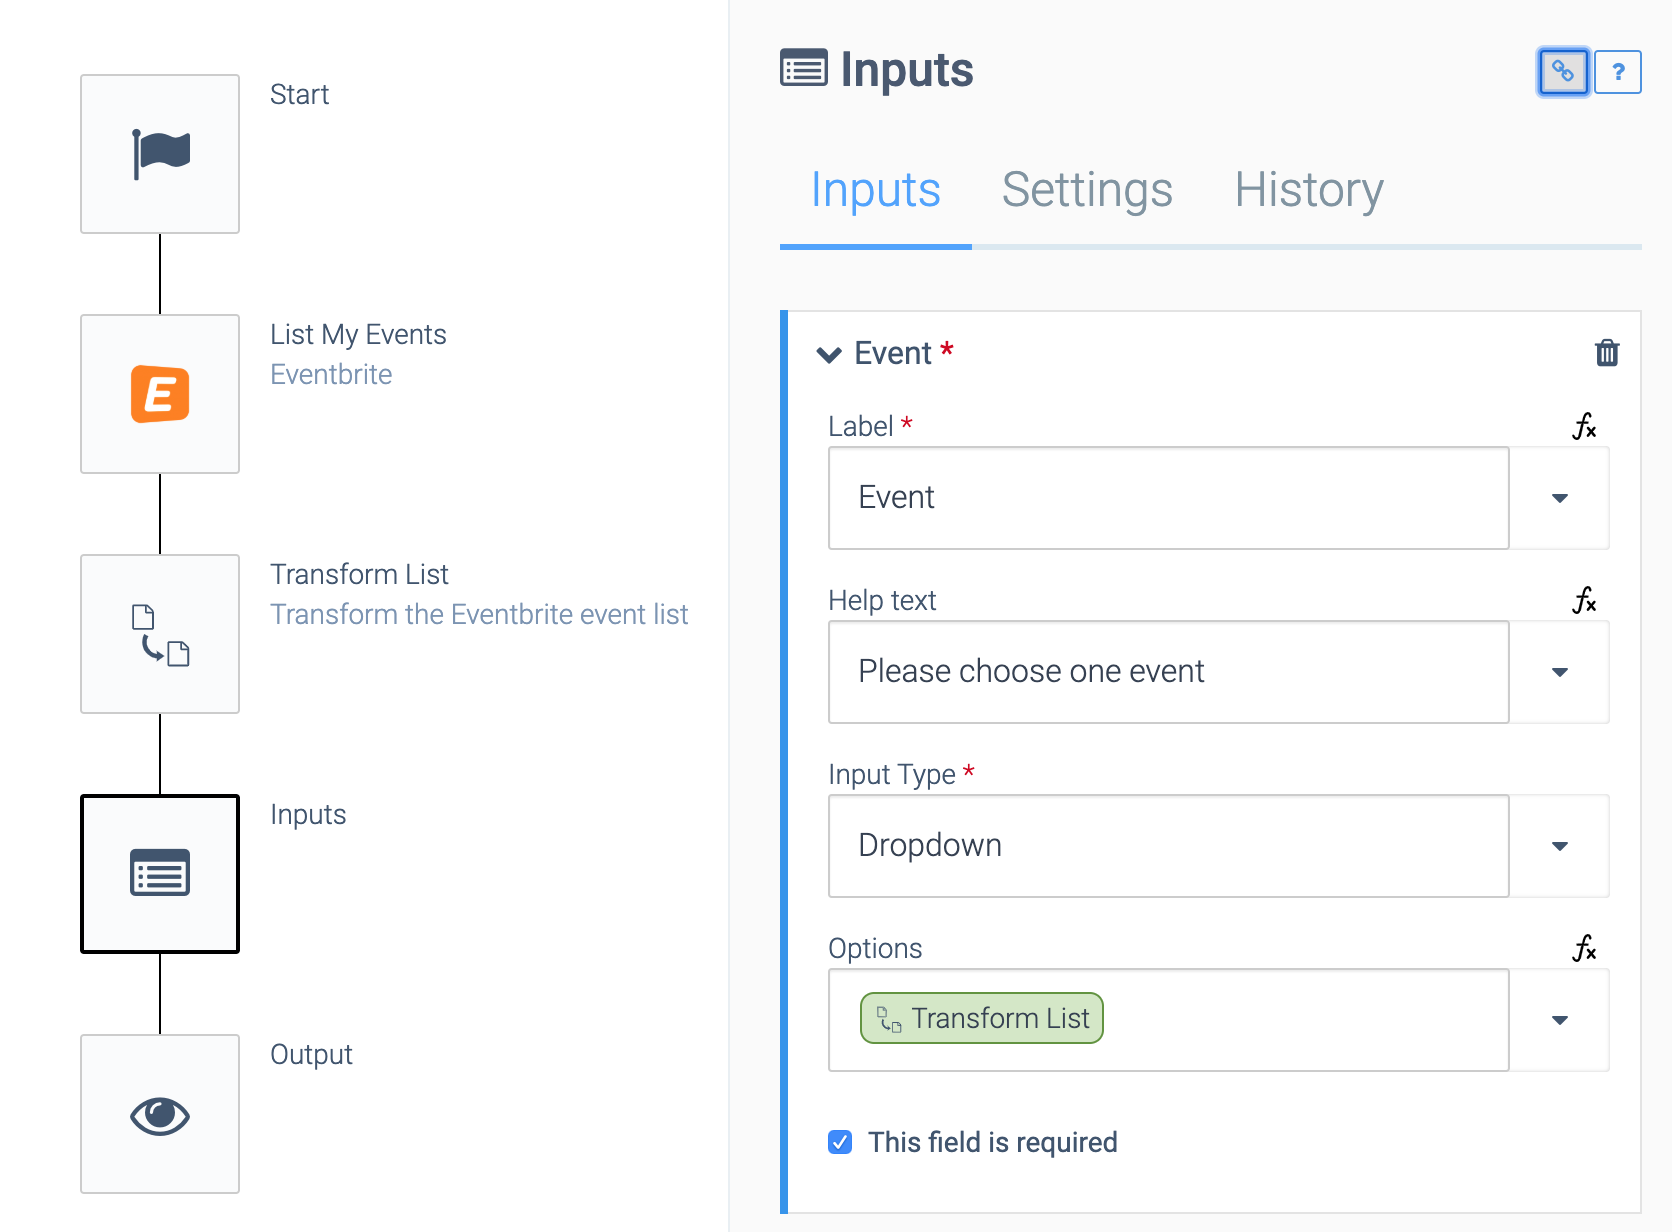
Use the Transform list
block to convert a given list to a list in the correct format. Example:
The Transform List block allows a list to be input.
The Transform list
block should output a list of objects with field id and name:
Setup for a Transform List block.
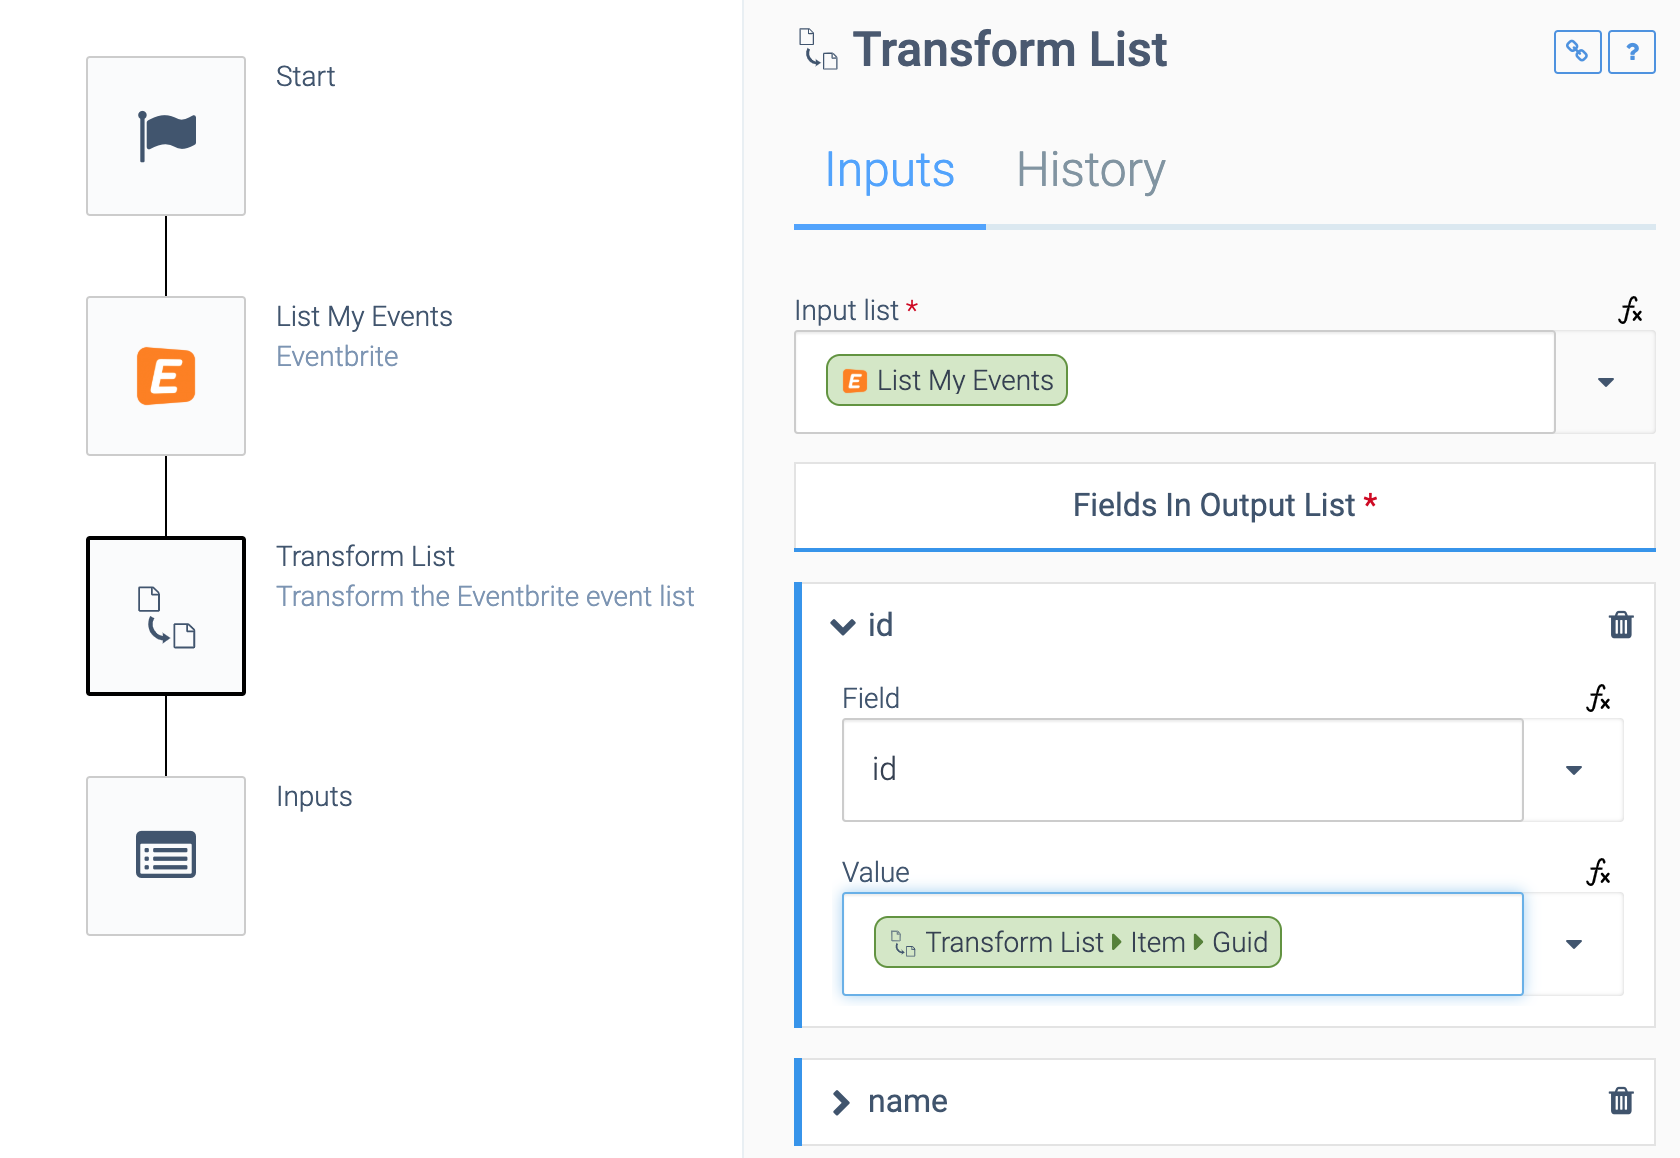
In the above example, we assumed that the Eventbrite events have a Guid and we map it to a field with key id
.
See also the help article on the Transform list block.
Input type Multi select
The input type Multi select
works in an identical manner to the input type Dropdown
. You can also provide a comma-separated list with options, or a list of objects where each object has a key id
and name
.
The user is presented with a checkbox and she can check zero or more options.
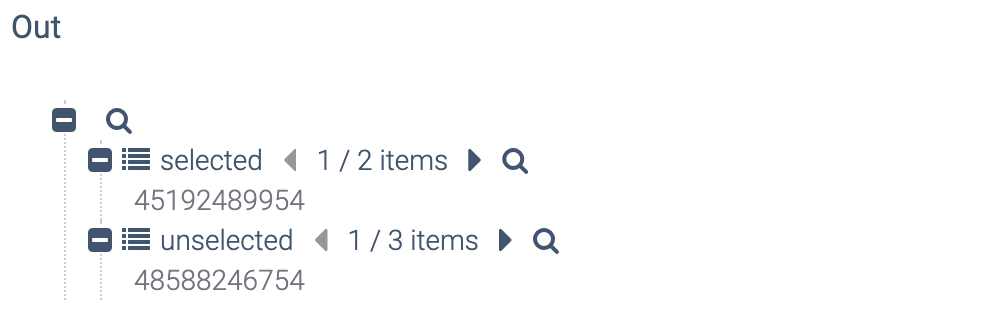
The output of the block is an object with keys selected
and unselected
. Each key holds a list (array) of the selected or unselected options. Example:
Selected and unselected options.
Input type Button
This input shows a button to the user. Add multiple inputs to show multiple buttons.
The result of the Inputs block is {button 1
: true} where button 1
is the label of the clicked button.
Input type Data
This input type is used in Triggered automations (see below) to accept any JSON structured data.
Input type KeyValues
(Object)
This input type is used to accept an object with key values. It is typically used in automations that are called by another automation (see below).
Input type Field mapping
This input type is typically used in a Setup or Settings flow to allow the user to map fields between two platforms.
See the article Dynamic Field Mapping in a Template for more details.
Define user inputs
Add an Input block to an automation to ask user input to the user. When the automation is executed (using the Run
button), an input form will be displayed to request the user input.
Define inputs for the API endpoint of an automation (Triggered automation)
Add an Input Block to an automation in case the automation will be executed using its REST API endpoint (Webhook URL) and you want to add input parameters to the URL.
The Input parameters will automatically be displayed in the example URL of the automation (go to Start block > Run mode > Triggered > Other).
The input parameters can be passed to the REST endpoint API via the querystring or as POST variables. If POST variables are using, you can post using form fields or using a JSON object in the POST body.
Make sure to add the Input block at the top of the automation, directly below the Start Block.
More info: see the article on Calling a Datan automation via a webhook URL (REST API endpoint)
Define inputs for an automation called from another automation
Add an Input Block to an automation in case the automation will be called from another automation, and the calling automation needs to pass data.
Use the block Call Data automation
in the calling automation. The Block Call Data automation
will automatically show the inputs that are defined in the automation that is being called.
Make sure to add the Input block at the top of the automation being called, directly below the Start Block.
Did this page help you?
If you find any issues with this page or its content – a typo, a missing step, or a technical error – let us know how we can improve!