Working with automation scheduling
Dernière mise à jour : 15/09/2026Automations can be run automatically on a schedule.
Creating a schedule
You can create, edit, and delete schedules from the Start block of your automation.
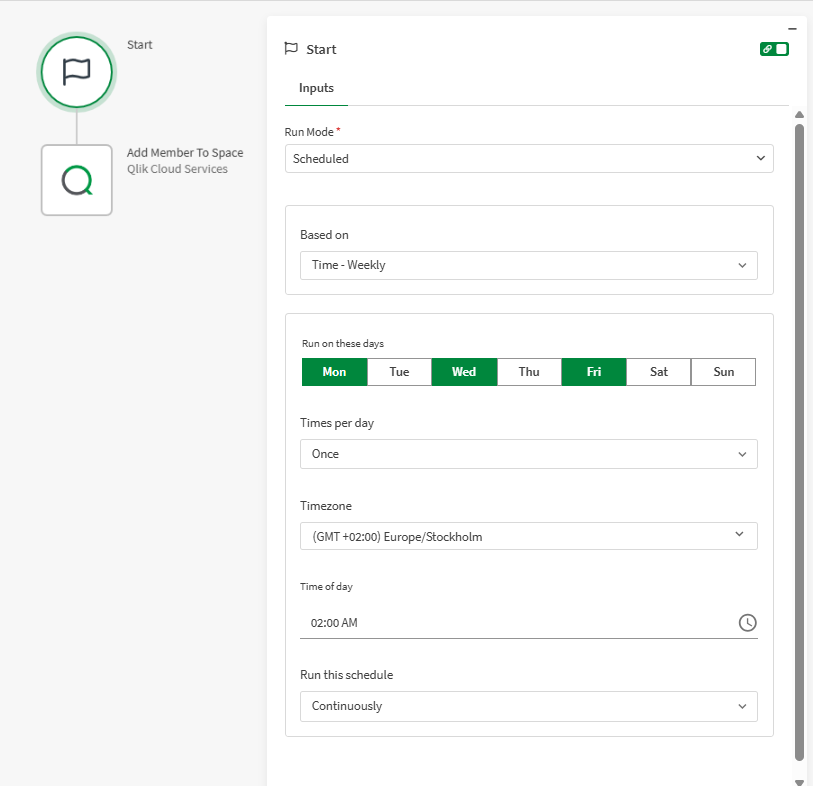
In the Start block, set Run mode to Scheduled. Other available run modes are Manual, Scheduled, Triggered, and Webhook.
When you create a schedule, configure the following:
-
Based on: Select the recurrence pattern—Per minute, Hourly, Daily, Weekly, Monthly, or Yearly.
-
Times per day: Select how often the automation runs within a day—Once, Every hour, Every 2 hours, Every 3 hours, Every 4 hours, Every 6 hours, or Every 12 hours.
-
Time of day: Choose the hour and minute for the automation to run.
-
Timezone: Select the time zone for the schedule (for example, GMT+1:00).
-
Run this schedule: Choose when the schedule is active—Continuously, From start date, Until end date, or Between start and end dates. Date input fields appear when you select an option that requires a date boundary.
Once the schedule is saved, it becomes active and appears in the automation history each time it triggers a run.
Schedule history
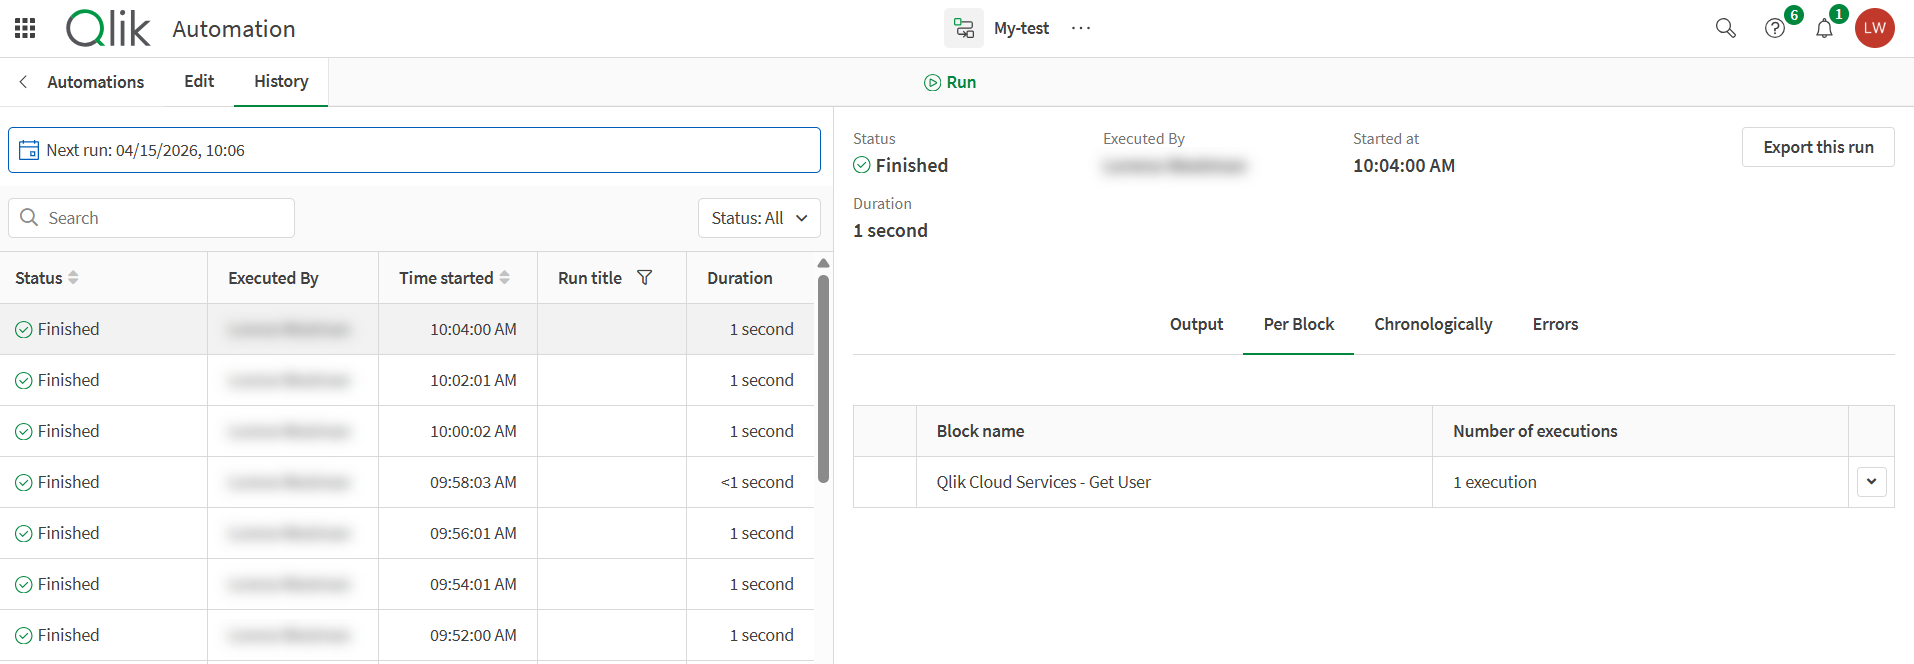
Each time the automation executes, a new entry is added to the history section. Executions that are triggered from a schedule include the schedule time, unlike a manual run which does not show any schedule time. Scheduled runs that are queued but not yet triggered are also added to the table with a status of Not started.