
Creating a report using Qlik Automate
The Qlik Reporting Service connector blocks in Qlik Automate let you quickly and easily build customized, multi-page reports based on app sheets. This topic shows you how to use each of the reporting blocks to build reports. By the end of this topic, you'll be able to generate single-page reports based on an app sheet, generate multi-page reports, and generate customized reports with different selections applied to different sheets. Reports can be generated in PDF or PowerPoint format. If your reports are distributed as PowerPoint files, they can be edited by your recipients.
You should be familiar with Qlik Automate to create a report using the Qlik Reporting Service connector blocks. For more information, see Qlik Automate.
Security
Once a report is created using an automation, you can share the document with anyone. This means you could potentially share data from an app that is not available to all users. Before creating and sending reports, make sure you understand the security implications of the app and data used to create the report.
Prerequisites
To complete this example, you need:
-
An email provider you can access.
-
Appropriate administrator-assigned permissions. Specifically, for working with automations and the Qlik Reporting Service. See:
-
Permissions in User Default and custom roles (Capacity-based subscriptions)
-
Permissions in User Default and custom roles (User-based subscriptions)
-
-
The required space roles. See Space permissions for reporting with Qlik Automate.
Generate a simple report
By the end of this section, you will be able to produce a simple report showing the sheets from an app. You generate the report manually by executing the automation. If you are using an app with more than one sheet, all sheets are included in the report. In later sections, you'll learn how to select specific sheets to customize the report.
-
Create a new automation.
-
From the block selector pane, under My Connectors, select Qlik Reporting.
-
Drag a Create Report block onto the canvas and attach it to the Start block.
-
Select the App IDfield and use the do lookup function to find the app you want to use to generate a report.
The Name field is populated with the app name. If you want the report to have a different name, enter a new name into this field.
-
Set the Sheets mode to All.
This setting creates a report that includes every sheet in the app.
-
Drag a Generate Report block onto the canvas and attach it to the Create Report block.
-
The Report field will be filled in with the report name from the previous block. Under Format mode, select PDF.
-
From the block selector pane, under My Connectors, select Mail.
-
Drag a Send Mail block onto the canvas and attach it to the end of the automation.
The Send Mail must be configured to send email. Select the Connection tab on the block configuration menu. Enter the relevant mail connection information for your email provider. For an example of how to connect using a Gmail SMTP server, see Gmail authentication.
-
Select Inputs.
-
Enter an email address in the To field.
-
Enter an email Subject and set the Type to Text.
-
Enter a message in the Body field.
-
Select Add Attachment.
In the File field, select the report name from the list.
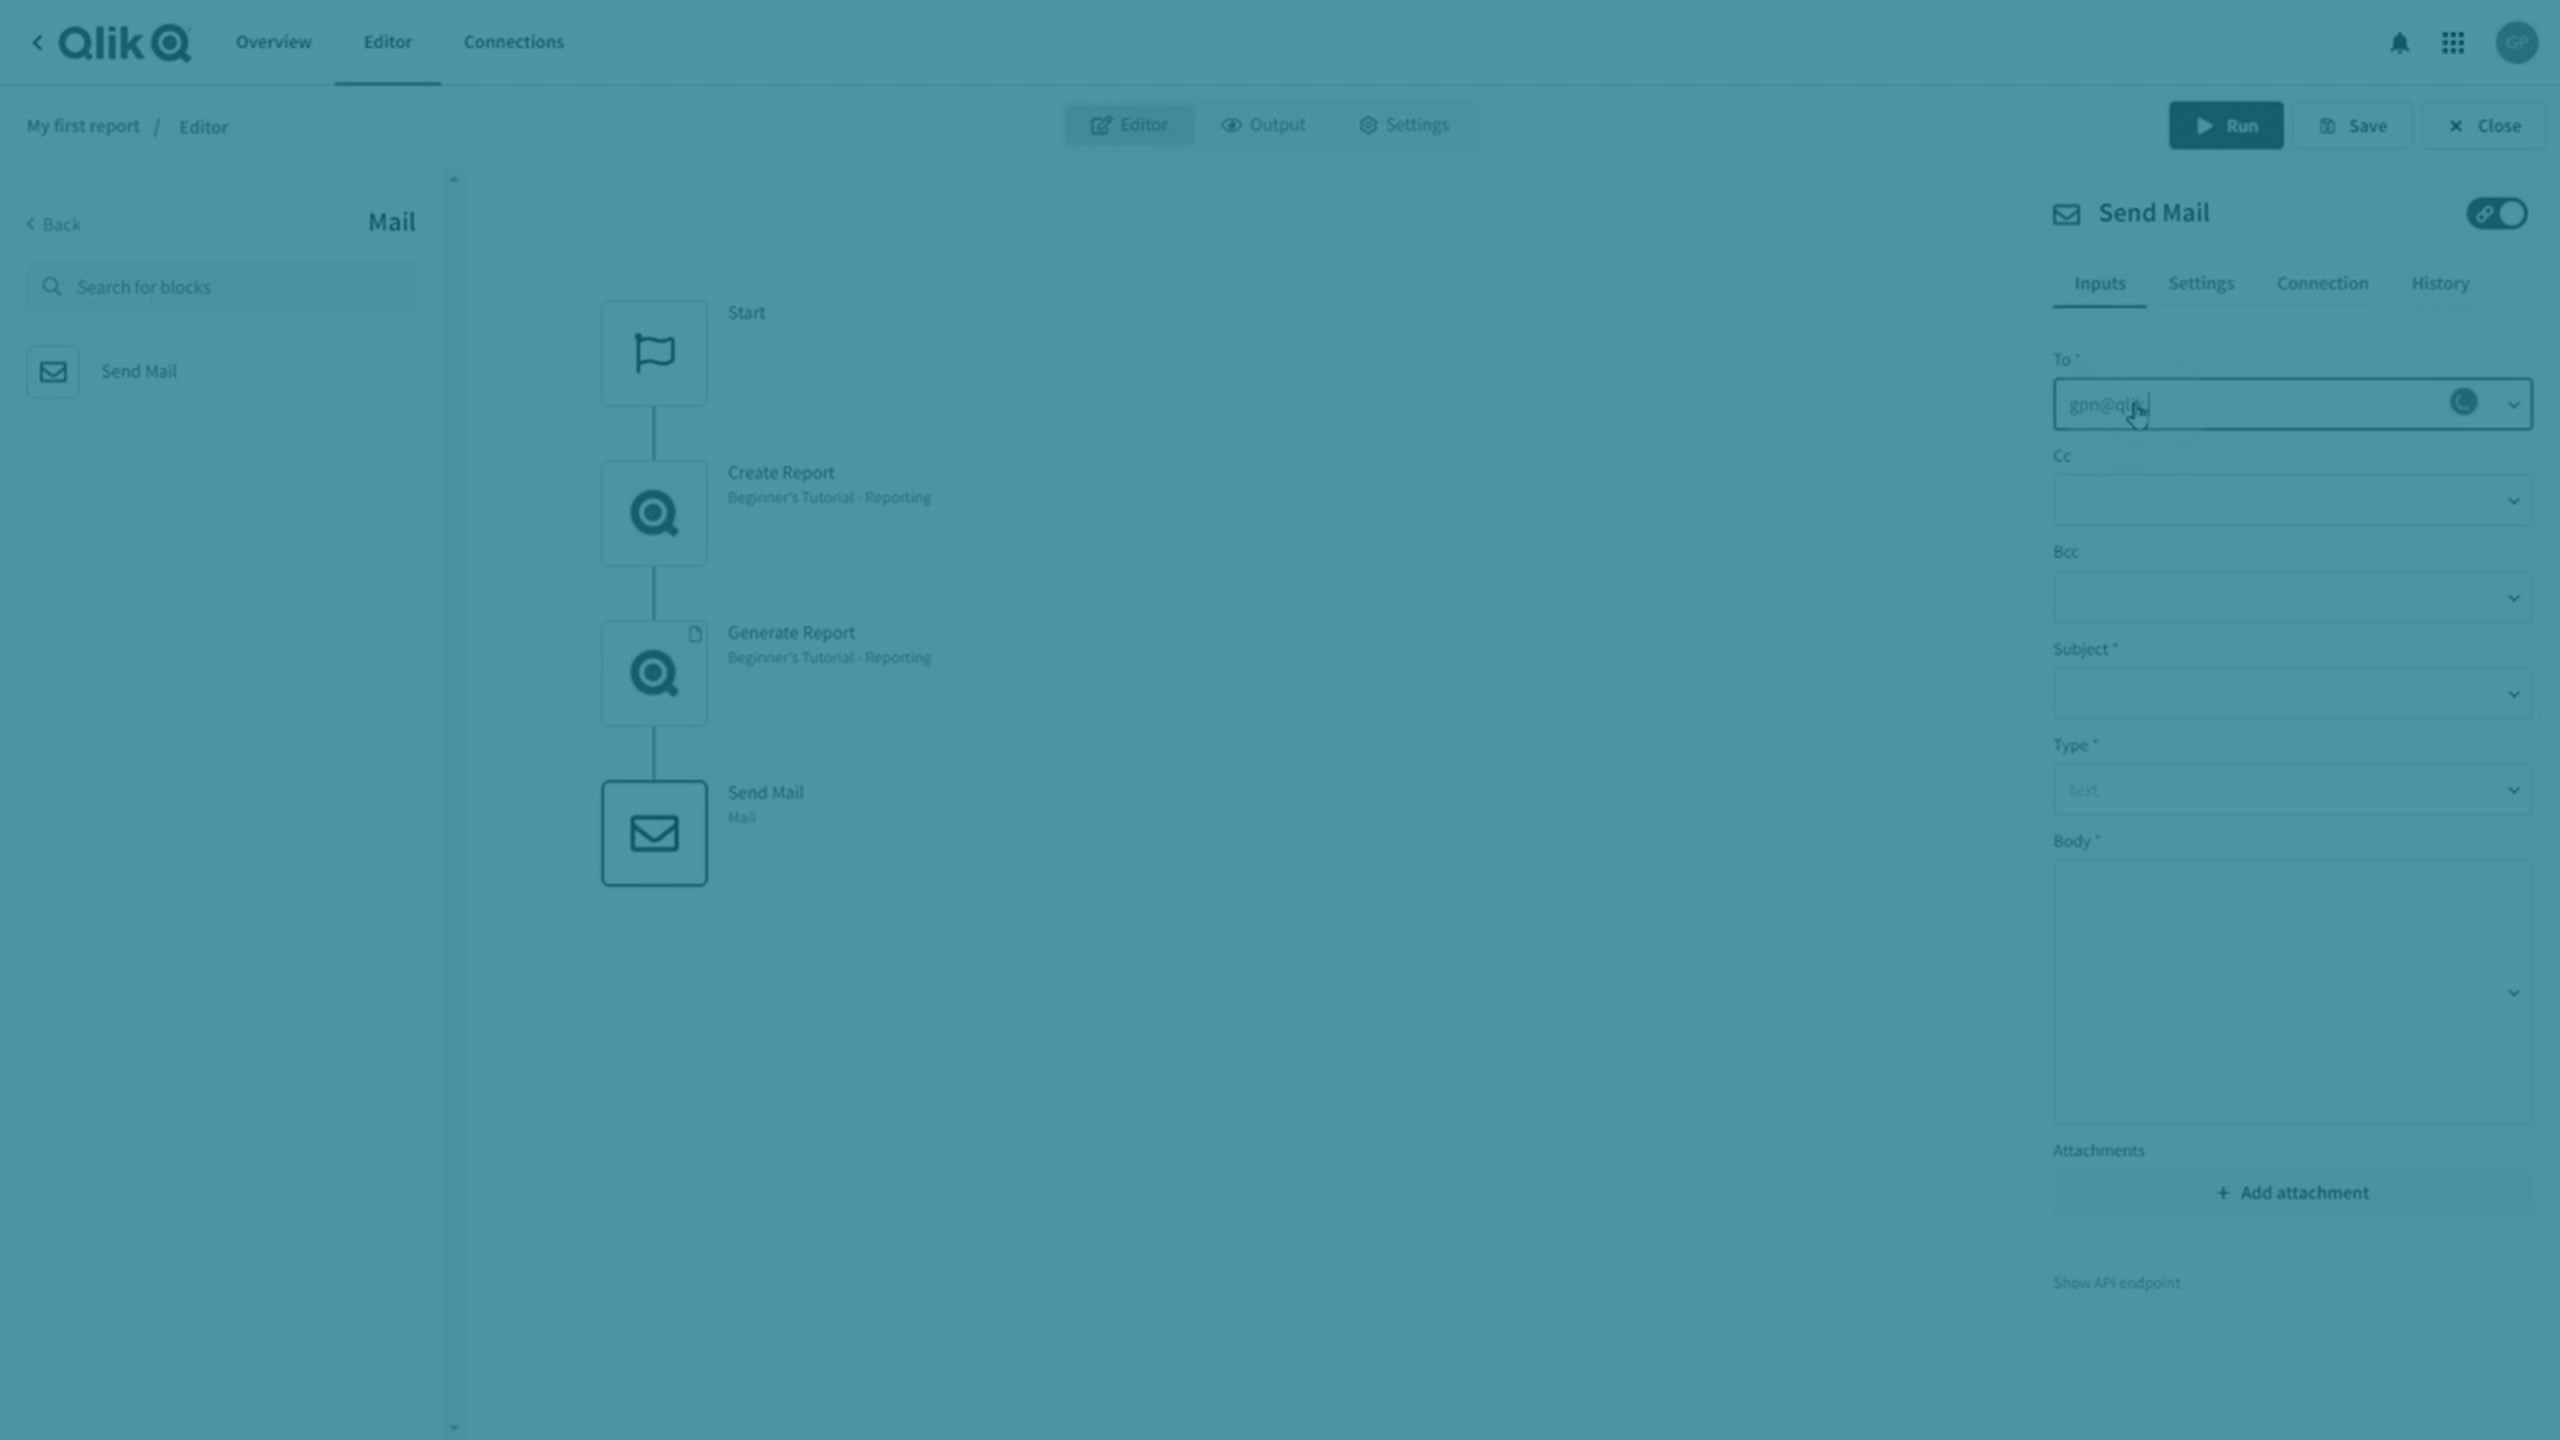
Your report automation should look like this:

-
Save the automation, then click Run.
The report is sent to your destination email address if you don't receive block errors. The most common error when using a Mail block is an SMTP configuration error. If this happens, check the connection settings for the Send Mail block and try again.
Add a selection to the report
In the previous section, you created a report based on the sheets in an app. In this section, you'll apply a selection to the entire report. All sheets are included if your app has multiple sheets, and the selection is applied across all sheets.
-
Drag an Add Selection To Report block onto the canvas and attach it below the Create Report block.
-
In the Reports field, make sure the report name appears. If not, use the drop-down menu to select it.
-
Select the Field name field and use the do lookup function to find a field for your selection.

-
Below the Values section, click Add value, then use the do lookup function to select a value to use for your selection. The values shown are those linked to the field you selected.
 Tip note
If your app has alternate states, you can use the do lookup function in the State field to apply an alternate state selection to the report.
-
Once your Add Selections To Report block is configured, save the automation.
-
Click Run to send the report with selections applied to the report.
Customize the report
In the previous section, you applied a selection to the entire report. A common reporting use case is to build a report containing selections applied to the sheet rather than the entire report. This lets you customize each page to meet your business use case. In this example, you will add the same sheet twice but apply different selections. This creates a report that can be used to compare the same chart for different field values. The same steps apply when you want to add different sheets to your report.
-
Working with the same automation you created above, drag all of the blocks below Create Report block to one side of the canvas.
-
Add two Add Sheet To Report and two Add Selection To Report blocks to the canvas.
-
Attach them below the Create Report block so that the sequence is to add a sheet, make a sheet select, add another sheet, make another sheet selection. Your automation should look like this:
 Information note
The Add Selection To Sheet block applies a selection to a sheet that is added with a Add Sheet To Report block. This means that for every sheet, you must add a unique block to apply selections. If you don't have this then no selections are applied.
-
In this example, you want to add the same sheet twice. For each Add Sheet To Report block, use the do lookup function to select the same sheet from the app for both blocks. The Report field is automatically filled in with the report name.
-
For each Add Selection To Sheet block, add different field values to each sheet. The selections apply to the Add Sheet To Report block that precedes it.
-
Re-add the Generate Report block and Send Mail block to the end of the automation. There is no need to reconfigure these two blocks.
-
Save the automation and click Run. You'll receive a two-page report of the same sheet with different selections applied to each page.
Automation trigger options
In this topic, you triggered the report manually from the automation editor. In most cases, you will want to set up the report on a schedule, or to trigger the report through a webhook or in-app trigger. Create a custom report using the examples from above, then follow one of the topics below to change how the report is triggered.
- To learn about the different ways you can trigger an automation, see working with run modes.
- For an example of how to trigger automations from a button in your app, see the active intelligence tutorial.
- To learn how webhook triggers work, like to execute an automation when an app is reloaded, see working with webhooks.
Limitations
To learn more about the limitations and specifications for Qlik Automate reports, see Qlik Reporting Service specifications and limitations.