Defining address mapping and setting advanced parameters
Procedure
In the Input Mapping table:
Use the [+] button to add lines
in the table.
Click in the Address Field column
and select from the predefined list the fields that hold the input
address, Address in this
example.
The component will map the values of these fields to the input
columns you set in this table.
tBatchAddressRowCloud provides a
list of individual fields because some countries have more complex
addressing structures than others.
Click in the Input Column column
and select from the list of the input schema the columns that hold
the input address you want to parse, Address1 in this example.
If required, select the Use Additional
Output check box and define in the table what extra address
fields you want to retrieve from the provider repository and add to the
parsing results. For an example on how to use this table, check Defining additional address fields.
The Address field column holds predefined
address fields which vary according to the provider you select. The
Output Column column holds the fields
you want to use to output the extra information. You must first add these
additional columns to the component schema through the Edit Schema button.
Click the Advanced settings tab and set the
parameters in this view according to your needs.
In this example:
Select the Use mockup mode (no credit
consumption) check box.
This check box enables you to simulate execution and
responses from the Loqate server by using as input a batch file that has
been already processed by the Job and saved on the server.
Log in to Loqate and access the Loqate server to fetch
the identifier of the batch file you want to use as output in your
Job.
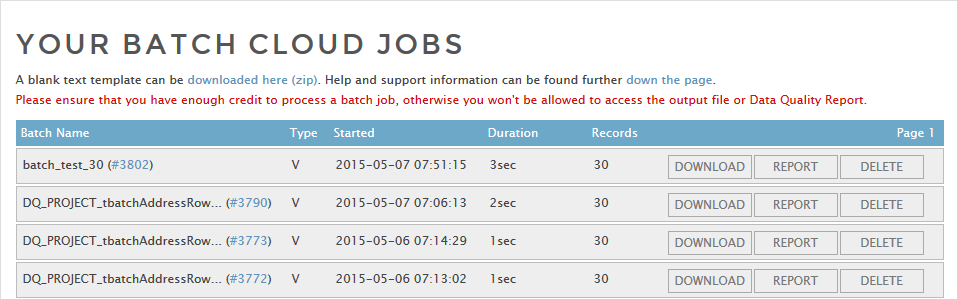
Set the identifier in the Batch ID
field.
This option is used only for testing or for development needs.
Leave all other default parameters as they are.
Did this page help you?
If you find any issues with this page or its content – a typo, a missing step, or a technical error – please let us know!