Advanced options for editing sheets
The advanced edit mode available through Advanced options has some different options than the standard sheet edit mode.
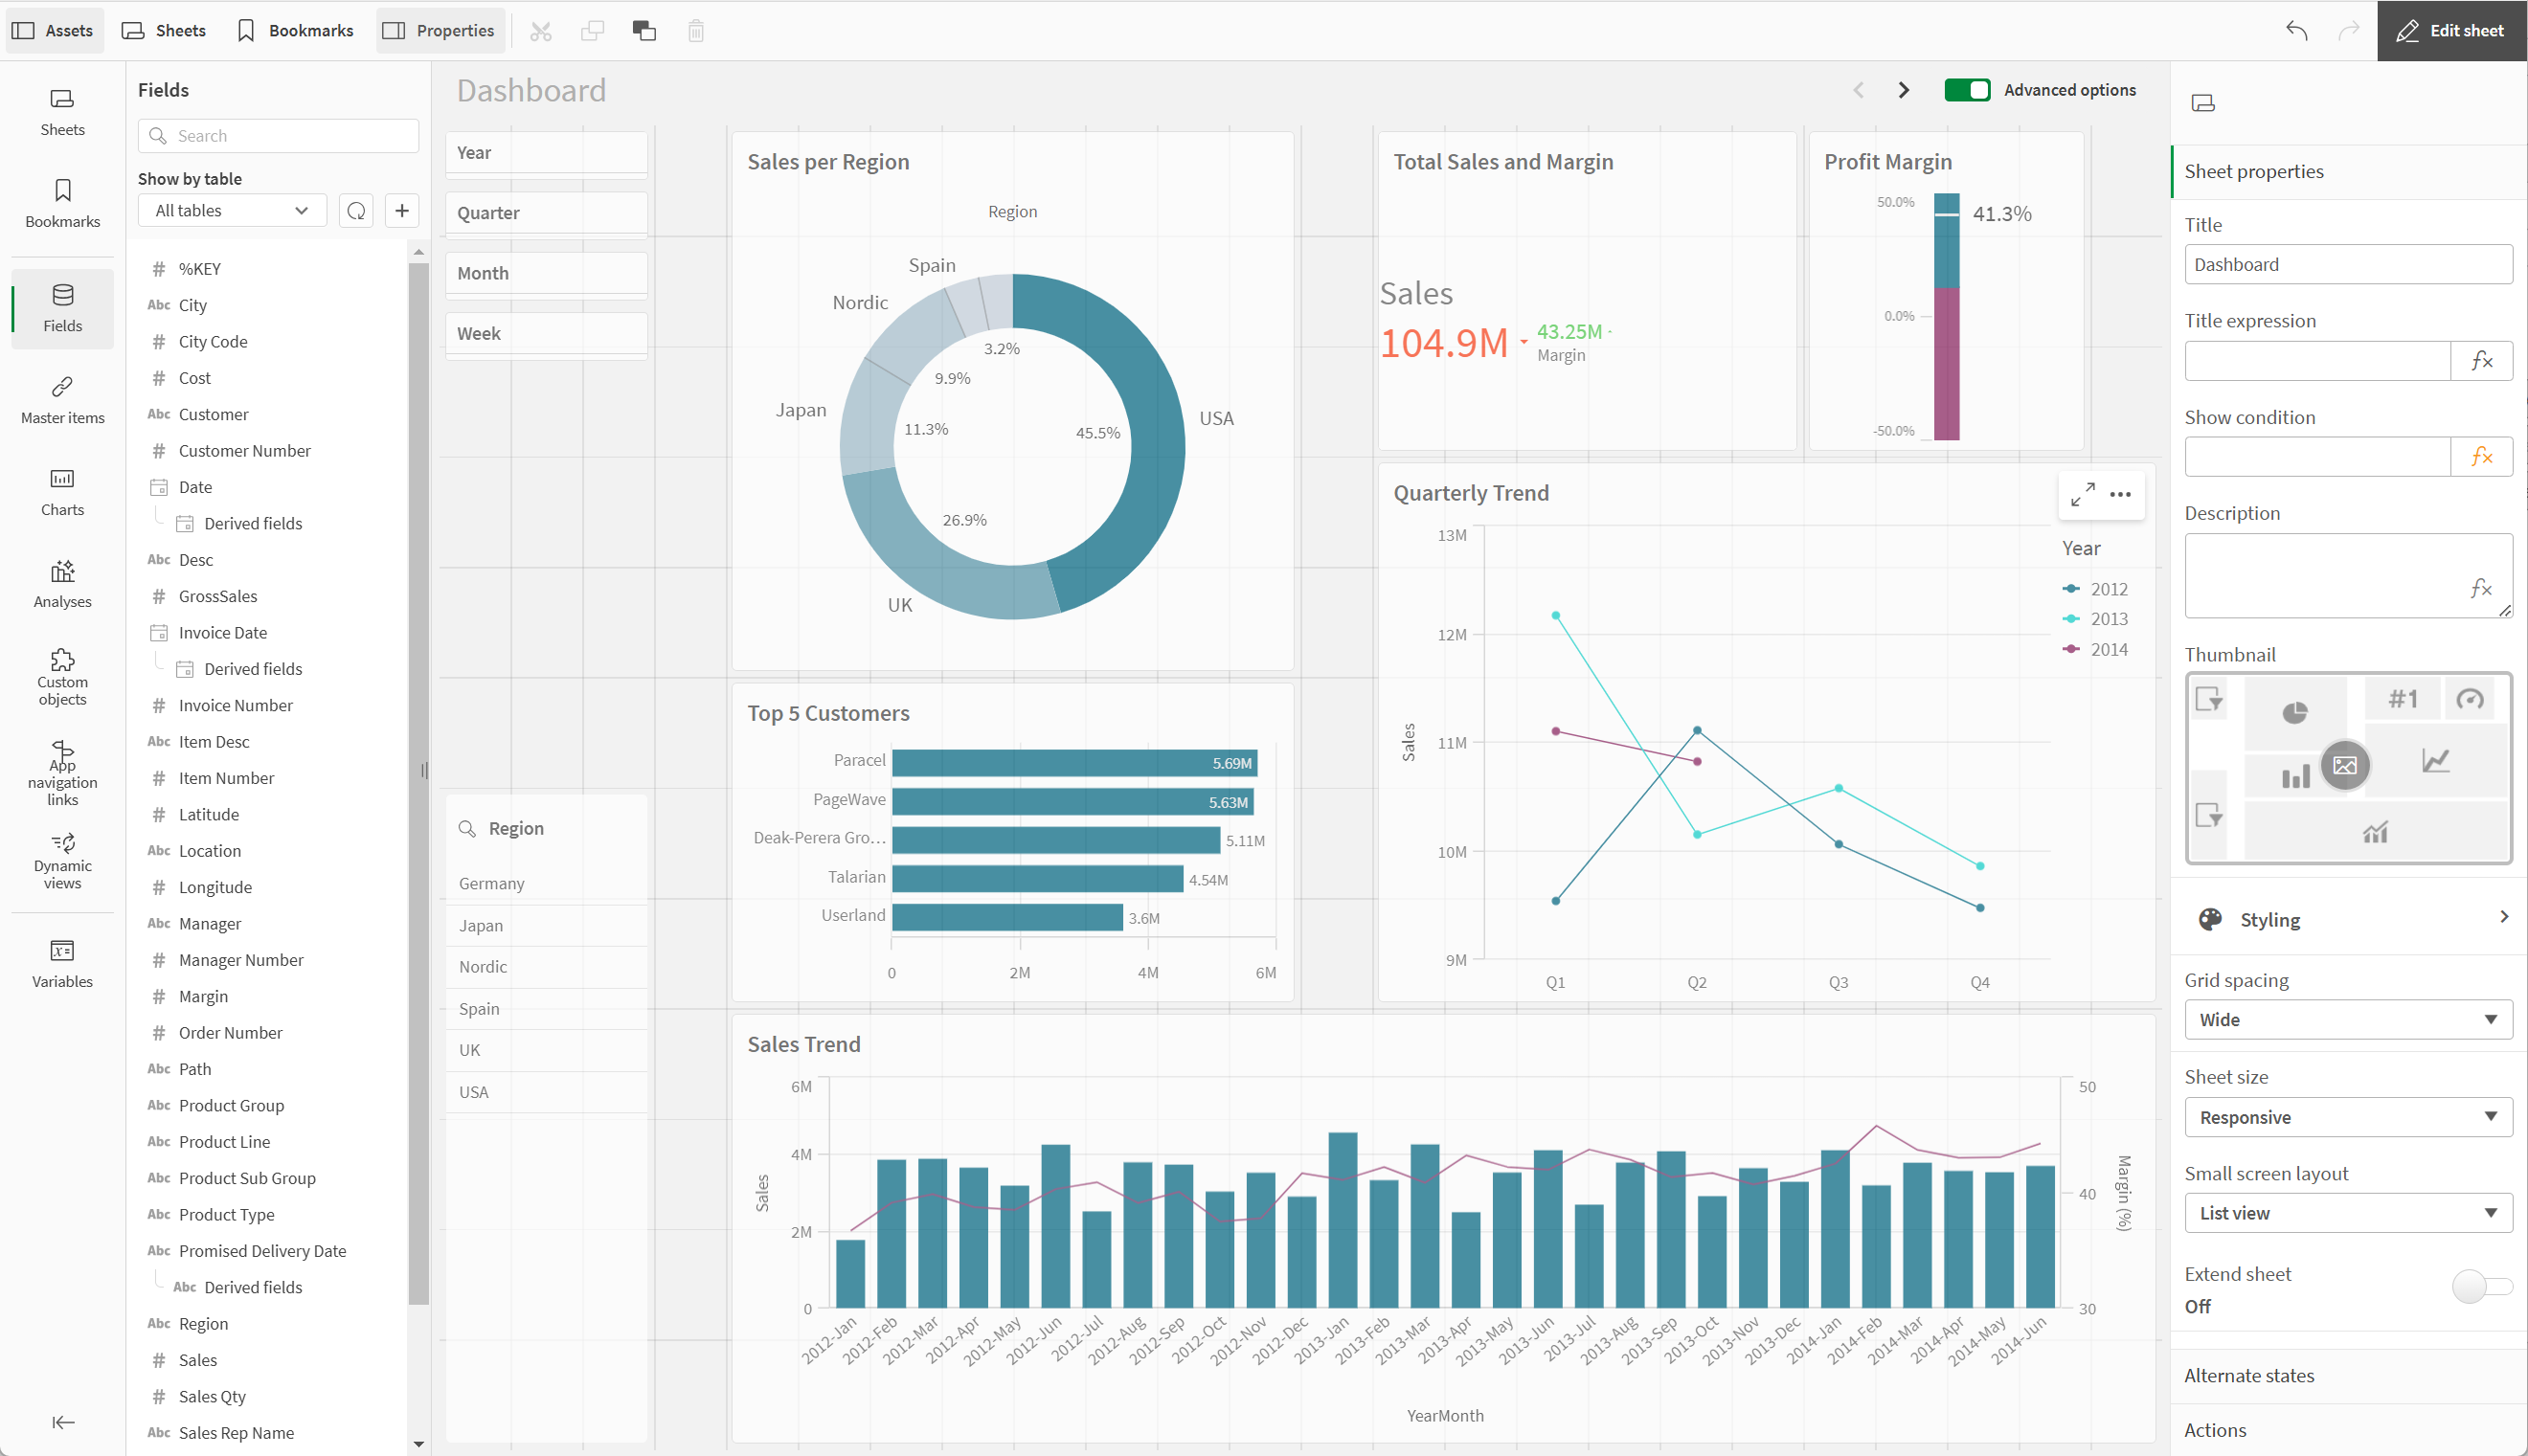
Unlike standard options, the advanced edit mode offers a grid on which you can drag and drop visualizations and extensions. You can then resize the visualizations to fit the preferred number of grid squares. The advanced edit mode also supports touch-only devices, unlike standard mode.
Visualizations and other assets are added to the sheet by dragging and dropping them from the assets panel. They can then be configured with options from the properties panel.
Sheet view in advanced edit mode

For more information on the advanced edit mode, see Working with advanced options.
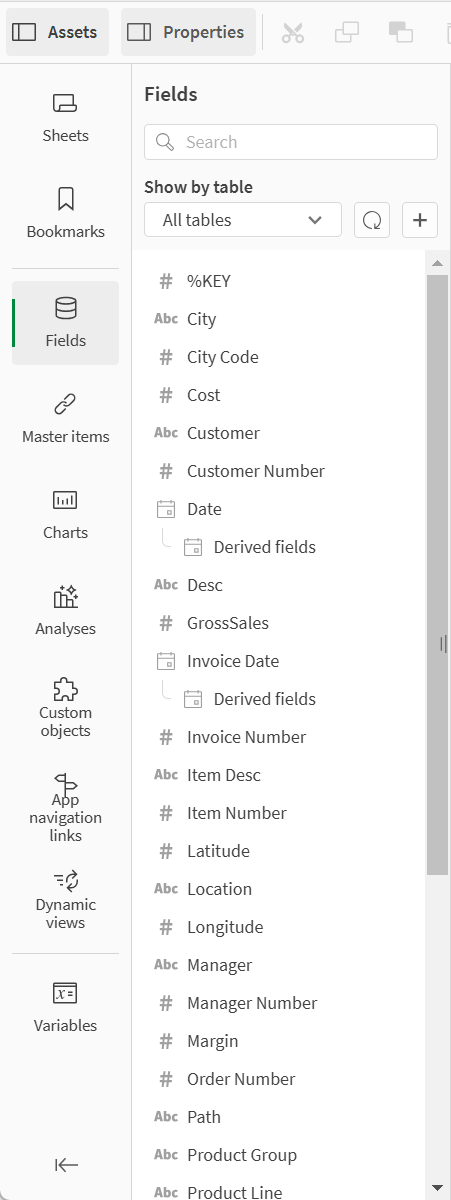
Assets panel
Add assets to your sheet or visualization using the assets panel. You can also change sheets or view and apply bookmarks to your sheet.
Click Assets in the toolbar of a sheet to open the assets panel.
Assets panel in advanced sheet edit mode

All assets may not be available, depending on your Qlik Sense configuration.
Sheets
Sheets contains all sheets available to you in an app. Click Create new sheet to add another sheet to the app.
See: Working with sheets
Bookmarks
Bookmarks contains all bookmarks available to you in an app. Click Create new bookmark to add another bookmark the app.
Fields
Fields represent the data that is available in your app. Drag a field onto a sheet to create visualizations with chart suggestions. Drag a field onto a visualization to add the field to a visualization.
Additionally, right-click on fields to do the following:
-
Create a new master dimension. See: Creating a master dimension from a field
-
Create a new master measure. See: Creating a master measure from a field
-
Create a calendar measure. See: Create calendar measures
-
View field settings. See: Always one selected value
Depending on your permissions in the space that the app is in, you can reload app data and add new data from Assets. Reload app data from Assets by clicking . Add additional data sources to the app by clicking
and selecting Data catalog or Files and other sources.
Date and time
All date fields are marked with and can be expanded to use date and time attributes of the field. Date and time attributes are created automatically when you use the Data manager. If you used the data load script to load data, you need to create the date and time attributes using derived fields.
See: Date & time fields
Map data
All fields recognized as geopoints in map visualizations are marked with .
See: Loading your own map data
Master items
Create dimensions, measures, and visualizations as master items that can be re-used in your app.
See:
Charts
Drag charts onto your sheet to create visualizations.
See: Get started with visualizations
Custom objects
Enhance your apps with custom-designed visualizations.
See: Creating a visualization using a custom object
App navigation links
Build on-demand apps using app navigation links. On-demand apps load a subset of the data that is loaded in aggregate form by a selection app.
See: Building an on-demand app
Dynamic views
Create dynamic views to query and view relevant subsets of large data sets in charts that can be dynamically refreshed as selections are made.
See: Managing data with dynamic views
Variables
Click to open the variables dialog.
See: Variables dialog
Search
Find assets using the search field. As you start to type in the search field, all items that have a name or a tag that contains the search string, are presented.
See: Searching in the assets panel
Properties panel
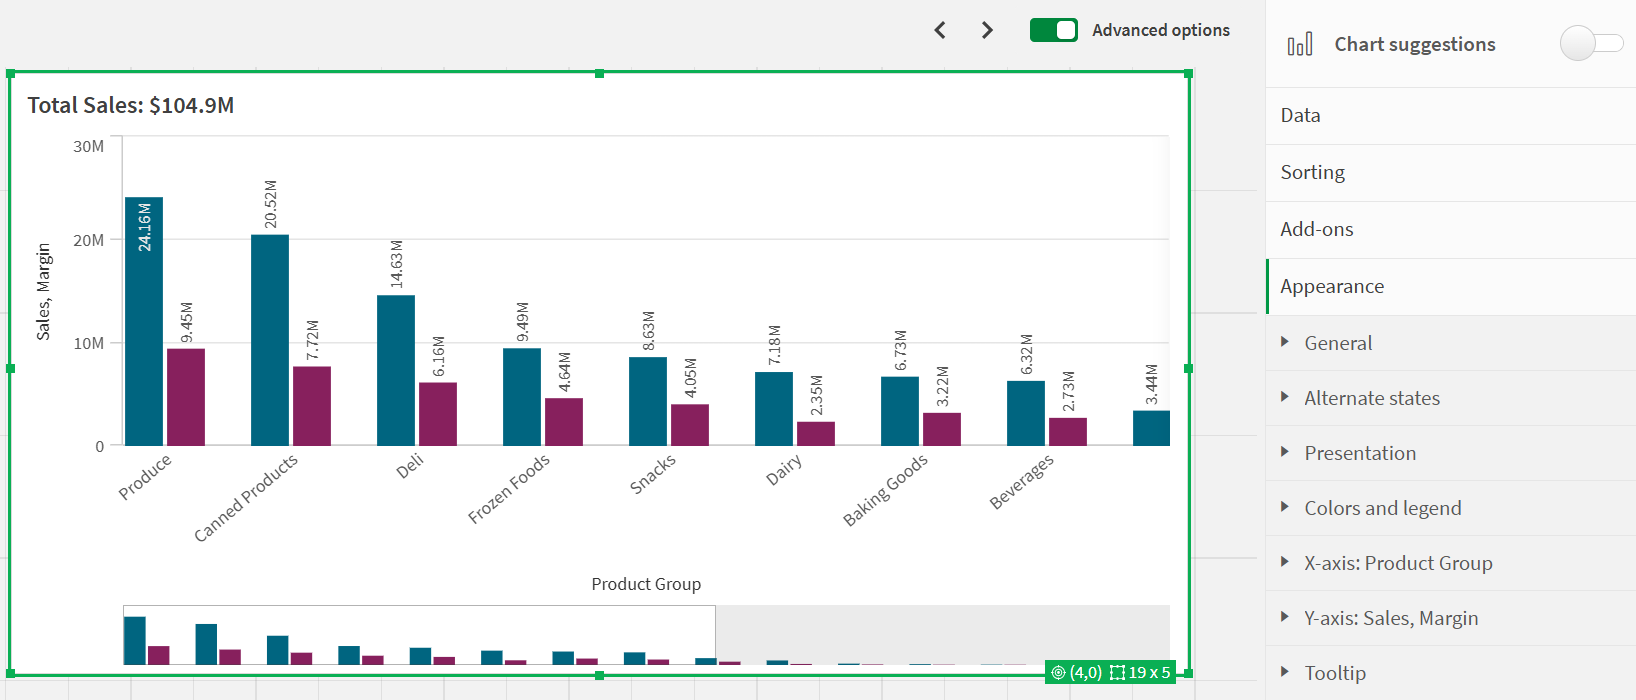
Configure properties for a sheet or visualization in the properties panel.
Click Properties in the toolbar of a sheet to open the properties panel. You have to be in edit mode.
Click on the sheet to view the properties for the sheet. Click on a visualization to view the properties for the visualization.
Properties panel with a visualization selected

For sheets you can:
- Edit sheet title and description
- Add a thumbnail for a sheet
-
Add a background color or image to a sheet
- Change the grid spacing, sheet size, and layout
- Apply alternate states to the sheet
- Add actions triggered when users navigate to the sheet
Depending on the visualization that you are editing, you have different options. Typically, you can do the following:
- Add dimensions and measures and specify how they are displayed
- Set the sorting order and sorting criteria
- Change the way the visualization appears
- Configure custom tooltips
