Skip to main content Skip to complementary content

Communicating with local MCP server using OpenAI

About this task

This scenario will show you how to use the cLangChainMCPClient component to send request to and receive response from the local MCP server using OpenAI.

To execute this use case, you need to install Node.js and npm, and deploy an MCP server on your system.

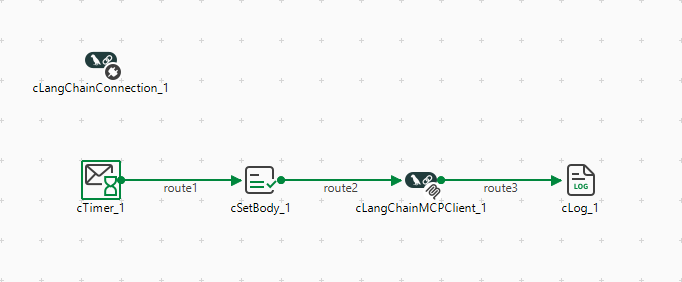
Dropping and linking the components

Procedure

  1. From the Palette, drag and drop a cLangChainConnection, a cTimer, a cSetBody, a cLangChainMCPClient, and a cLog components onto the design workspace.
  2. Link the components with the Row > Route connection as shown below.

Configuring the components

Procedure

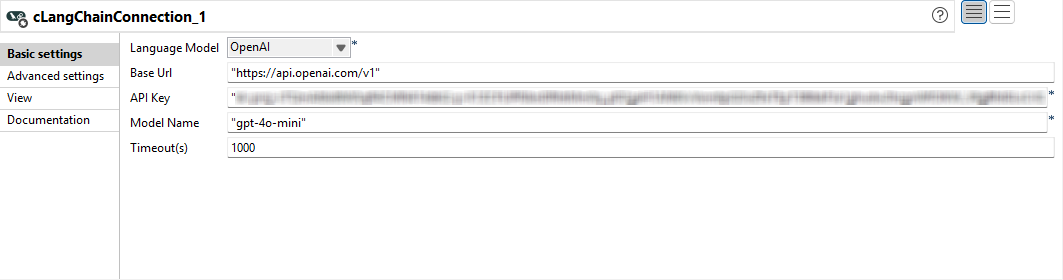
  1. Double-click the cLangChainConnection component to display its Basic settings view in the Component tab.
  2. From the Language Model list, select OpenAI.
    In the Base URL field, enter the address of the API server, "https://api.openai.com/v1".
    In the API Key field, enter your API Key to access OpenAI.
    In the Model Name field, enter the name of the model to be used, "gpt-4o-mini" in this use case.
    In the Timeout(s) field, enter 1000 for the component to establish a connection to the language model.
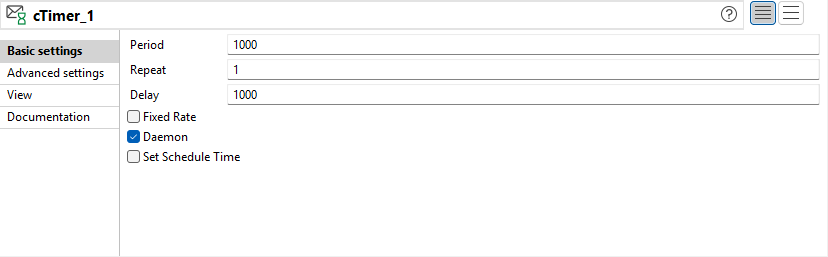
  3. Double-click the cTimer component to open its Basic settings view in the Component tab.
  4. In the Repeat field, enter 1 to generate a message exchange. Keep the default settings of the other options.
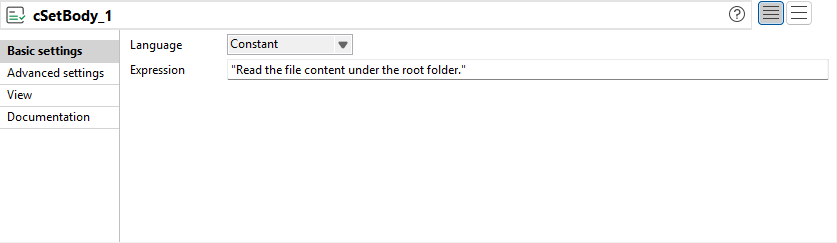
  5. Double-click the cSetBody component to open its Basic settings view in the Component tab.
  6. Select Constant from the Language list box and type in "Read the file content under the root folder." in the Expression field as the message body.
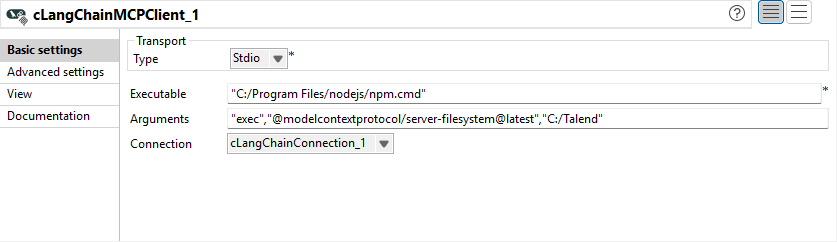
  7. Double-click the cLangChainMCPClient component to display its Basic settings view in the Component tab.
  8. In the Type list, select Stdio.
    In the Executable field, enter the path to npm.cmd.
    In the Arguments field, enter "exec","@modelcontextprotocol/server-filesystem@latest","C:/Talend" to implement filesystem operations in the C:/Talend folder.
    In the Connection list, select the cLangChainConnection_1 component to connect to OpenAI.
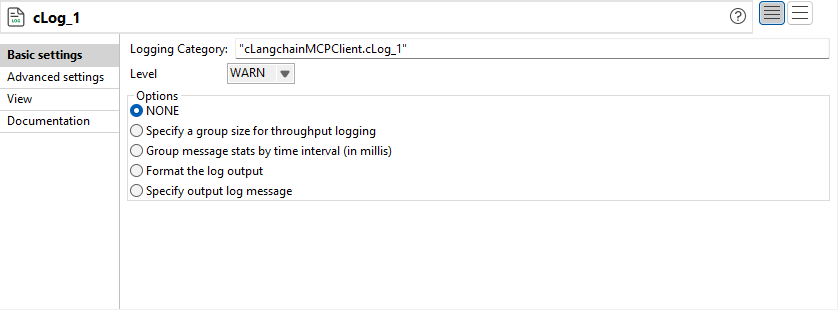
  9. Double-click the cLog component to display its Basic settings view in the Component tab.
  10. Press Ctrl+S to save your Route.

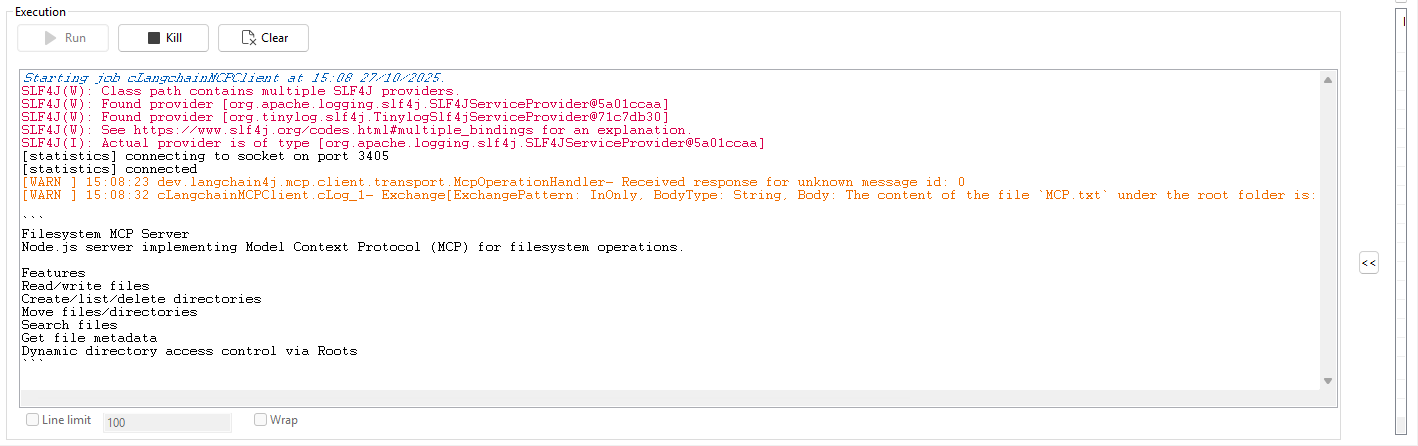
Viewing the code and executing the Route

Procedure

  1. Click the Code tab at the bottom of the design workspace to check the generated code.

    As shown above, one message flow is routed from cTimer_1 to cLog_1.

  2. Click the Run view to display it and click the Run button to launch the execution of your Route. You can also press F6 to execute it.
    The content of the file in the specified folder is shown in the execution console.

Did this page help you?

If you find any issues with this page or its content – a typo, a missing step, or a technical error – please let us know!