This scenario will show you how to use the cLangChainTools component to query an user database with OpenAI.
To
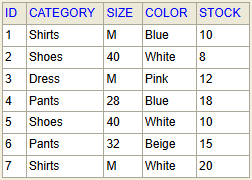
execute this use case, you need an H2 database engine to be started and the following
Products table available.
Dropping and linking the components
Cloud Data Fabric
Data Fabric
Qlik Talend Cloud Enterprise Edition
Real-Time Big Data Platform
Procedure
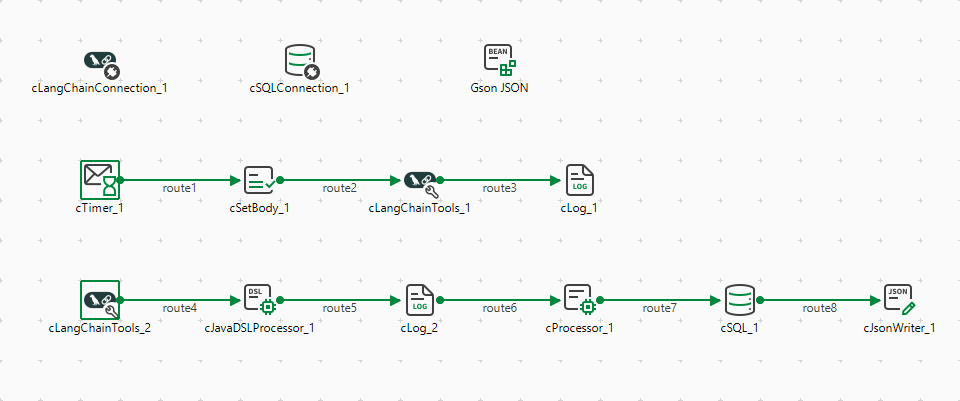
From the Palette, drag and drop
a cLangChainConnection, a
cSQLConnection, a cBeanRegister,
a cTimer, a cSetBody, a cJavaDSLProcessor, a
cProcessor, a cSQL, a
cJsonWriter, two cLangChainTools,
and two cLog components onto the design
workspace.
Link the components with the Row > Route connection as
shown above.
Configuring the components
Cloud Data Fabric
Data Fabric
Qlik Talend Cloud Enterprise Edition
Real-Time Big Data Platform
Procedure
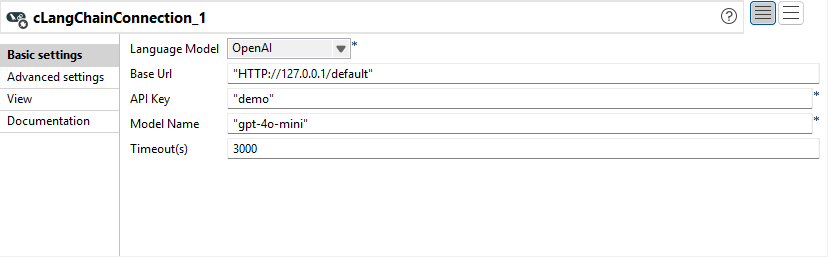
Double-click the cLangChainConnection component to display its Basic settings view in the Component tab.
From the Language Model list,
select OpenAI.
In the Base URL field, keep the default
address of the API server, http://127.0.0.1/default.
In the API Key field, enter your API Key to access
OpenAI.
In the Model Name field, enter the name of the model to
be used, "gpt-4o-mini" in this use case.
In the Timeout(s) field, enter
3000 for the component to establish a connection to the
language model.
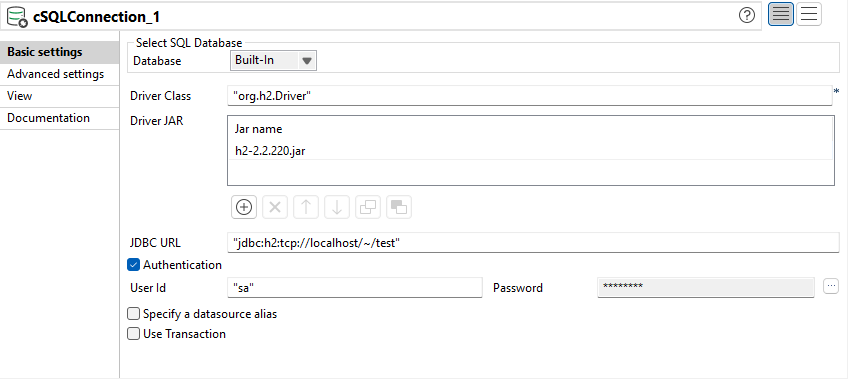
Double-click the cSQLConnection component to display its Basic settings view in the Component tab.
Configure the properties as follows to connect to the H2
database:
In the Driver Class field, enter the class name for
the H2 database, "org.h2.Driver".
Click the [+] button under the Driver
JAR table to add a row.
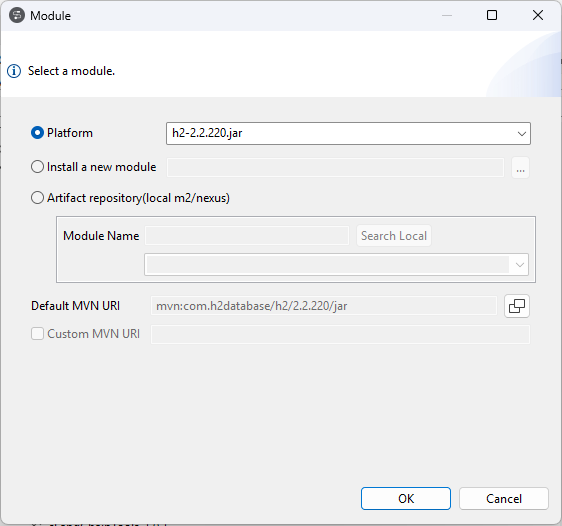
Select the cell and click the [...] button at the
right side of the cell to open the Module dialog
box.
Click the Platform option and select the driver JAR
h2-2.2.220.jar from the list.
Click OK to close the Module
dialog box.
In the JDBC URL field, enter the JDBC URL of the
database to be used, "jdbc:h2:tcp://localhost/~/test"
in this example.
Select the Authentication check box and enter the
database user authentication data.
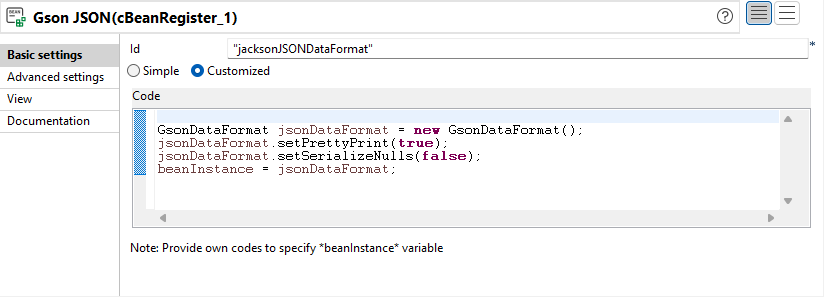
Double-click the cBeanRegister component to open its
Basic settings view in the
Component tab.
In the Id field, enter
"jacksonJSONDataFormat".
Select the Customized option and in the
Code field enter the following code to define the Gson
data
format:
GsonDataFormat jsonDataFormat = new GsonDataFormat();
jsonDataFormat.setPrettyPrint(true);
jsonDataFormat.setSerializeNulls(false);
beanInstance = jsonDataFormat;
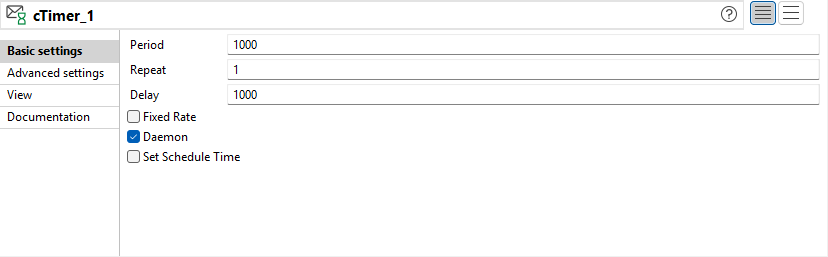
Double-click the cTimer
component to open its Basic settings view in
the Component tab.
In the Repeat field, enter
1 to generate a message exchange. Keep the
default settings of the other options.
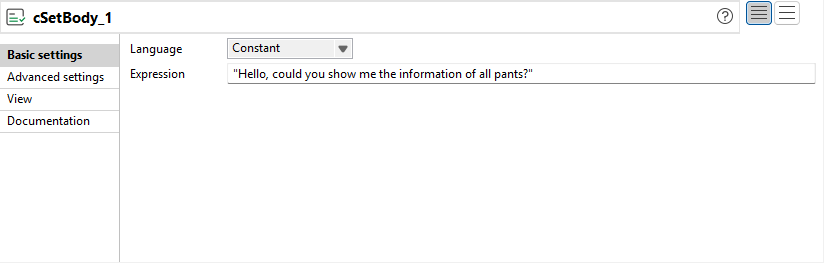
Double-click the cSetBody
component to open its Basic settings view in
the Component tab.
Select Constant from the
Language list box and type in
"Hello, could you show me the information of all pants?"
in the Expression field as the message
body.
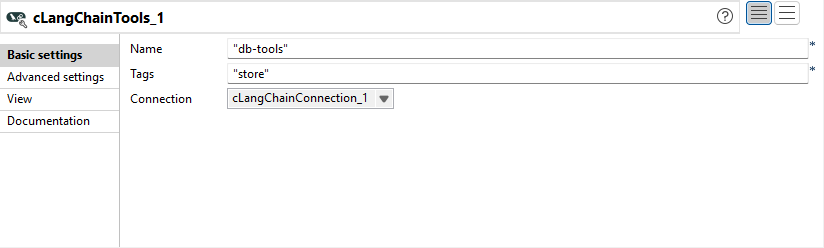
Double-click the cLangChainTools component in the first
subRoute to display its Basic settings view in the
Component tab.
Enter "db-tools" in the Name field
and "store" in the Tags field.
In the Connection list, select the
cLangChainConnection_1 component to connect to
OpenAI.
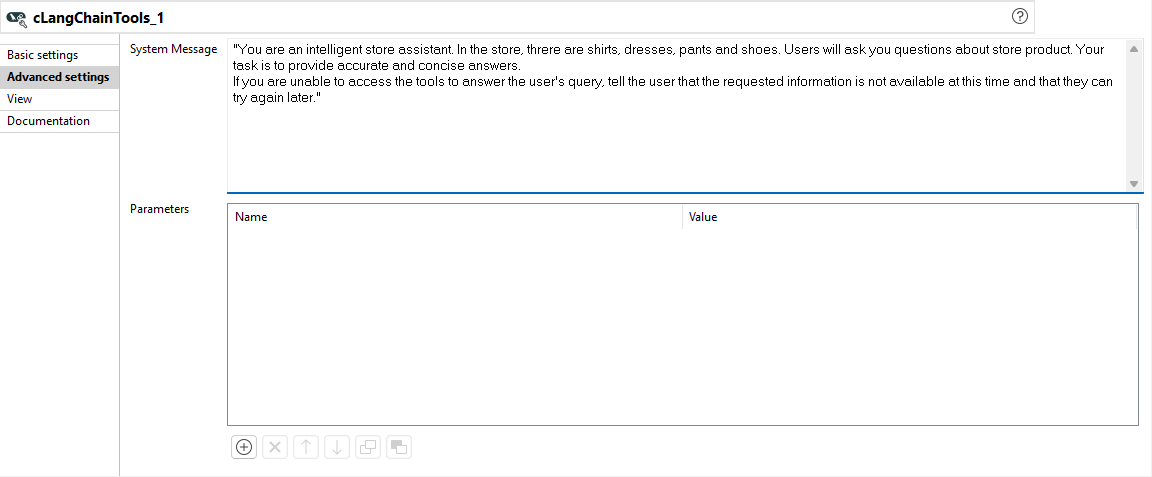
In the Advanced settings view, enter the following
message in the System Message box.
"You are an intelligent store assistant. In the store, threre are shirts, dresses, pants and shoes. Users will ask you questions about store products. Your task is to provide accurate and concise answers.
If you are unable to access the tools to answer the user's query, tell the user that the requested information is not available at this time and that they can try again later."
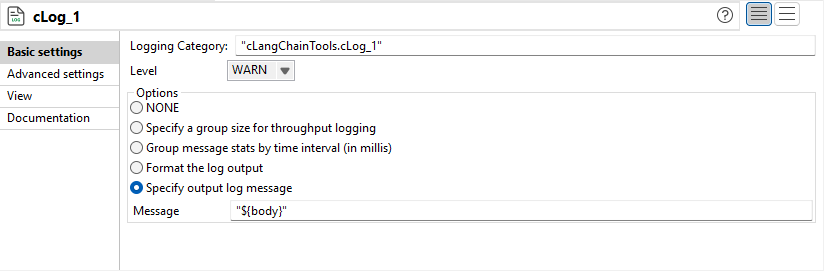
Double-click the cLog component in the first subRoute to
display its Basic settings view in the
Component tab.
Select the Specify output log message option and enter
"${body}" in the Message field to
log the message body.
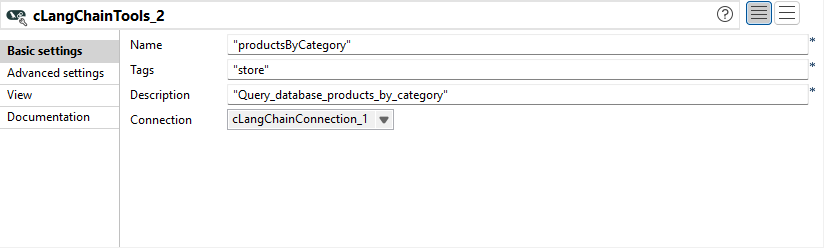
Double-click the cLangChainTools component in the second
subRoute to display its Basic settings view in the
Component tab.
Enter "productsByCategory" in the
Name field and "store" in the
Tags field.
In the Description field, enter a description for the
tool, "Query_database_products_by_category" in this
example.
In the Connection list, select the
cLangChainConnection_1 component to connect to
OpenAI.
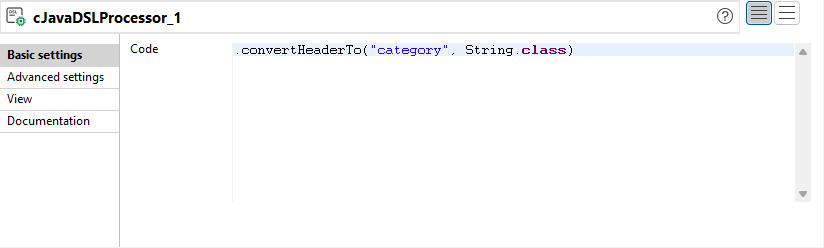
Double-click the cJavaDSLProcessor component to open its
Basic settings view in the
Component tab.
In the Code box, enter
.convertHeaderTo("category", String.class) to convert
the header category to a string.
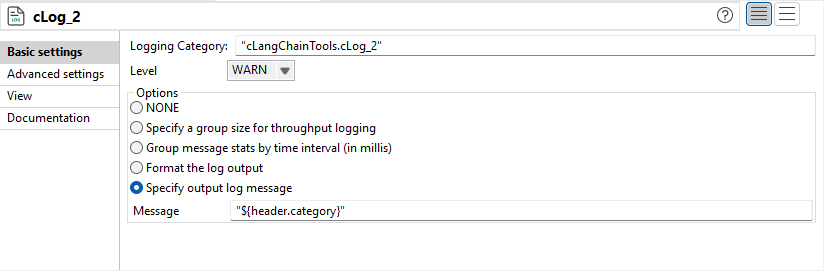
Double-click the second cLog component to display its
Basic settings view in the
Component tab.
Select the Specify output log message option and enter
"${header.category}" in the
Message field to log the category.
Double-click the cProcessor component to open its
Basic settings view in the
Component tab.
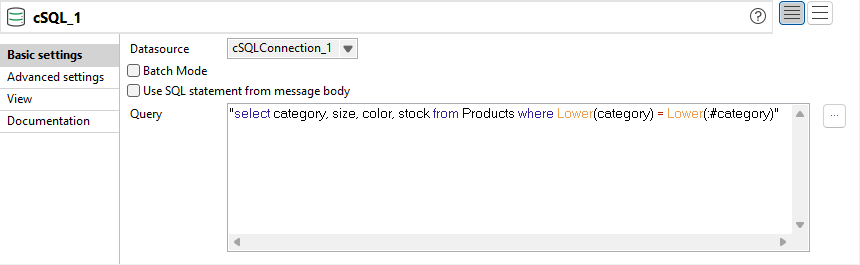
Double-click the cSQL
component to display its Basic settings view
in the Component tab.
In the Datasource list, select
cSQLConnection_1 to use the database connection
established in it. In Query box, enter the
following code to select the data in the category,
size, color, and stock
columns of the requested category in the Products table:
"select category, size, color, stock from Products where Lower(category) = Lower(:#category)"
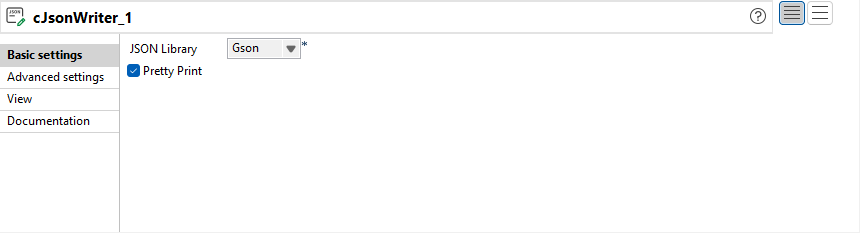
Double-click the cJsonWriter component to display its
Basic settings view in the
Component tab.
Select Gson in the JSON Library
list and select the Pretty Print check box to format the
output JSON message in a readable way.
Press Ctrl+S to save your
Route.
Viewing the code and executing the Route
Cloud Data Fabric
Data Fabric
Qlik Talend Cloud Enterprise Edition
Real-Time Big Data Platform
Procedure
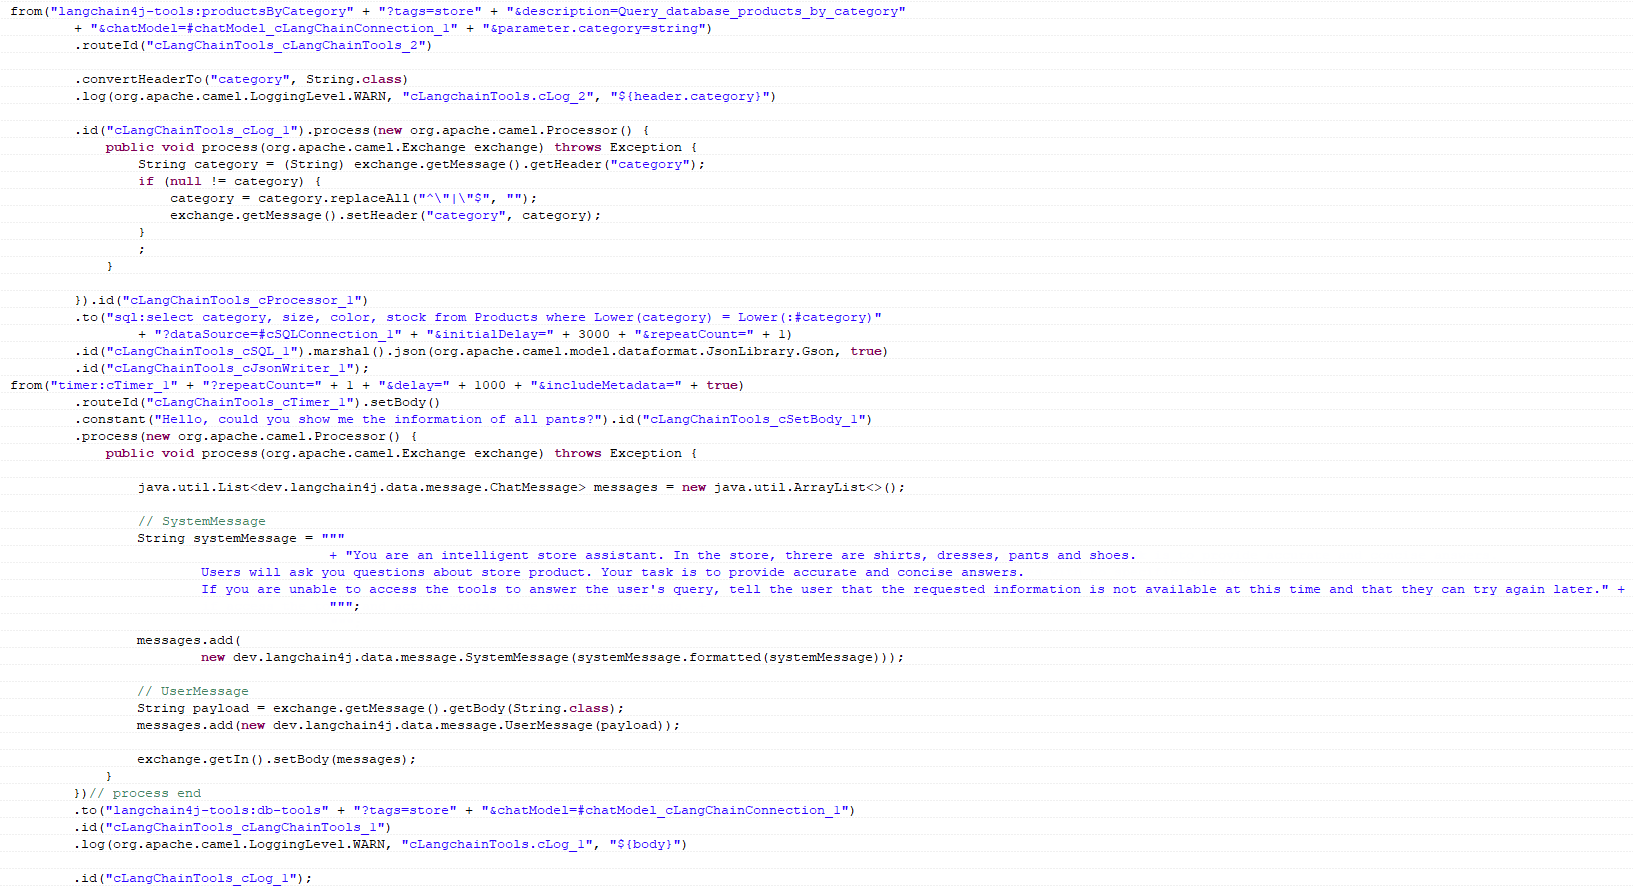
Click the Code tab at the
bottom of the design workspace to check the generated code.
As shown above, one message flow is routed from cLangChainTools_2 to
cJsonWriter_1, and the other is routed from cTimer_1 to cLog_1.
Click the Run view to display it and click
the Run button to launch the execution of your Route. You
can also press F6 to execute it.
The requested category and the information of products in this category in the
database table is shown in the execution console.