Setting up Qlik Web Connectors to run as a Windows service
When you add the Qlik Web Connectors as a Windows service, they can be configured to start when the operating system turns on and to run in the background. When you setup the Qlik Web Connectors as a Windows service, you can ensure that they are available to provide data at any time. This is important if you use the Qlik Web Connectors with scheduled reloads.
Do the following:
-
Open the Qlik Web Connectors root directory.
Check that the QlikWebConnectorsSVC.exe is available. If it is not there, you need to locate the original zip file and unzip QlikWebConnectorsSVC.exe to your root directory.
- Open the BatchFiles folder.
-
Right-click the Install Service.bat and click Edit to open the file in your default text editor.
- Verify that the two underlined paths to point to the correct locations of your Microsoft .NET installutil.exe and the QlikWebConnectorsSVC.exe. Make the necessary changes and save the Install Service.bat file.

-
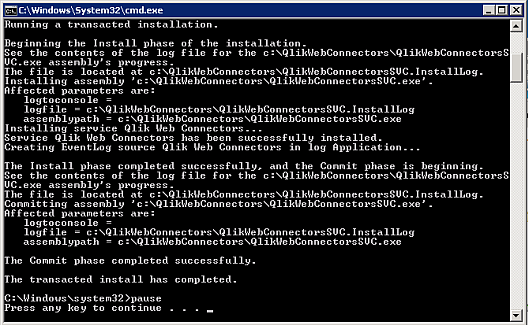
Right click the Install Service.bat file and select Run as administrator.
The batch file installs the Qlik Web Connectors as a Windows Service.

When the batch file finishes, press any key to close the command window
-
From the WIndowsstart menu, type Services to open the Services dialog.
You should see an entry for Qlik Web Connectors.

- Right click on the Qlik Web Connectors service entry and select Properties.
-
In the Qlik Web Connectors Properties dialog, click on the Start button under the General tab to start the service.
Ensure that the Service status is Running.
Warning noteClose the Qlik Web Connectors before you complete this step. If they are running when you press start, you will get a message saying that the service has started and then stopped. -
Select the Recovery tab and set Firstfailure to Restart the Service and set the time for Restart service after to zero (0) minutes.
Apply the changes and click OK.
The Qlik Web Connectors should be available at http://localhost:5555/.
