
Creating an API with AI Assistant
You can create an API by interacting with an AI model using natural language. This option might help you to create the required API more rapidly.
Information noteNote: For help on how to create a new empty API or work with an API example, see Working with a new API.
- A Talend tenant user must create a secure connection with Qlik Cloud by following the procedure in Configuring Qlik Cloud Authentication.
- At least one user account must be assigned to a role that has the API Designer - Administrate permission enabled. This setting is "tenant-wide", which means other tenant users with the API Designer role will then also have access to the feature. For further information about user accounts, roles, and permissions, see Administering Qlik Cloud.
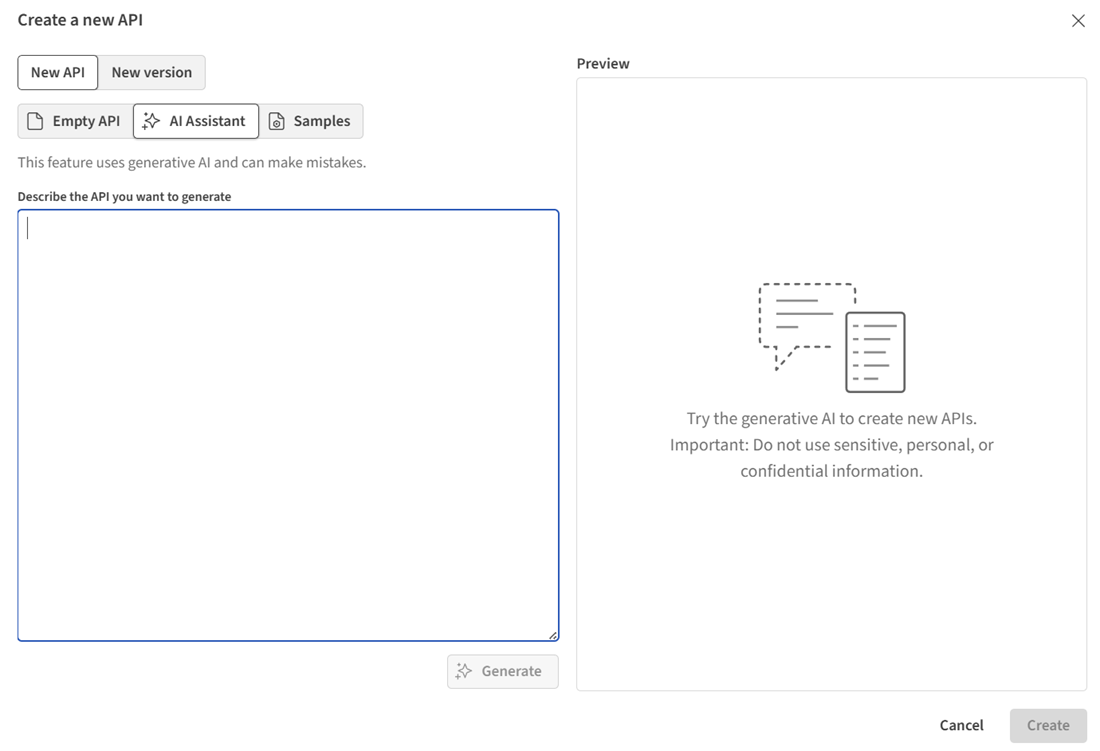
- Select New API and click AI
Assistant.
 Information noteNote: If the AI Assistant icon is not visible, a user with the API Designer - Administrate permission must enable the Generative AI-based features setting. They do this by clicking their user name in the top right corner of the API Designer homepage, clicking API Designer settings, and then selecting the Generative AI-based features check box.
The generated API is saved and is added to the list of APIs on the API Designer homepage.