Setting up annotations to attributes
Before you begin
You have already created business entities and attributes in the data model. For further information, see Creating business entities in a data model and Adding attributes to the business entity.
About this task
The data model editor makes it very easy to add specific annotations to any attribute within the business entity.
Through annotations, you can define authorization of roles regarding web interface access to attributes. You can also define display issues related to language specific labels, foreign and primary keys, multilingual description, and more.
The below table describes the annotations you can add to attributes within business entities.
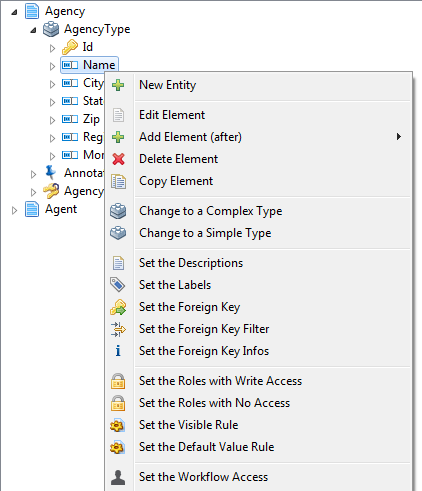
| Option | Description |
|---|---|
| Set the Descriptions | To have multilingual descriptions for different attributes in business entities. |
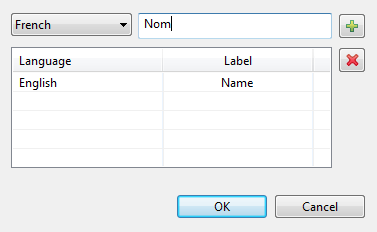
| Set the Labels | To have labels in different languages for any attribute within a business entity in the data model. |
| Set the Foreign Key | To link one attribute to another attribute or to a business entity. For
further information, see Adding a foreign key: linking entities together. Information noteNote:
|
| Set the Foreign Key Filter | To filter foreign keys by values extracted from the current record through using the standard xpath predicate of the relevant element. For further information, see Adding a foreign key filter. |
| Set the Foreign Key Infos | To display the data related to the foreign key. For more information, see Setting the display format of the foreign key information. |
| Set the Roles with Write Access | To grant one or several roles a Write access to the selected entity. For further information, see Defining access control at the attribute level (access control annotation). |
| Set the Roles with No Access | To deny access to the selected attribute for one or several roles. |
| Set the Visible Rule | To define whether to hide/show the selected attribute from a data record in Talend MDM Web UI . |
| Set the Default Value Rule | To define a default value of the selected attribute in order to display it automatically when a business user creates a new record through Talend MDM Web UI. For more information, see Setting a default value rule for an element. |
| Set the Facet Message | To set multilingual facet error messages. |
| Set the display format | To decide the format according to which you want to display/insert, in a
specific language, dates or numbers in master data records in
Talend MDM Web UI. To define the date/number format, you must use a syntax that is based on the java.util.Formatter class. For further information on this class, see Oracle documentation. For an example on how to set the display format, see Setting the display format of dates and numbers. |
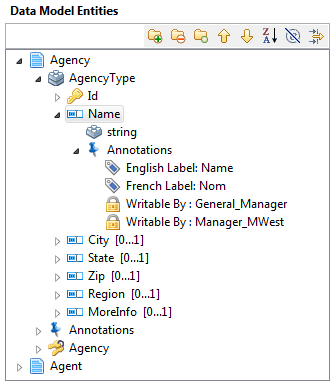
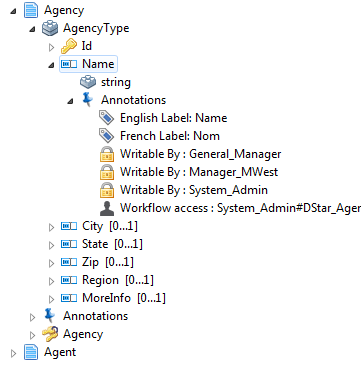
When you add any of the above annotation to an attribute in a business entity, an Annotations node is added to the attribute in the Data Model Entities panel. This node lists all the annotations added to the selected attribute.

To set up an annotation to any of the attributes you create in a business entity, do the following:
Procedure
Results
Detail examples about how to Set the Role with Write Access annotation are given in Defining access control at the attribute level (access control annotation).


