Skip to main content Skip to complementary content

Configuring the components

Procedure

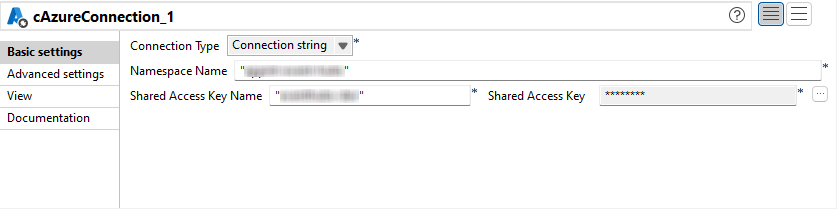
  1. Double-click the cAzureConnection component to display its Basic settings view in the Component tab.
  2. From the Connection Type list, select Connection string.
    In the Namespace Name field, enter the name of the Event Hubs namespace created in Azure Portal.
    In the Shared Access Key Name field, enter the name of your Event Hubs SAS key.
    In the Shared Access Key field, enter the generated value for your Event Hubs SAS key.
  3. Double-click the cTimer component to open its Basic settings view in the Component tab.
  4. In the Repeat field, enter 3 to generate three message exchanges. Keep the default settings of the other options.
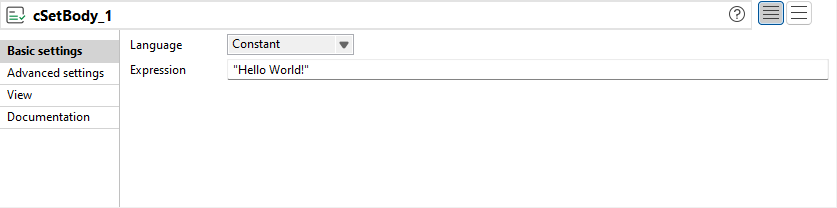
  5. Double-click the cSetBody component to open its Basic settings view in the Component tab.
  6. Select Constant from the Language list box and type in "Hello World!" in the Expression field as the message body.
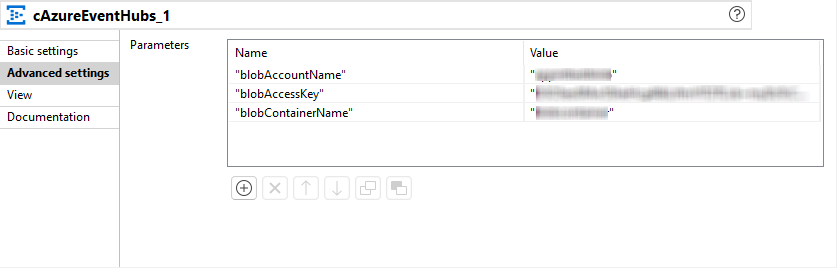
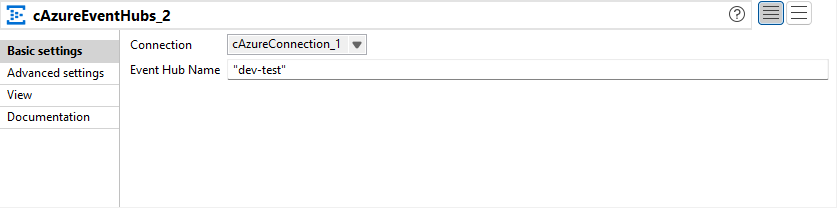
  7. Double-click the first cAzureEventHubs component to open its Basic settings view in the Component tab.
  8. In the Connection list, select the cAzureConnection component that you have just configured to handle messages.
    In the Event Hub Name field, enter the name of the event hub to publish the message to, "dev-test" in this example.
  9. In the Advanced settings view, click [+] to add the following parameters to store the checkpoint information in the Azure Blob Storage account.
    "blobAccountName": The Azure account name to be used for authentication with Azure Blob services.
    "blobAccessKey": The access key for the associated Azure account name to be used for authentication with Azure Blob services.
    "blobContainerName": The name of the Blob container that will be used by the BlobCheckpointStore to store the checkpoint offsets.
  10. Repeat this step to configure the second cAzureEventHubs component with the same settings to consume the message from the event hub "dev-test".
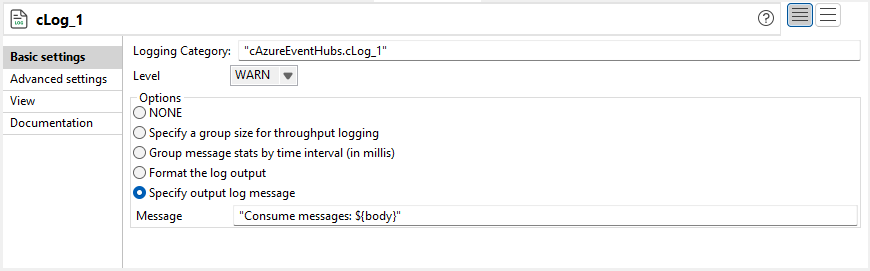
  11. Double-click the cLog component to open its Basic settings view in the Component tab.
  12. Select the Specify output log message option and enter the code "Consume messages: ${body}" in the Message field to display the message body that is consumed.
  13. Press Ctrl+S to save your Route.

Did this page help you?

If you find any issues with this page or its content – a typo, a missing step, or a technical error – please let us know!