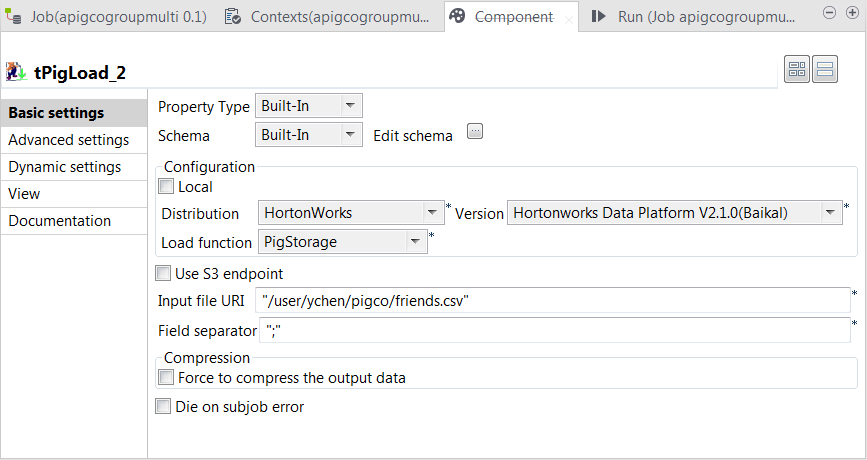
Double-click the second tPigLoad component to open its Component view.
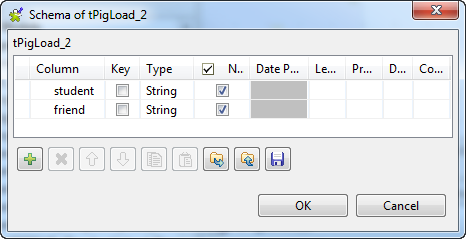
Click the [...] button next to Edit schema to open the schema editor.
Click the [+] button twice to add two rows and in the
Column column, rename them to student and friend, respectively.
Click OK to validate these changes and accept the
propagation prompted by the pop-up dialog box.
In the Mode area, select Map/Reduce.
This component reuses the Hadoop connection you have configured in
that main tPigLoad component. Therefore, the Distribution
and the Version fields have been
automatically filled with the values from that main loading component.
In the Load function field, select the
PigStorage function to read the source
data.
In the Input file URI field, enter the directory where
the source data is stored. As explained previously, this data is from the
second relation containing the student and friend sample data.
Did this page help you?
If you find any issues with this page or its content – a typo, a missing step, or a technical error – please let us know!