
Creating and saving automations
Users with the Automation Creator role can create automations in the Analytics or Qlik Talend Data Integration activity center by clicking Automation. This opens the automation template window. From the template window, either start from a blank canvas or start configuring a pre-built template.

Creating automations from templates
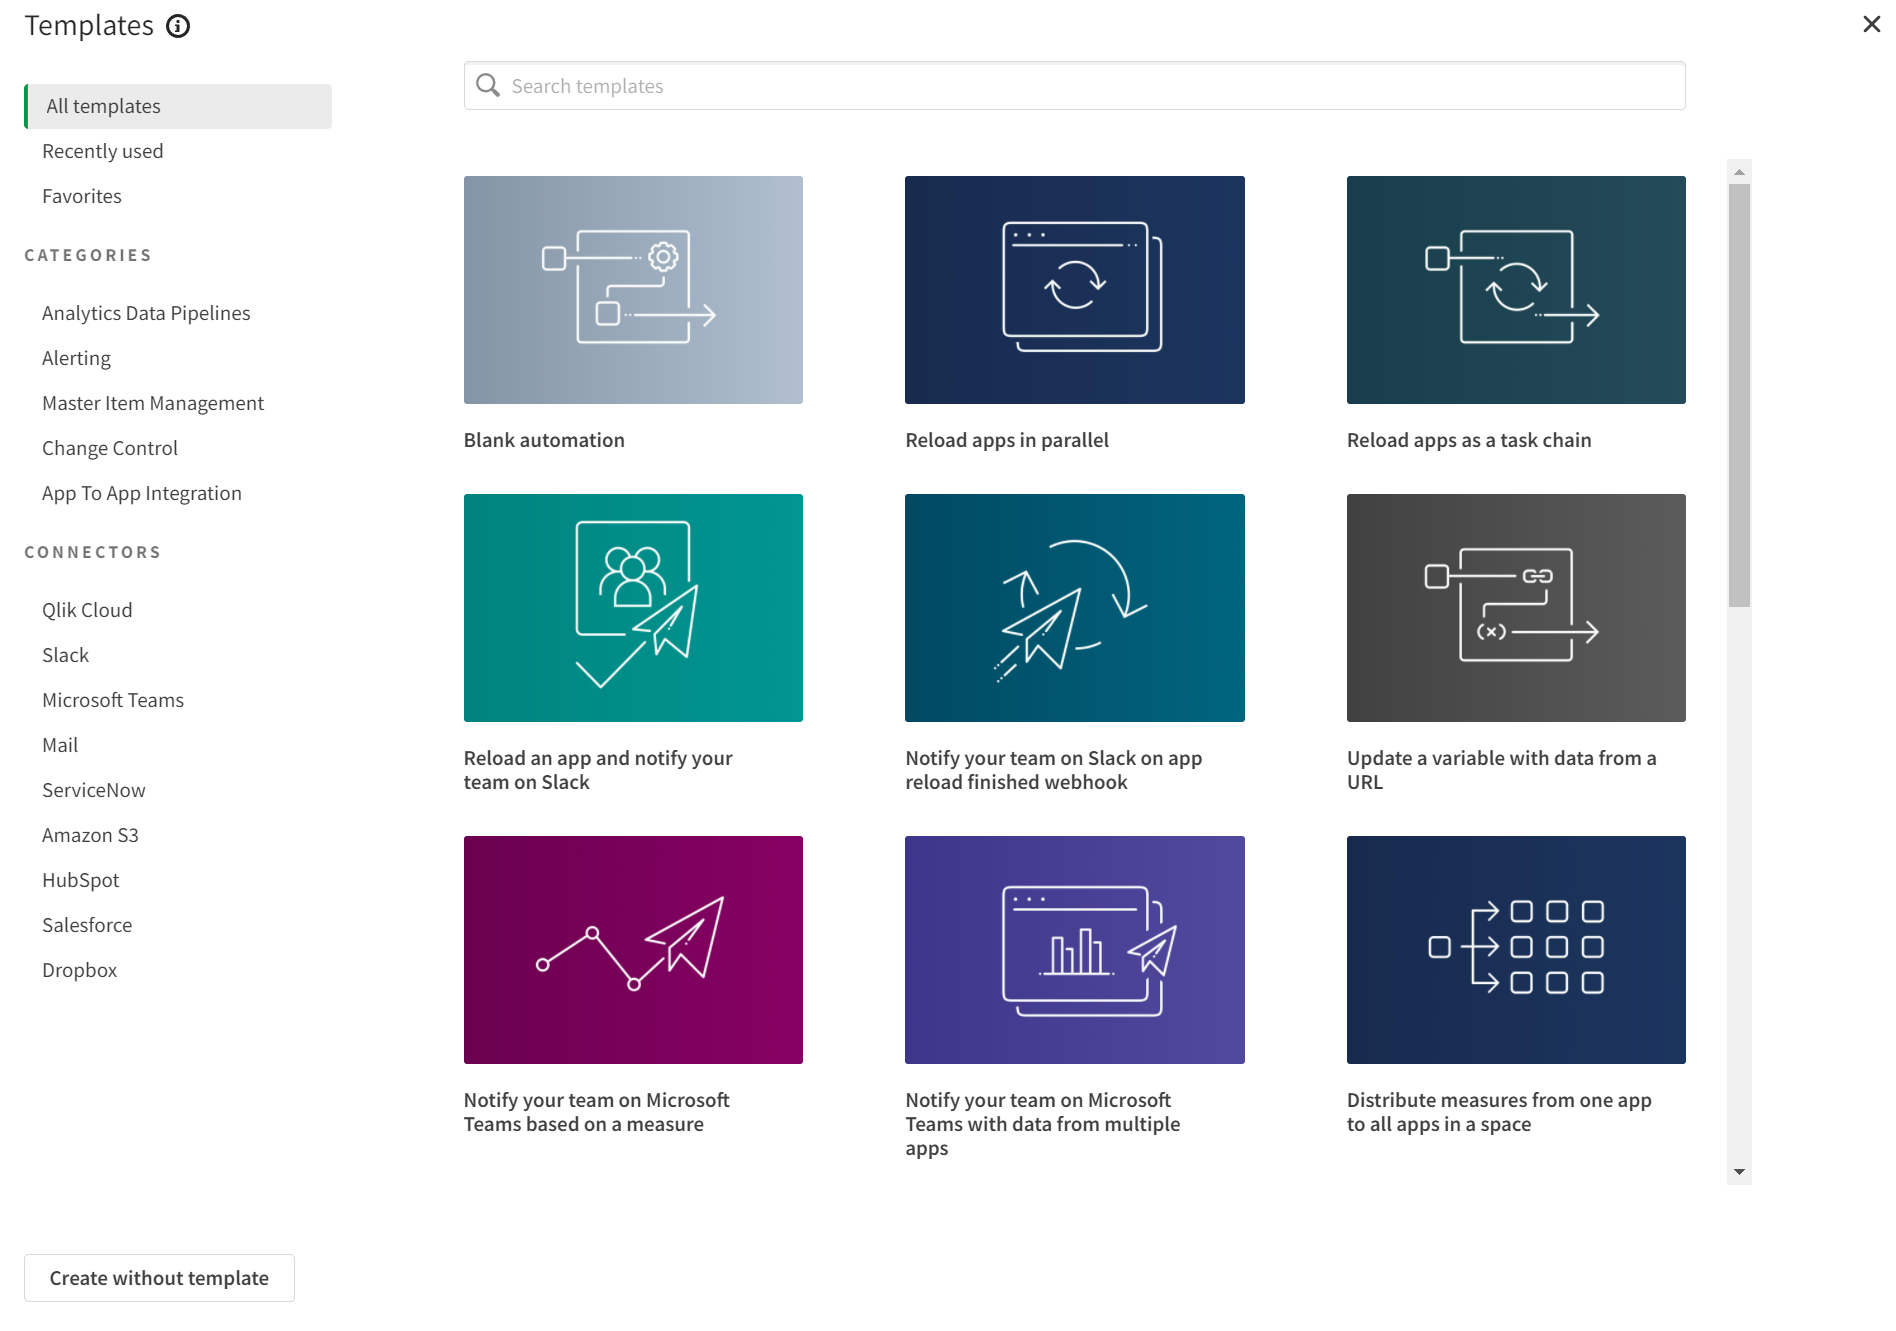
Automation templates are pre-built automations that you can use out-of-the-box with minimal configuration. Templates also help you see the logic of a certain workflow. You can customize a template by swapping out automation and connector blocks while keeping the same design of the template.
When you click Create new automation, the template window opens. The template window displays the available templates, including a blank automation if you want to start building an automation from scratch. You can search templates by keyword, or by using the Categories or Connectors filters. Templates are also organized by Recently used and Favorites.
Hover over a template tile and click the ![]() icon to add it to your favorites; you can have up to 12 favorites.
icon to add it to your favorites; you can have up to 12 favorites.
Click on Use template to save the template to a Space and start working with it in the automation editor.
Template details
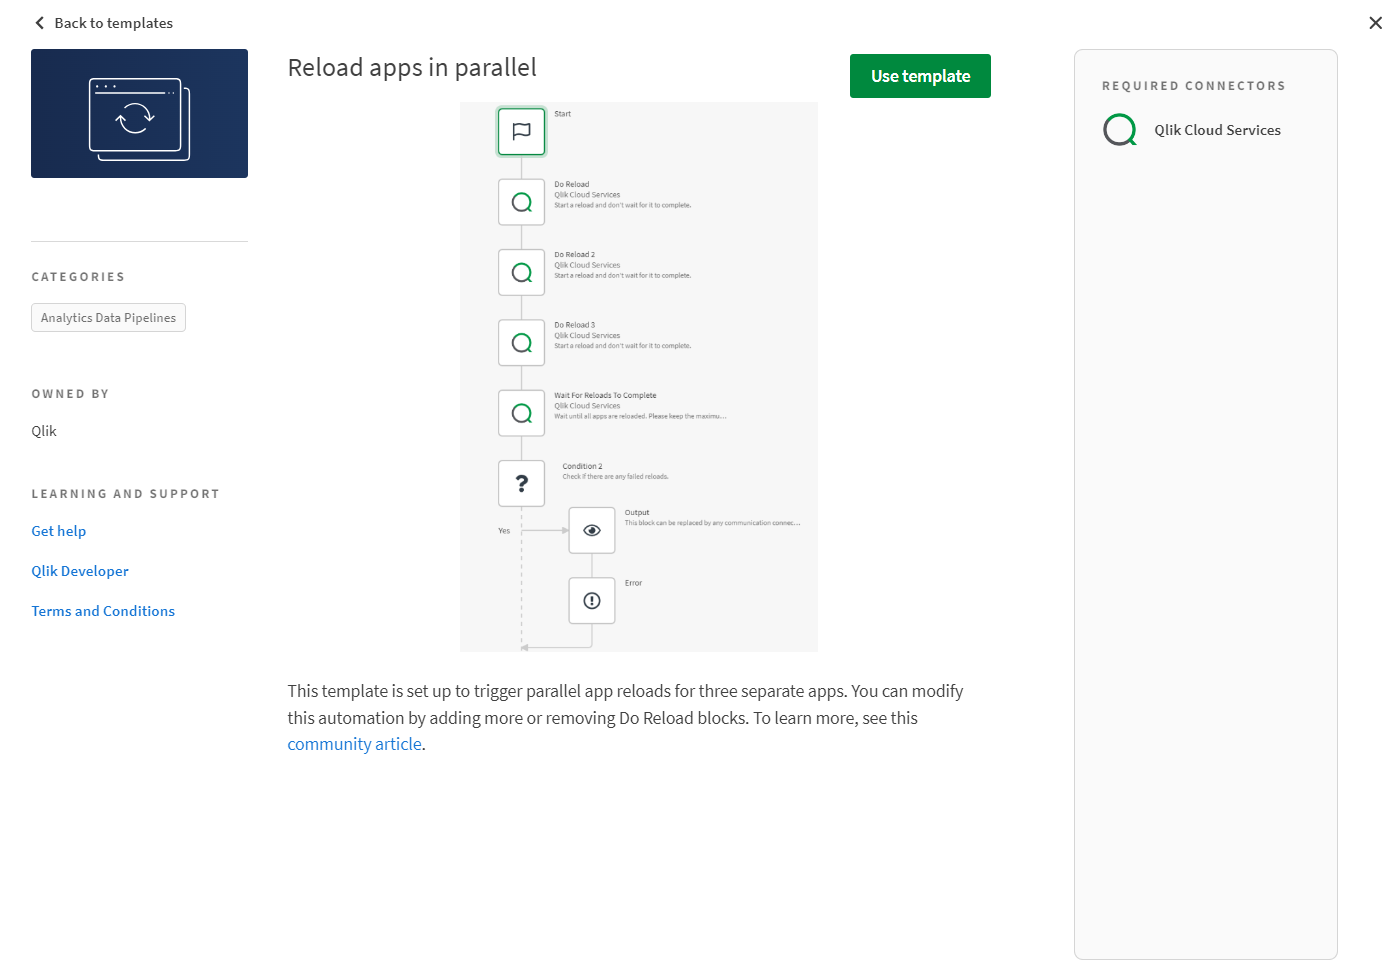
Hover over a template tile and select Details. Here, you can see what the template looks like, find useful information about the automation, which connectors are used in the selected template, and specific configuration information. To start your automation with the selected template, click Use template.
Saved automations
Automations can be saved your personal space or to a shared space in which you have the CanEdit permission. See working in spaces for details about the different types of spaces.
You can find your saved automations by selecting Automations from the Analytics or Qlik Talend Data Integration activity centers.
Do the following:
- From the cloud hub, click the Catalog tab.
- From the Types list, click Automations.
- From the Owner list, click You.

Opening a saved automation takes you to the automation overview page. If an automation was closed with unsaved work, you can restore it the next time you open the editor. Unsaved changes are kept for two weeks.
Sharing automations
You can share an automation by inviting a user, group, or everyone in your tenant to the space where it is stored.
Do the following:
-
In the catalog, click
 on the item to be shared and select Share > Invite.
 -
Search for users or groups by name or email address.
-
Select space permissions for the users or groups.
-
Or, select permissions for Anyone at <your tenant name> from the dropdown list.
-
Click Done.
The users receive access to the shared item and all other content in the space.
For more information about shared automations, see Introducing Automation Sharing and Collaboration on Qlik Community.
Save automations as templates
To save time creating new complex automations, you can save an automation as a template for later use. Further, you can create a template for your personal use only, or you can choose to share it with other users.
Do the following:
- Open the automation in the editor.
- Right-click an empty area on the automation canvas, and then click Save as template.
- Enter a name for the template.
- Optionally, do any of the following:
- If you want to add a thumbnail to your template, drag it to the box.
- Enter a description for the template.
- If you want to share your template with other users on your tenant, from the Visibility list, click Shared.
- Click Save.
Edit a saved template's properties
After you have saved an automation as a template, you can edit it to change the name, description, thumbnail, or the visibility of it. For example, you can edit your template to change it from personal to shared rather than creating a new template and sharing it.
Tenant admins can create templates that are shared with all users in the tenant. However, tenant admins cannot create personal templates for other users or view other users' personal templates in template lists.
Do the following:
-
In the Analytics or Qlik Talend Data Integration activity center, click Automation.
-
Click New automation.
-
Click either Shared or Personal, depending on whether you have shared the template.
-
Click See other actions
 , and then click Edit template.
 -
Edit the template as required, and then click Save.
Make a shared template private
If you don't want others to use a template that you have shared, you can make it private rather than deleting it.
Do the following:
-
In the Analytics or Qlik Talend Data Integration activity center, select Automation.
-
Click New automation.
-
Click Shared.
-
Click See other actions
, and then click Make personal.
Delete a saved template
You can only delete templates you have created. You cannot delete templates created by other users.
Do the following:
-
In the Analytics or Qlik Talend Data Integration activity center, select Automation.
-
Click New automation.
-
Click either Shared or Personal.
-
Click See other actions
, then click Delete template, and then click Delete to confirm.
Enabling and disabling automations
An automation is set to enabled when it is created and will run based on its settings. You can choose to disable an automation to prevent it from running or being triggered. Automations can be enabled or disabled in one of the following ways:
-
In the Automation overview list, click on the More menu
and select Enable or Disable. -
When editing an automation, click on the Settings menu
 on the upper-right corner of the navigation bar and select Enable or Disable.
To enable or disable multiple automations, open the Automations overview list and select the automations you want to modify. Then, click on the Actions drop-down menu, and select Enable or Disable.
For more information, see Managing automations - Enabling individual automations.
Renewing the execution token
When an automation is re-enabled, you have the option of renewing the execution token. Renewing the execution token will break references to the automation that use a trigger URL or a Qlik Sense button object. Token renewal cannot be undone.
Automations that have the Run mode set to Triggered in the Start block, have a button in the block settings pane that allows for manual token renewal. Manually renewing the token does not require the automation to be re-enabled.
For more information about triggered automations, see Triggered webhooks.