Skip to main content Skip to complementary content

Configuring CDC in Oracle Redo/Archive log mode

The followings are configuration steps that need to be set up once for a given publisher/subscriber scenario.

Step 1: Set up a publisher in Oracle Redo/Archive log mode

Procedure

  1. Create a new Job in Talend Studio.
  2. Set a DB connection dedicated to CDC by using the "publisher" user that has all necessary rights.
  3. Set a DB connection to the database you want to supervise.

Results
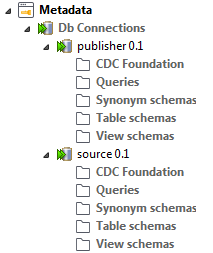
Example of two connections in the Metadata node.

Step 2: Identify the source table in Oracle Redo/Archive log mode

To identify the table(s) to catch, right-click the DB connection for the database you want to monitor and select Retrieve Schema, then proceed to retrieve and load the source table schema in the repository.

In this example, the source table is client, which contains three columns id, name and age.
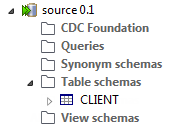
Example of the 'client' source table.

Step 3: Retrieve and process changes in Oracle Redo/Archive log mode

About this task

To retrieve modified data, define the connection between CDC and data:

Procedure

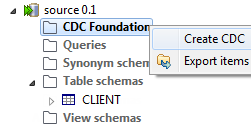
  1. Right-click the relevant CDC Foundation folder and proceed to connect to the Oracle database to be monitored.
    Contextual menu of the CDC Foundation node.
  2. Select Create CDC to open the Create Change Data Capture dialog box.
  3. Click the three-dot button next to the Set Link Connection field to select the connection that corresponds to CDC. Then define the user for Oracle - publisher in this example. This user will create the change tables that store modifications and will activate change captures for the source table.
  4. In the Options area, select Log mode as the option for capturing changes.
  5. Click Create Subscriber. The Create Subscriber and Execute SQL Script dialog box appears.
  6. Click Execute and then Close to close the dialog box.
  7. Click Finish in the Create Change Data Capture dialog box.

Results

In the CDC Foundation folder, the subscription table schema appears. An icon also appears to show that the change capture for the source table is activated.

Step 4: Create the change table, subscribe to the source table and activate the subscription

About this task

You must specify the table to which the subscriber wants to subscribe and then activate its subscription.

Procedure

  1. Right-click the schema that corresponds to the source table and select Add CDC. The Create Subscriber and Execute SQL Script dialog box appears.
    Information noteNote: For Oracle databases and for versions 3.2 + of Talend Studio, the CDC system creates an alias for the source table(s) monitored. This helps to avoid problems due to the length of identifiers upon creation of the change table and its associated view. For CDC systems which are already set up, the table names are retained.

    The value of the options_string argument (for example tablespace users in the below dialog box) should be the default tablespace that you are using.

  2. Click Execute to activate the subscription to the source table and then click Close to close the dialog box.
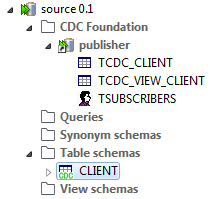
    In the CDC Foundation folder, the table that holds the modified data and the associated view schemas appear.
    Example of the table schema in the connection.
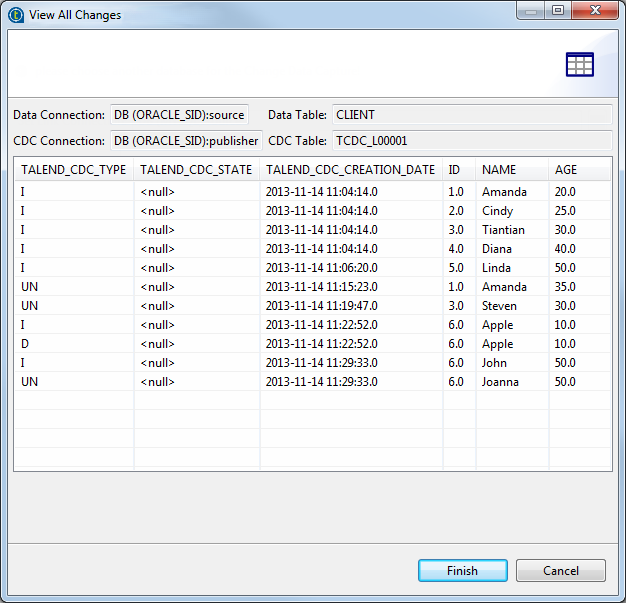
  3. To see the changes made to data, right-click the corresponding table in the Table schemas folder and select View All Changes to open the corresponding dialog box.
    Overview of the View All Changes dialog box.

    The TALEND_CDC_TYPE column of the View All Changes dialog box indicates all of the different changes caught.

    The changes are caught as follows: I indicates that the data has been inserted, UN indicates that the data has been updated, and D indicates that the data has been deleted.

    The columns of the source table and their values are also displayed.

  4. Click Finish to close the dialog box.

Did this page help you?

If you find any issues with this page or its content – a typo, a missing step, or a technical error – please let us know!