Installing the Remote Engine automatically
Use the installer to automatically install and configure Talend Remote Engine.
Procedure
-
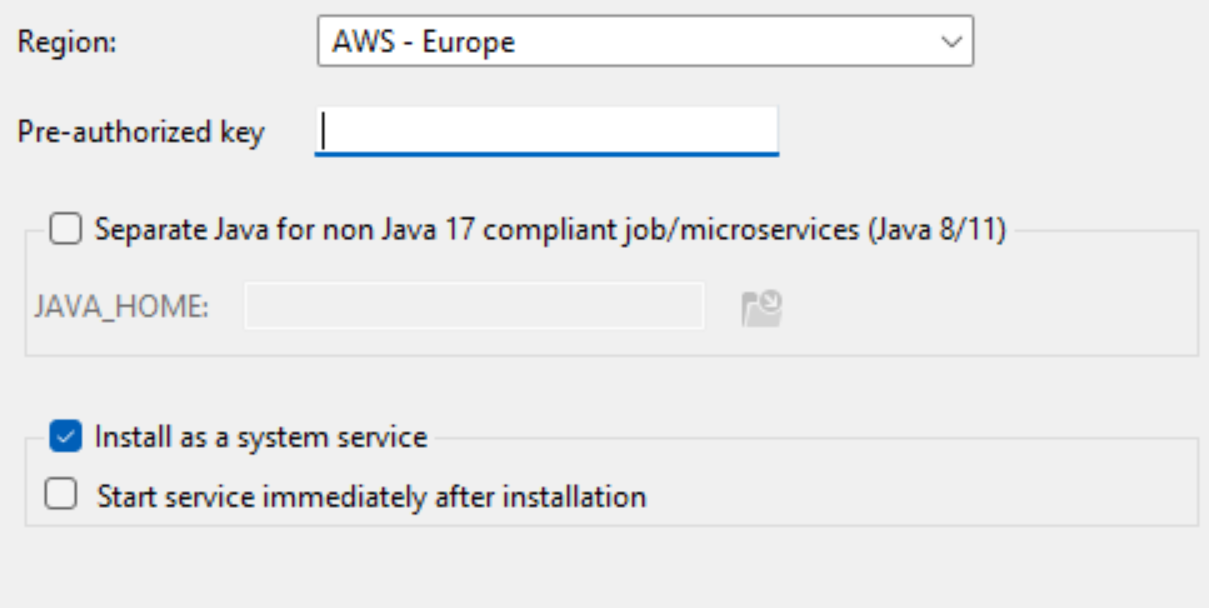
Paste the Remote Engine Key generated in Talend Management Console when you create the Remote Engine into
the Preauthorized key box.
Example
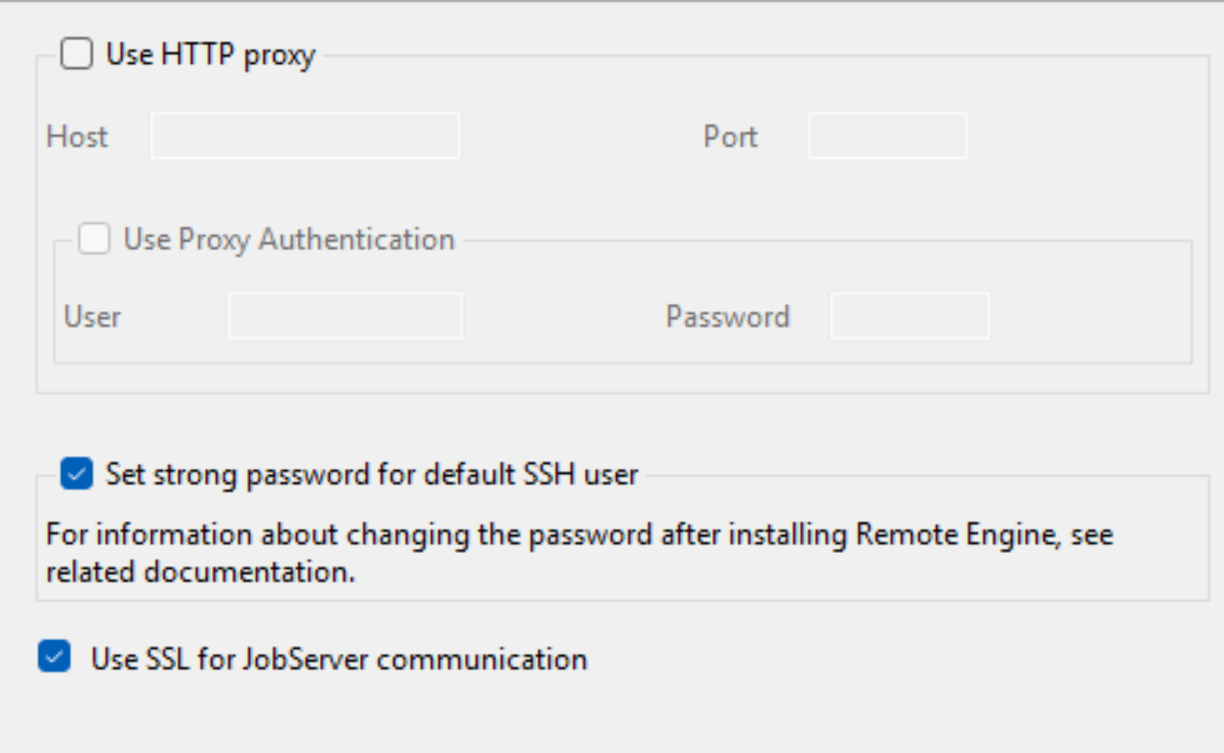
- Optional:
Select the Use Proxy Authentication checkbox and enter
the user credentials.
Example