
Installing the Remote Engine automatically
Use the installer to automatically install and configure Talend Remote Engine.
Before you begin
SELinux will automatically reactivate after the next reboot.
About this task
Procedure
-
Paste the Remote Engine Key generated in Talend Management Console when you create the Remote Engine into
the Preauthorized key box.
Example

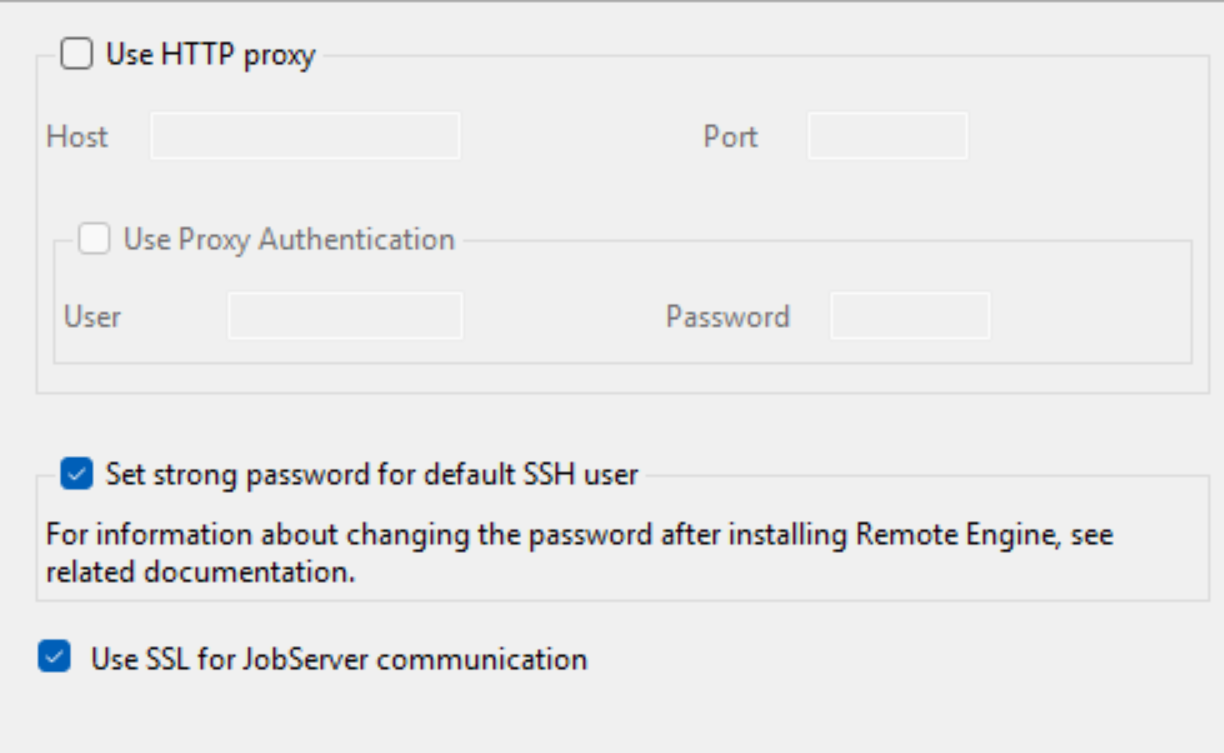
- Optional:
Select the Use Proxy Authentication checkbox and enter
the user credentials.
Example
Results
Note that at the end of the installation, your engine is automatically paired with Talend Management Console.