
How to create integration Templates
Saas partners can create integration templates that are made available in their Hub, or that can be fully embedded in their own platform.
SaaS Admin features are not available in free trial accounts. Please contact your account manager to have your account upgraded to a SaaS Admin account.
A template is an automation that has a setting Is template
. Once an automation is turned into a template, it can be made available to customers of the SaaS partner. Towards the customer, the template is referred to as an integration
, for example, the ACME Salesforce integration
.
If you have never created an integration (a Blend) onQlik Application Automation for OEM, check the Getting started video. Please contact your Qlik Application Automation for OEM account manager if you would like Qlik Application Automation for OEM to create one or more integration templates for you.
A customer will typically click on the button Use integration
, and this will create a copy of the template in the account of the customer. The copy is an actual automation that will e.g. run automatically according to its schedule or that will be triggered by a Webhook.
Creating a new template
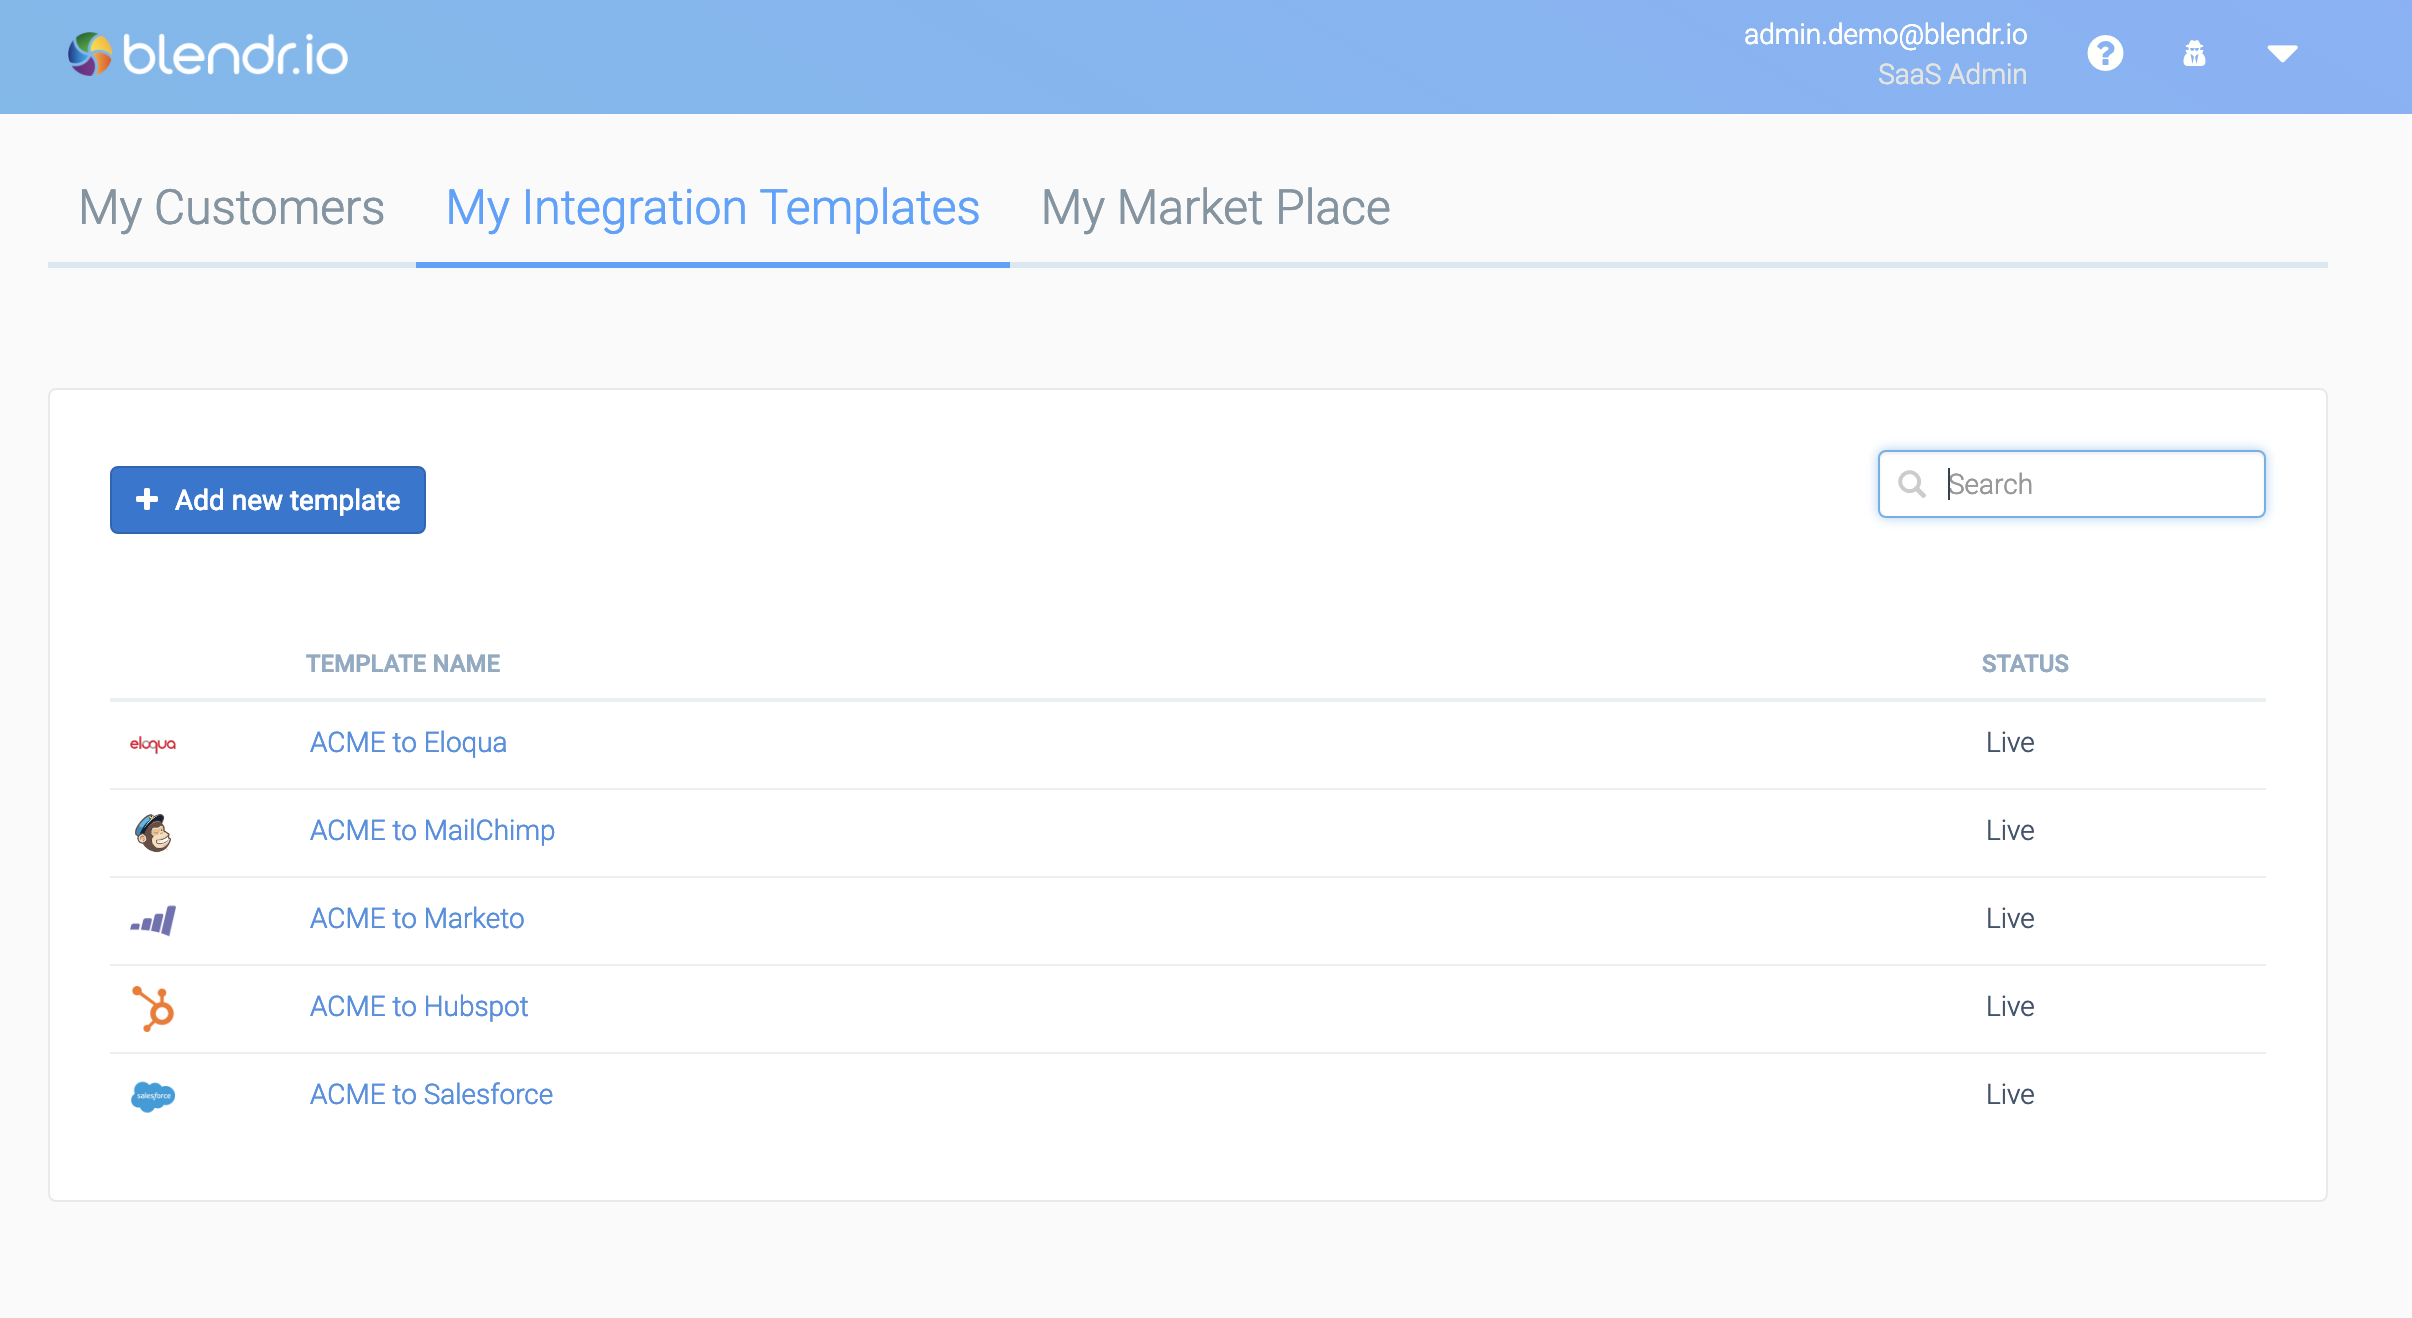
Make sure you are logged in to Qlik Application Automation for OEM with your SaaS Admin account. Go to the tab My integration templates
and click on Add new template
:
Adding a new template.
This will open the automation editor with a new blank Blend, and the setting Is template
will already be turned on. Please make sure to double-check a few Settings in the right-hand pane under the tab Settings, at the bottom:
Template settings.
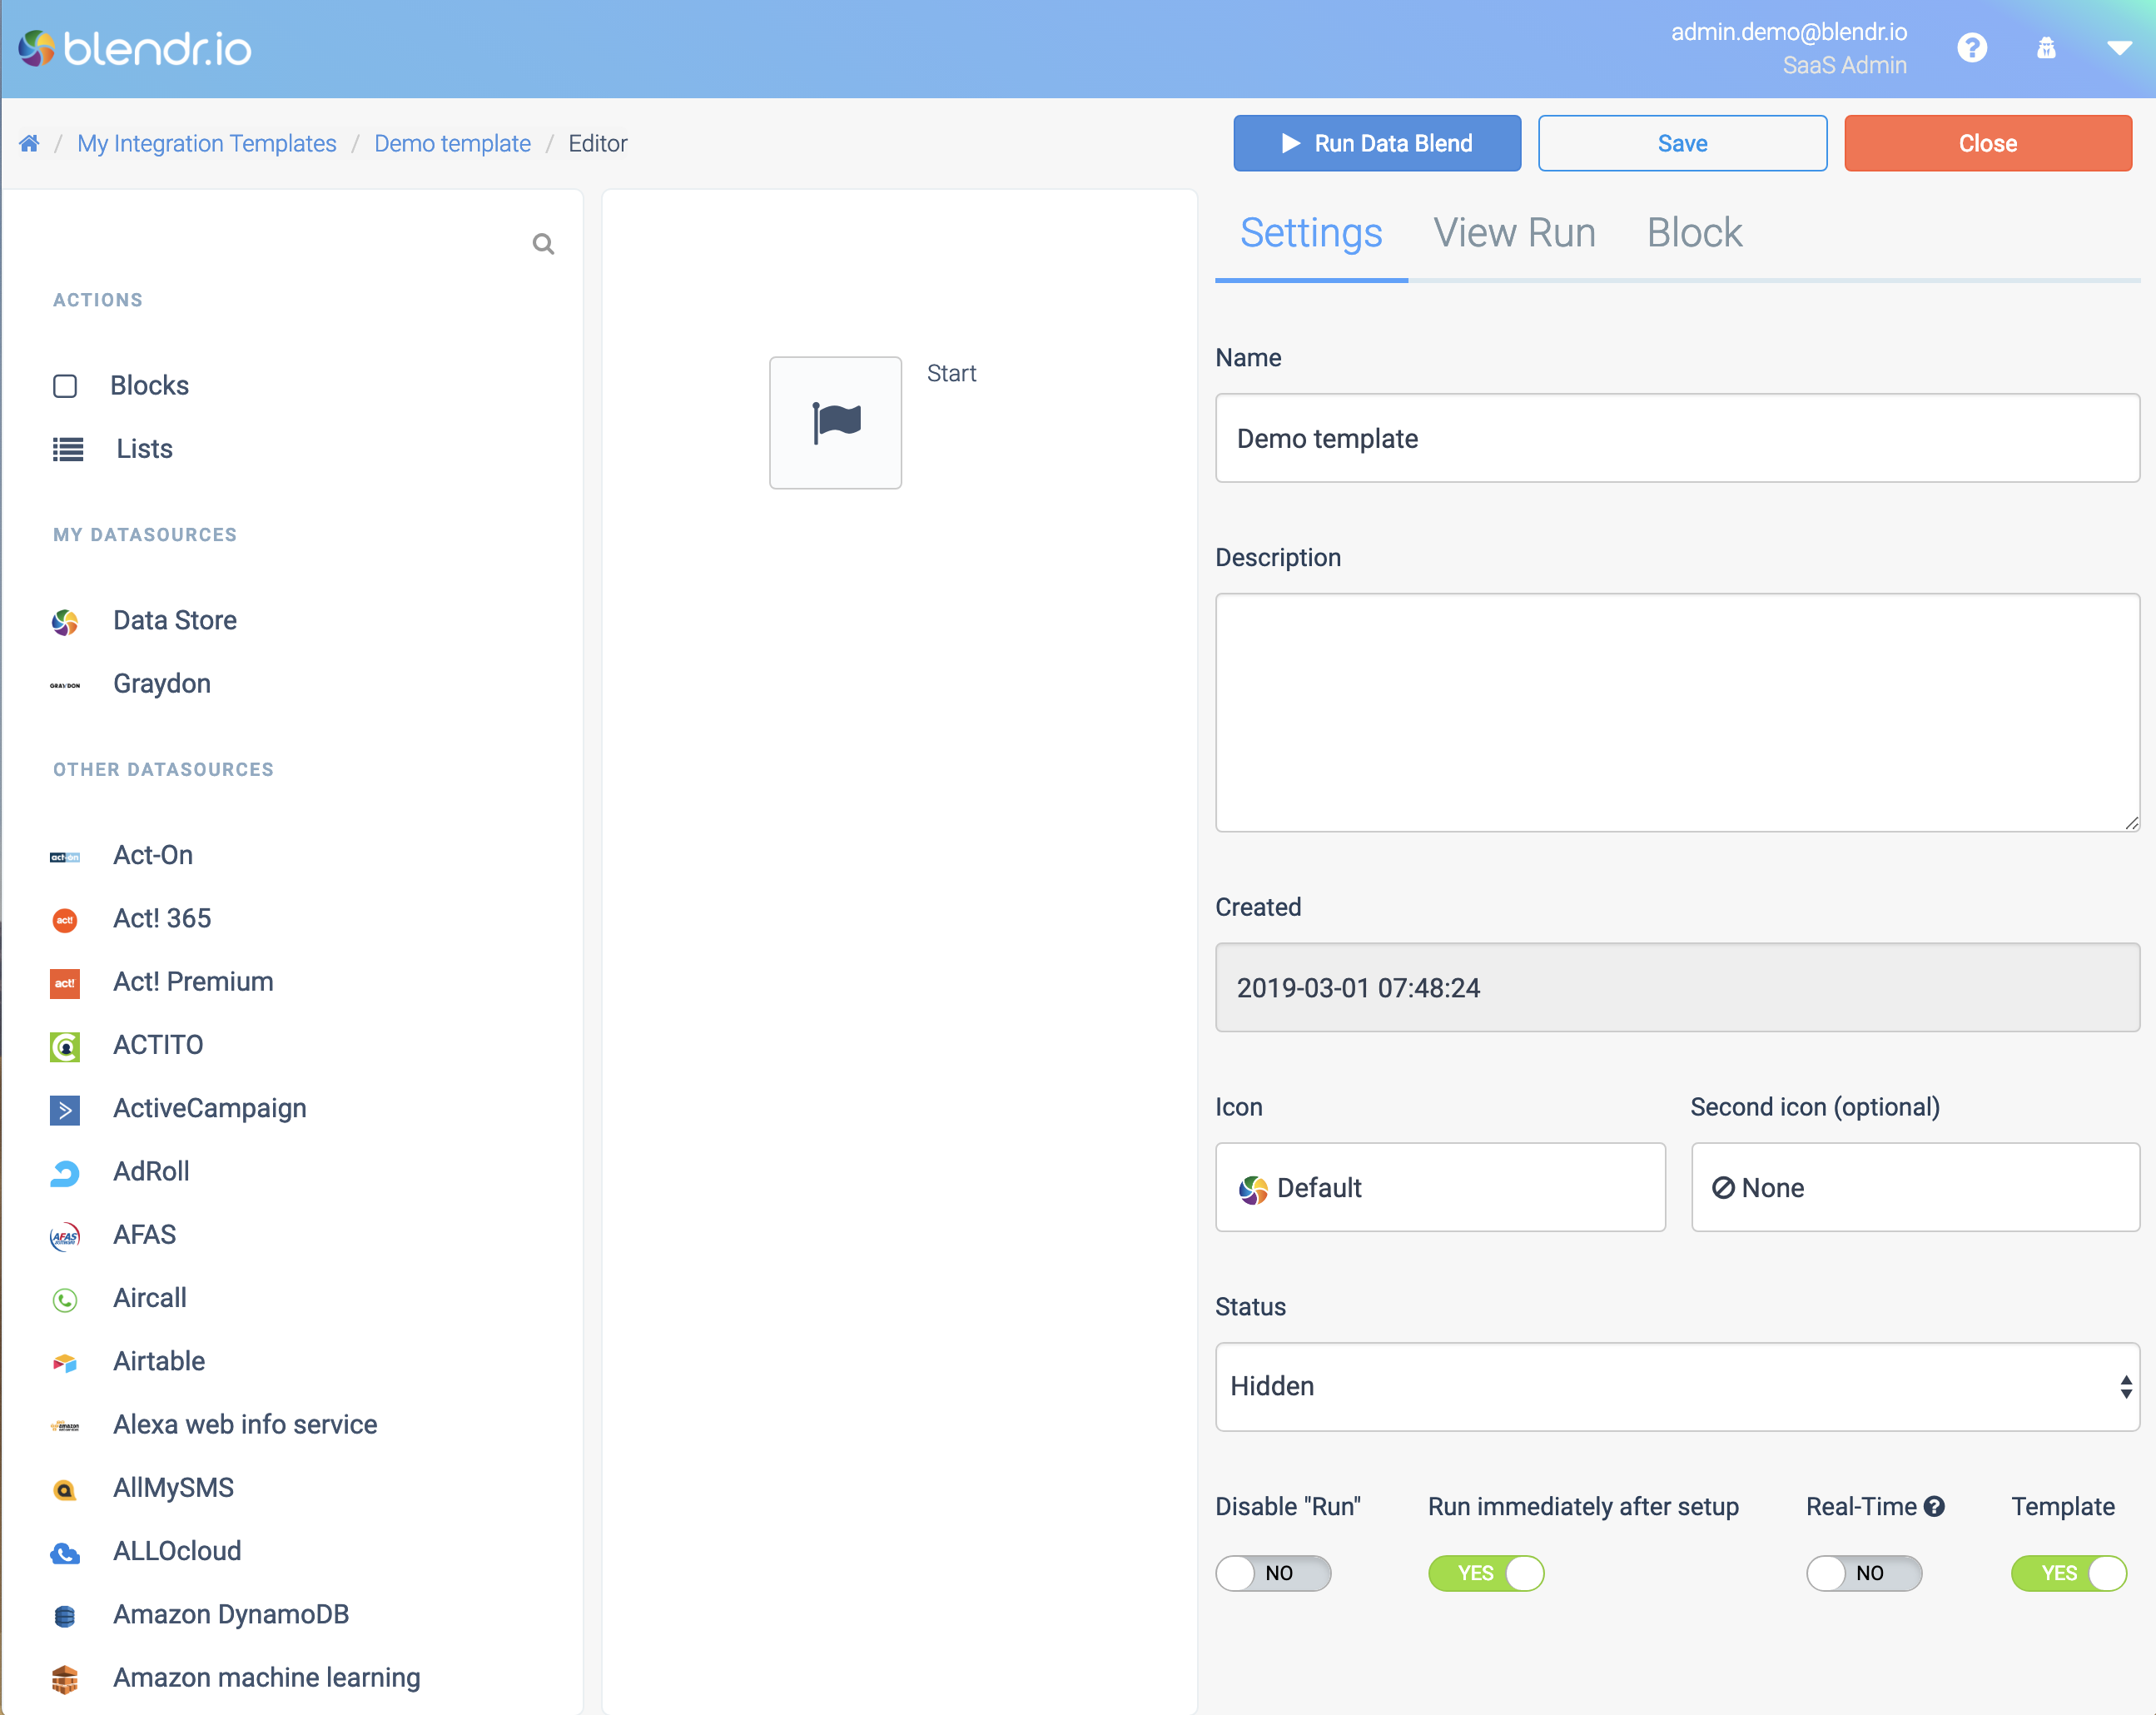
- Template: should be set to
Yes
- Status: should be set to
Live
to make the template visible to customers - Name: e.g.
ACME Salesforce integration
- Description: describe the features and limitations of this integration, you can use markdown to add e.g. titles, bold text, hyperlinks, etc. (HTML is not accepted)
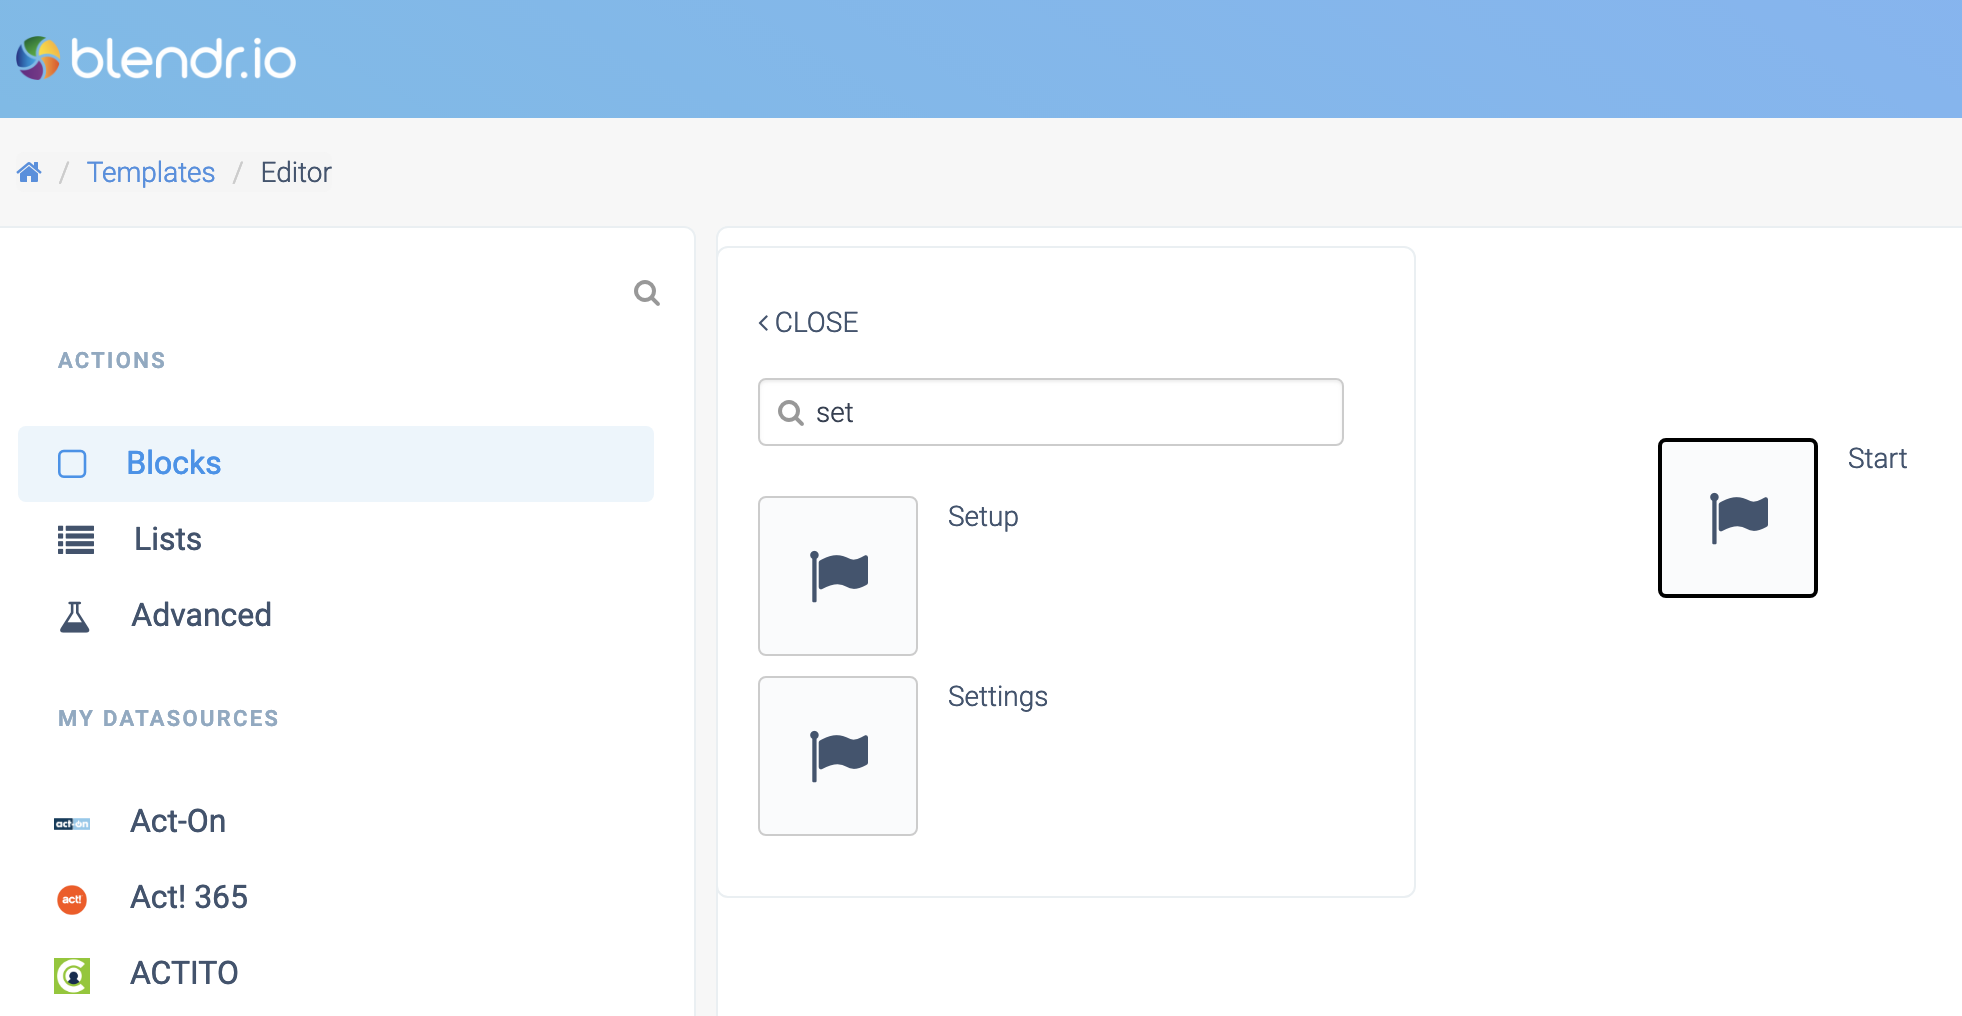
Adding a Setup, Settings and Delete flow
When the toggle Is template
is turned on, you can add extra Start blocks to your Blend, Setup
, Settings
and a Delete
Start block:
Extra Start blocks.
Setup flow
Add a Setup block if you want to create a Setup flow. The Setup flow is a Setup Wizard that the customer will see after clicking the button Use integration
. The Setup flow is executed only once. If the customer wants to run the Setup again, they will have to delete the integration and add it again.
Settings flow
Add a Settings block if you want to create a Settings flow. The Settings flow is a Settings Wizard that the customer will see each time they click on the Settings button on the detail page of the integration. The Settings flow can thus be executed multiple times. Please note that the Settings flow is also executed automatically after the Setup flow, so the Settings Wizard screens are displayed immediately after the Setup Wizard screens.
Delete flow
Add a Delete block if you want to create a Delete flow. The Delete flow is executed when the template is deleted by the user. This flow can perform clean-ups, e.g. removing data from the Data Store or the CDP.
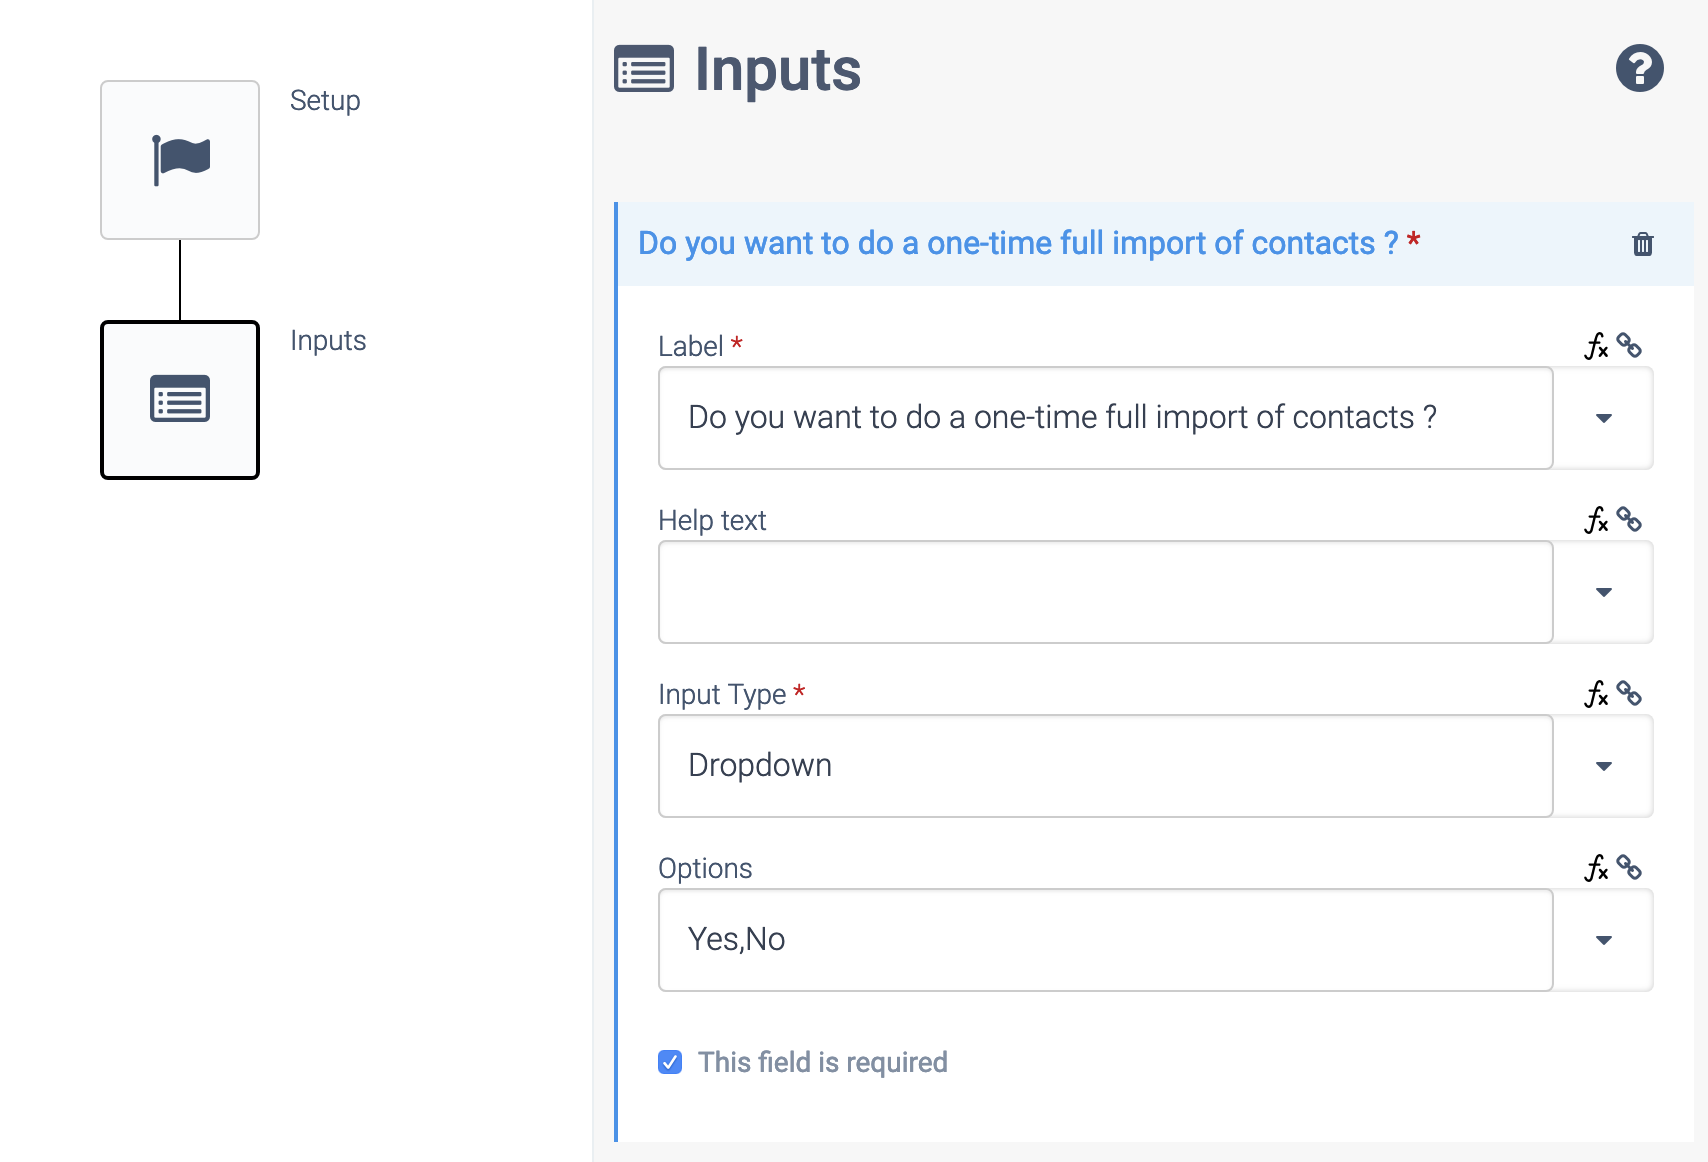
Defining user inputs for the Setup Wizard
If you want to allow the customer to set options during Setup, add one or more Input blocks in the Setup flow. Each block will be displayed as a new consecutive screen in the Setup Wizard. Example:
An Input block in the Setup flow.
In the Setup flow, you will typically perform one-time actions, e.g. creation of custom fields, one-time imports, etc. You will typically add Conditions to take into account the choices made by the customer. Example:
Condition blocks in the Setup flow.
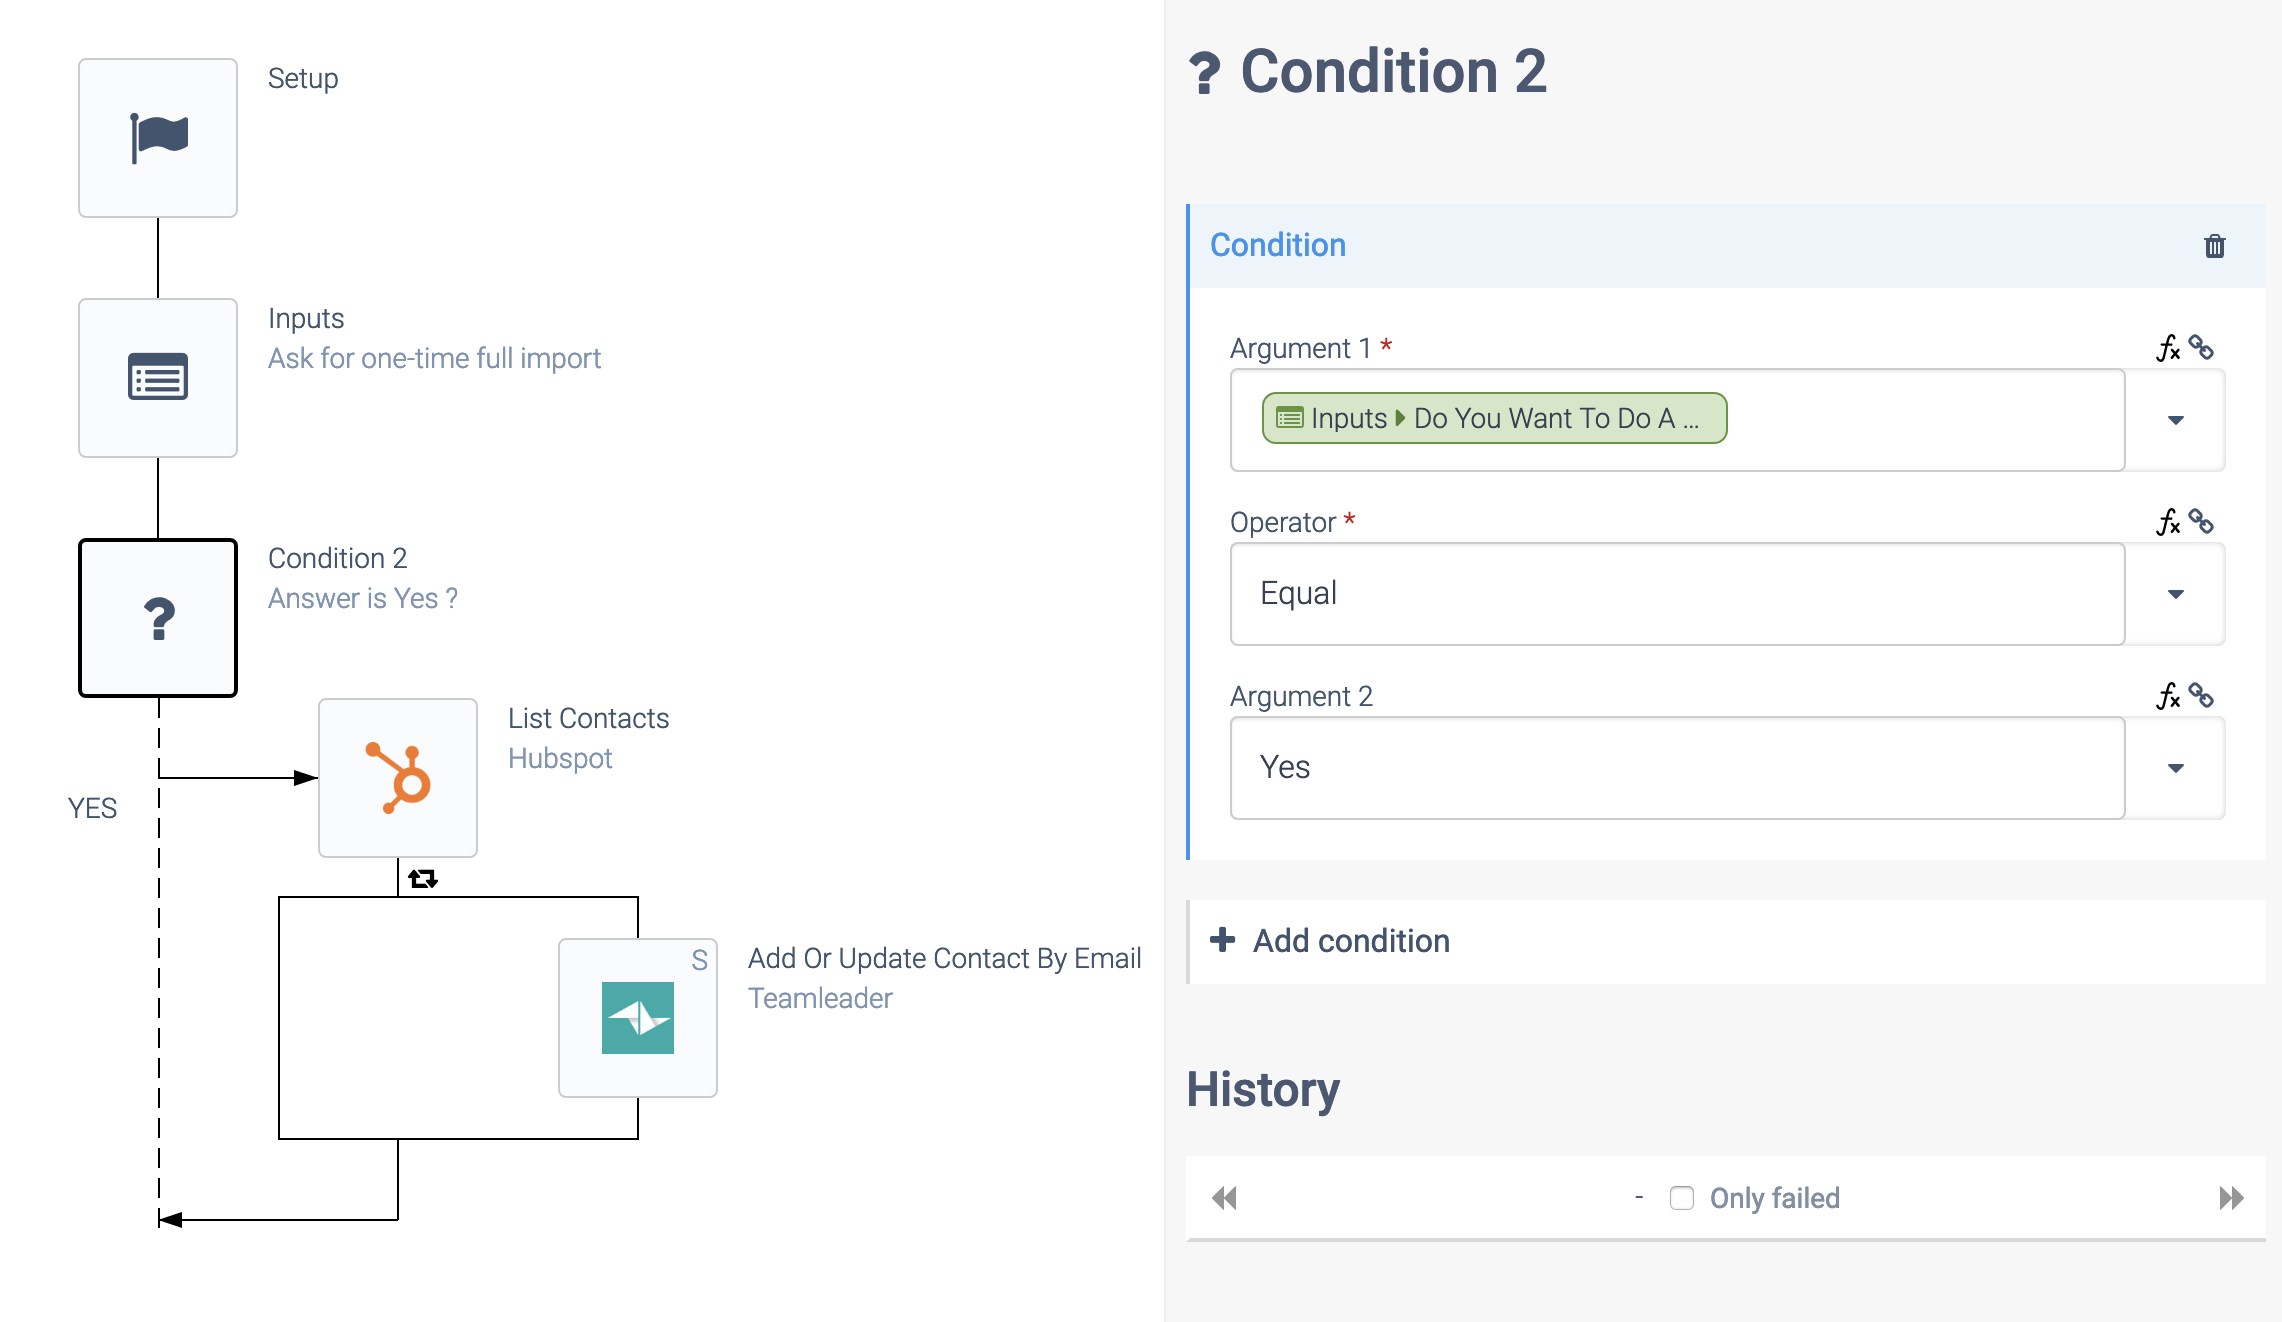
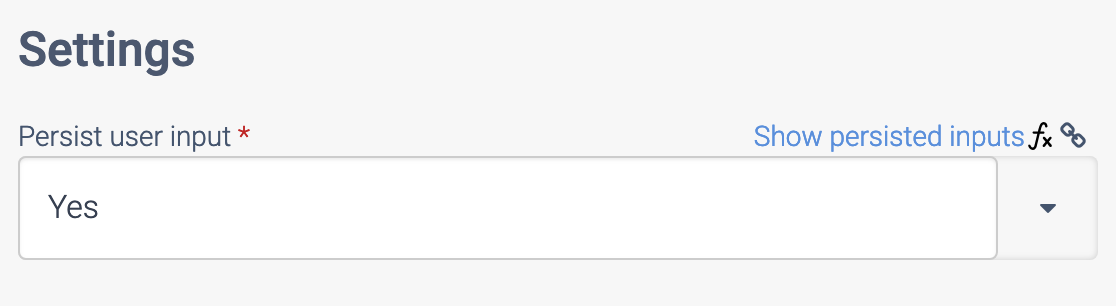
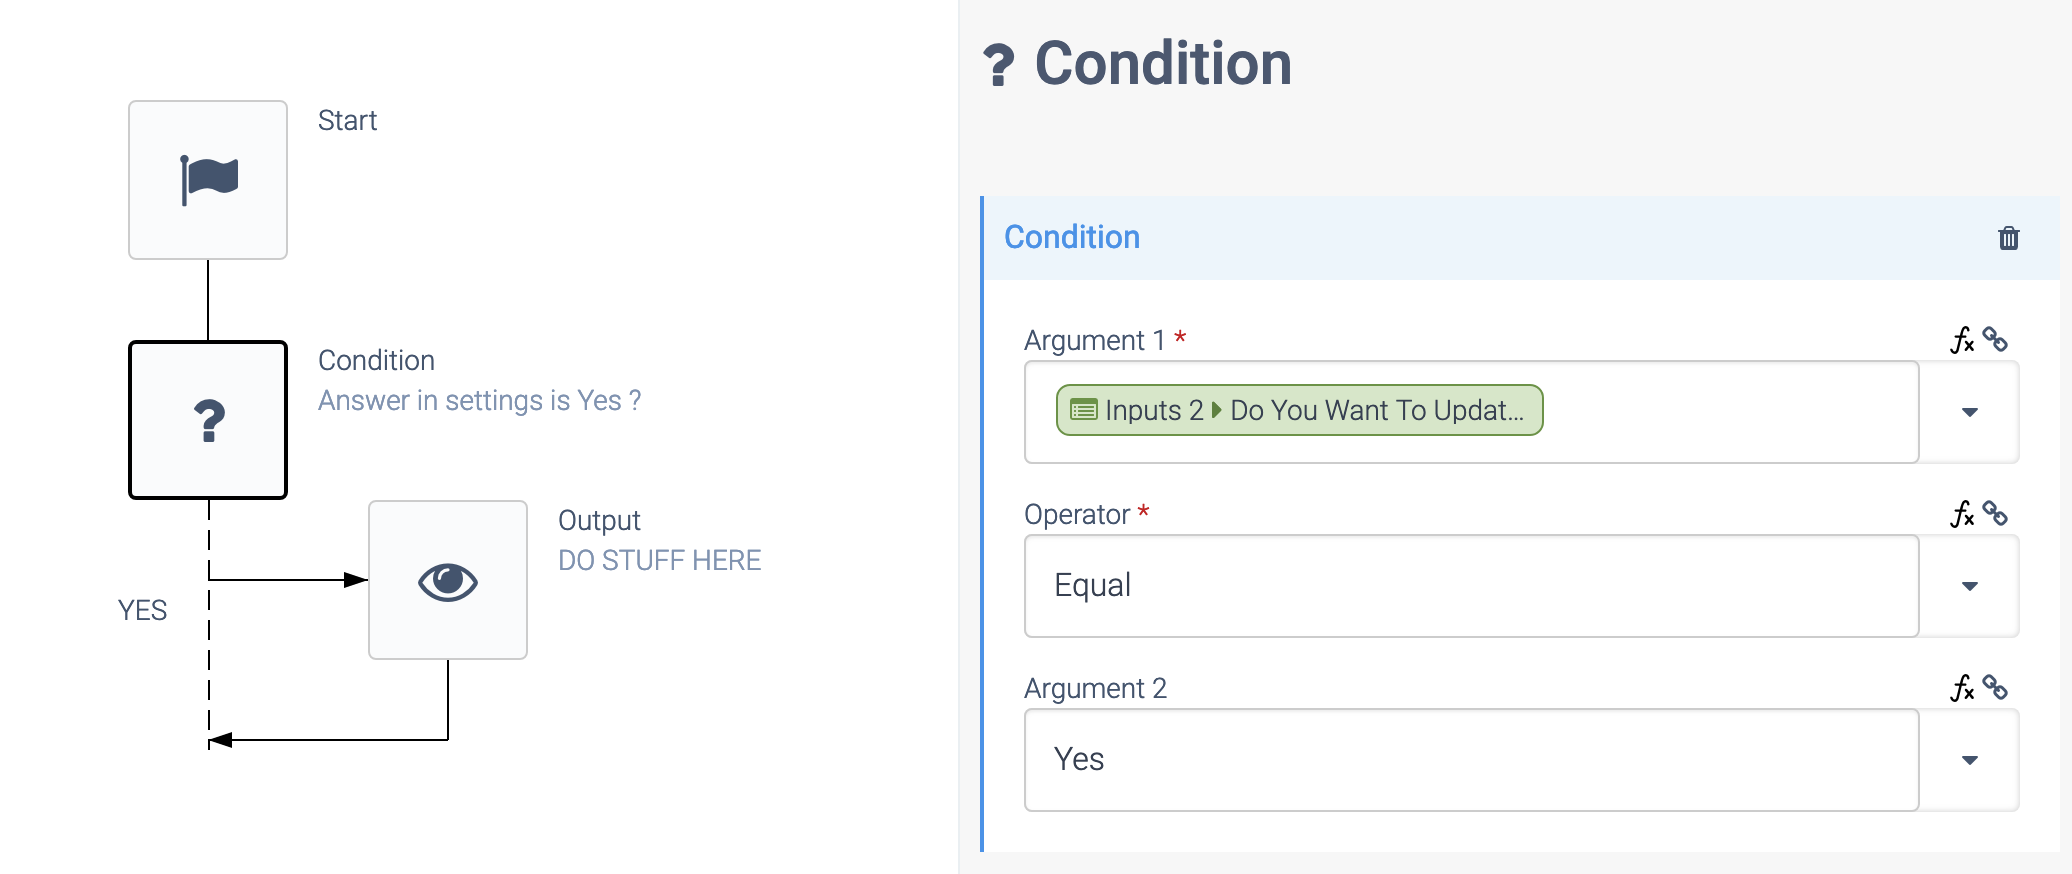
Make sure to Persist the user inputs, in case you want to remember the choices made by the customer. This is needed when you add e.g. a Condition in the normal run flow of the automation (under the regular Start block), that references an input from the Setup flow:
Persisting user inputs.
Defining user inputs for the Settings Wizard
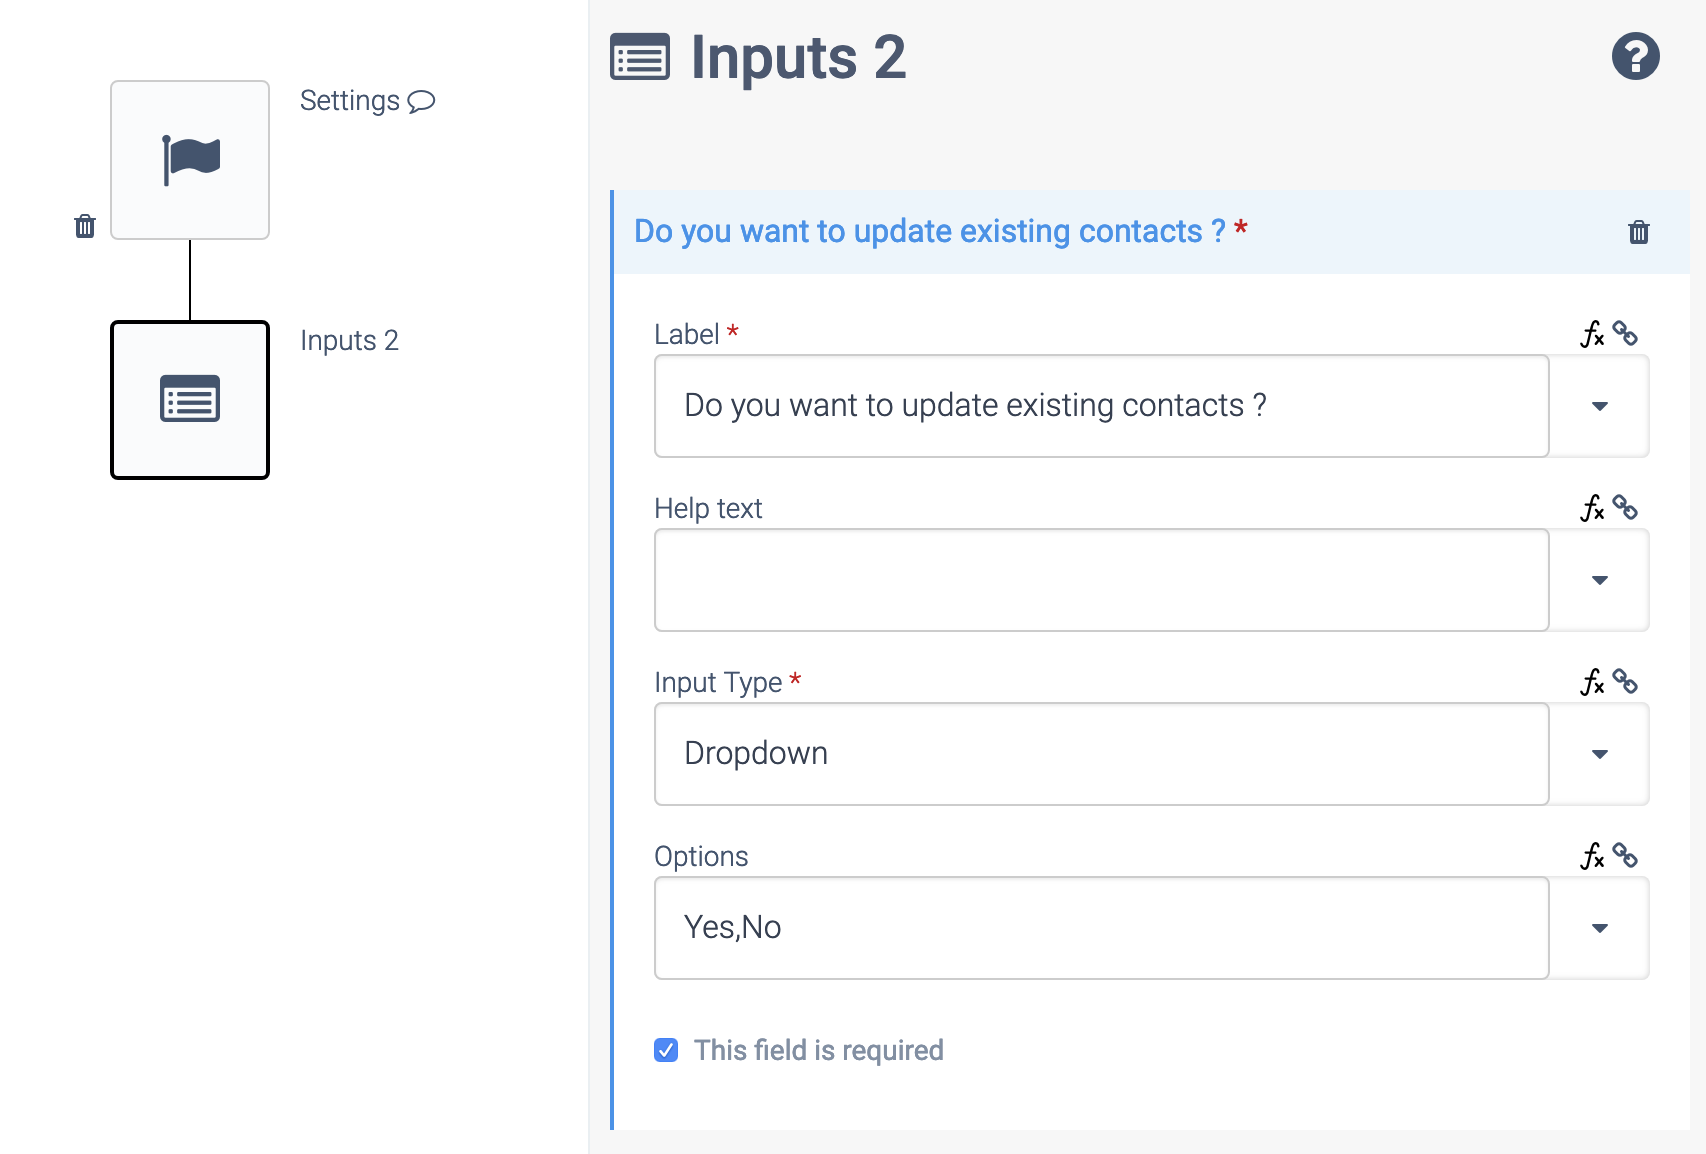
If you want to allow the customer to set options under Settings, add one or more input blocks in the Settings flow. Each block will be displayed as a new consecutive screen in the Settings Wizard. Example:
Defining user inputs.
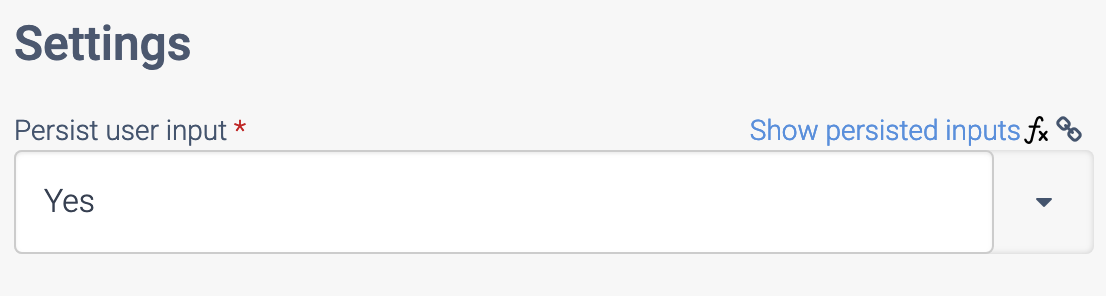
Similar to the Setup flow, please make sure to persist user inputs, since you will most likely read these inputs during each run of your Blend:
Persisting defined user inputs.
Reading user inputs from Settings
You will typically read Settings from the customer in each run of your Blend:
Reading user Settings.
Settings of the template
Make sure to set all the settings of the template on its detail screen:
Template settings.

Settings:
- Disable
Run
: typically this is set to Yes so that the customer will not see aRun
button to run the integration manually. This setting should only be set toNo
for integrations that have to be executed manually, e.g. for a one time import or export. - Run immediately after Setup: set to Yes.
- Real-time: set to No.
- Template: set to Yes.
Setting a schedule
If your integration needs to run on fixed intervals, make sure to add a schedule on the detail page of the template (cannot be done inside the automation editor):
Setting a schedule.
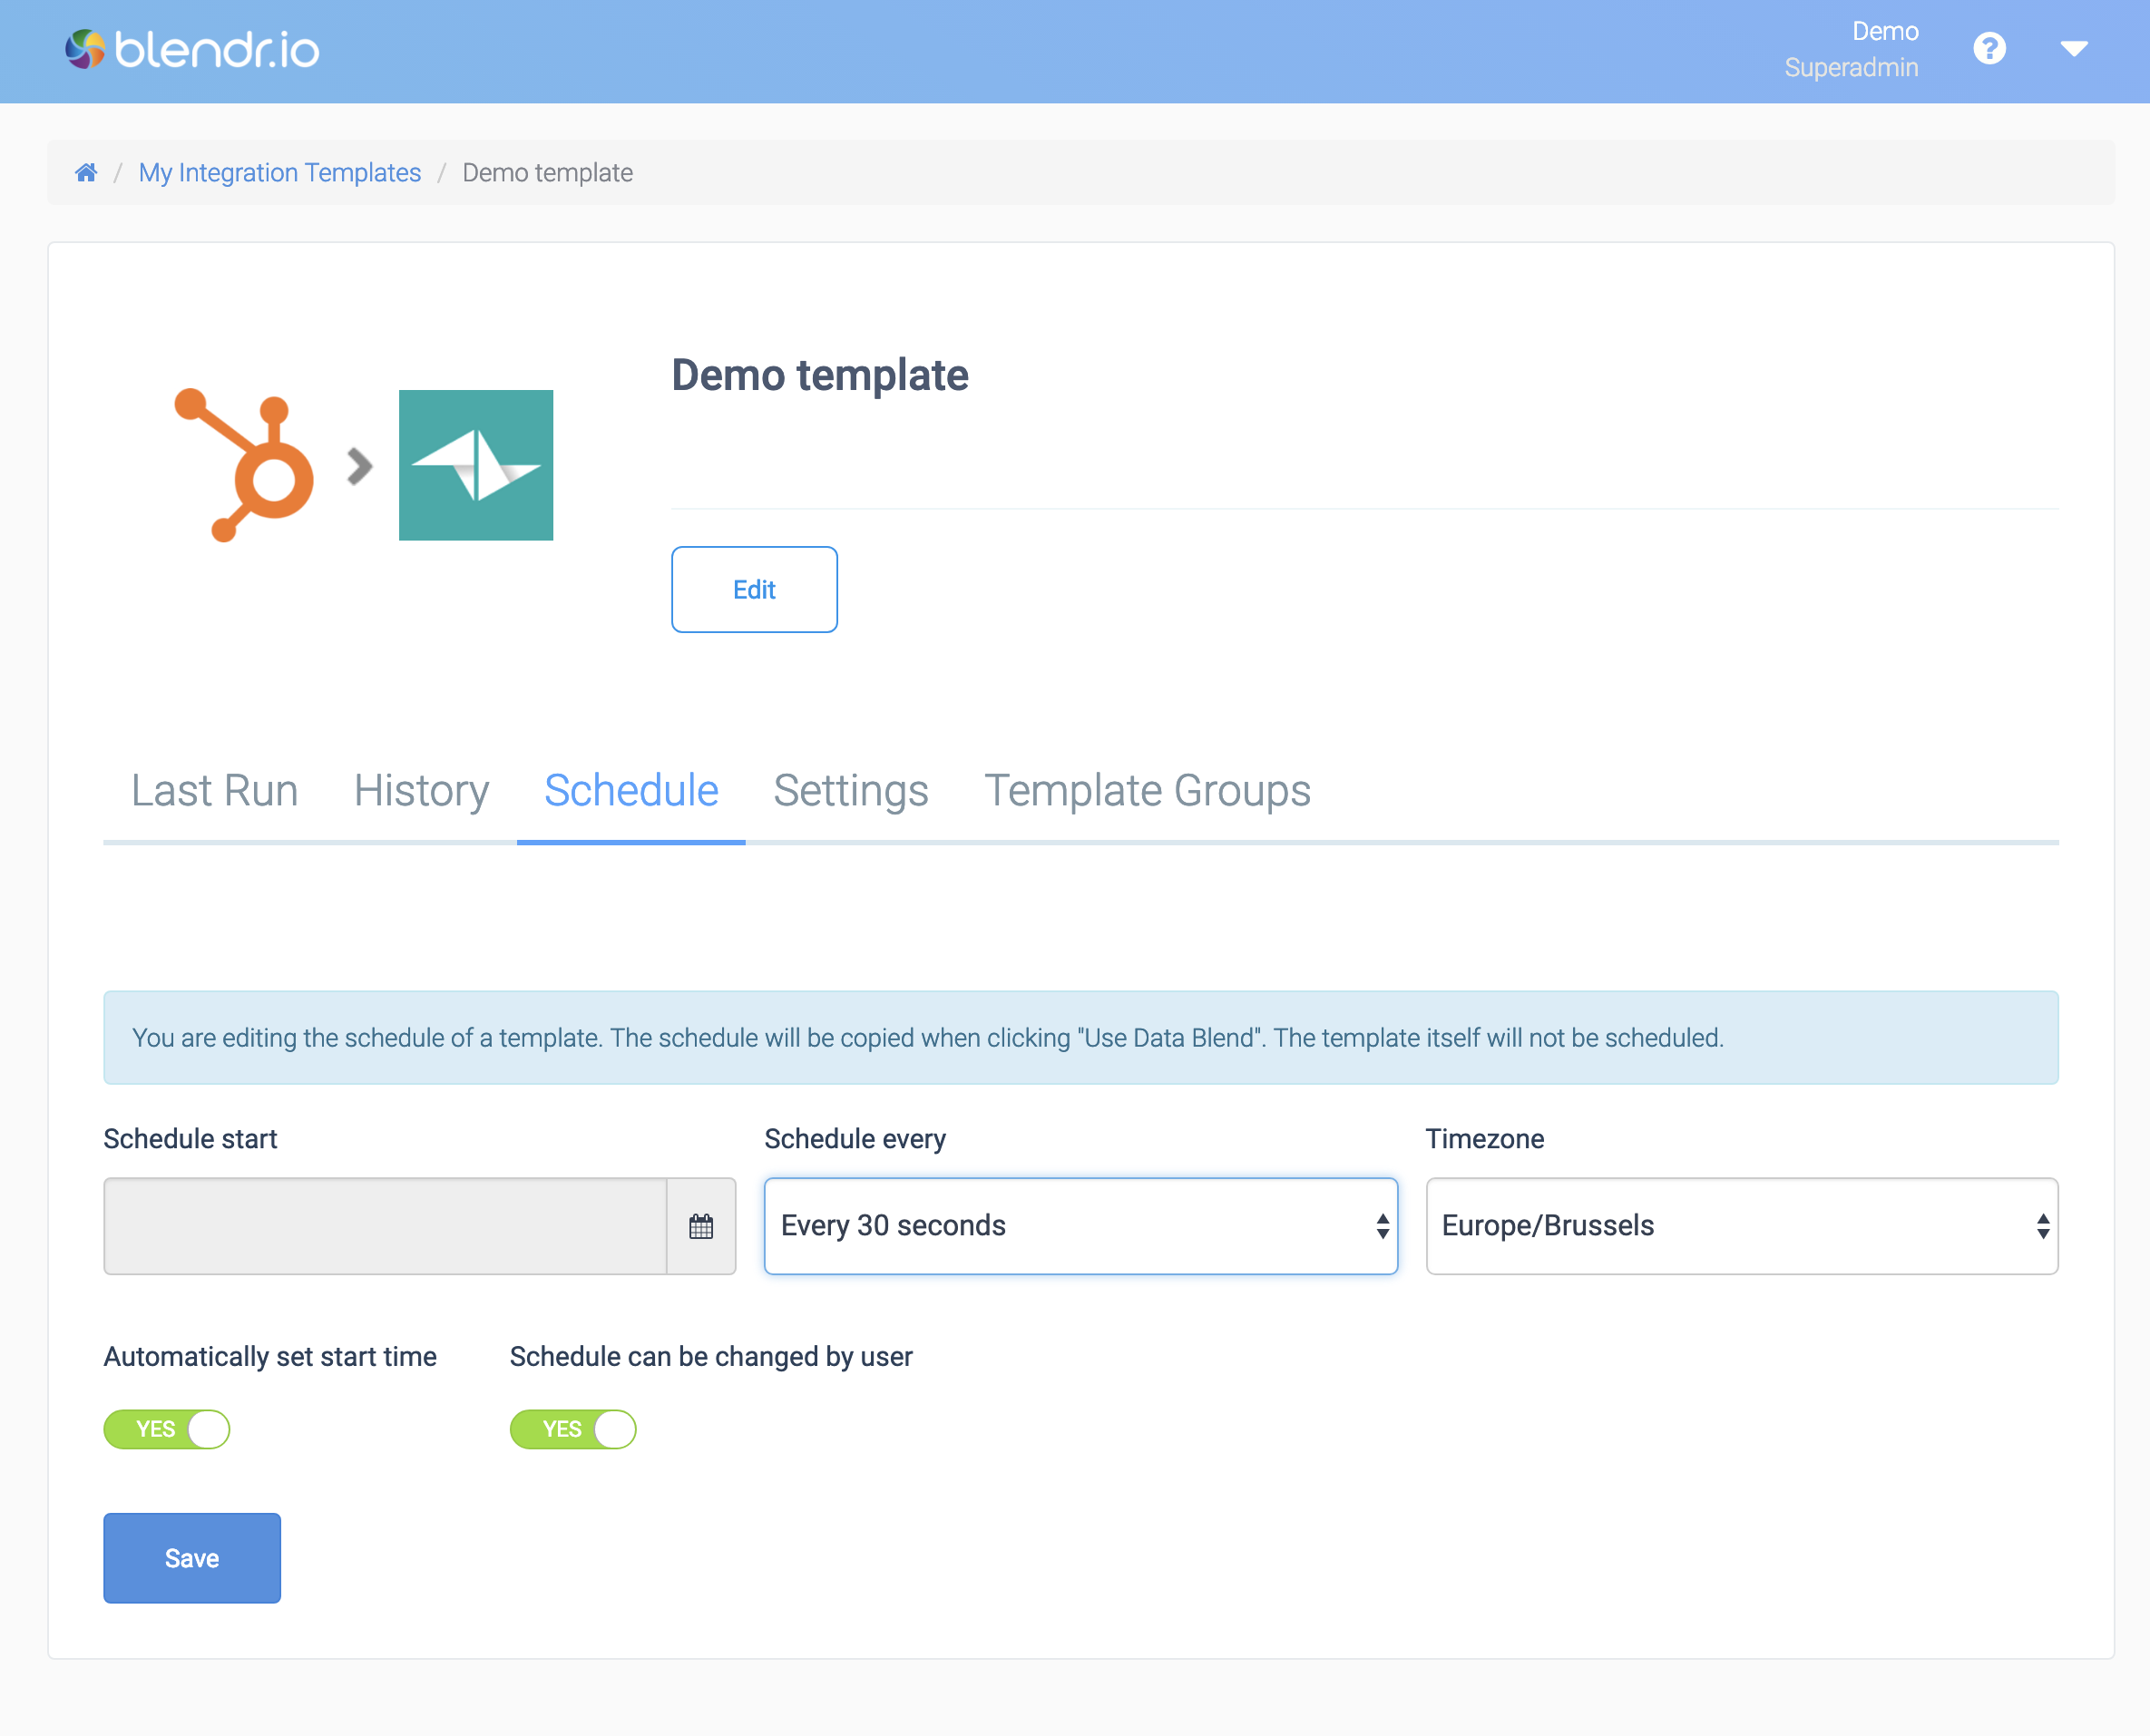
Settings:
- Schedule every: set the interval. Only use short intervals (e.g. every 30 seconds or every minute) for short running automations, typically automations that use incremental blocks that only process new or updated data.
- Automatically set start time: change this to
No
if your integration needs to run e.g. always at night at 2AM. If set to Yes, the actual start time will depend on the time the integration was activated by the customer. - Schedule can be changed by user: typically this is set to
No
so that your customer cannot change the schedule. - Run immediately after Setup: set to Yes.
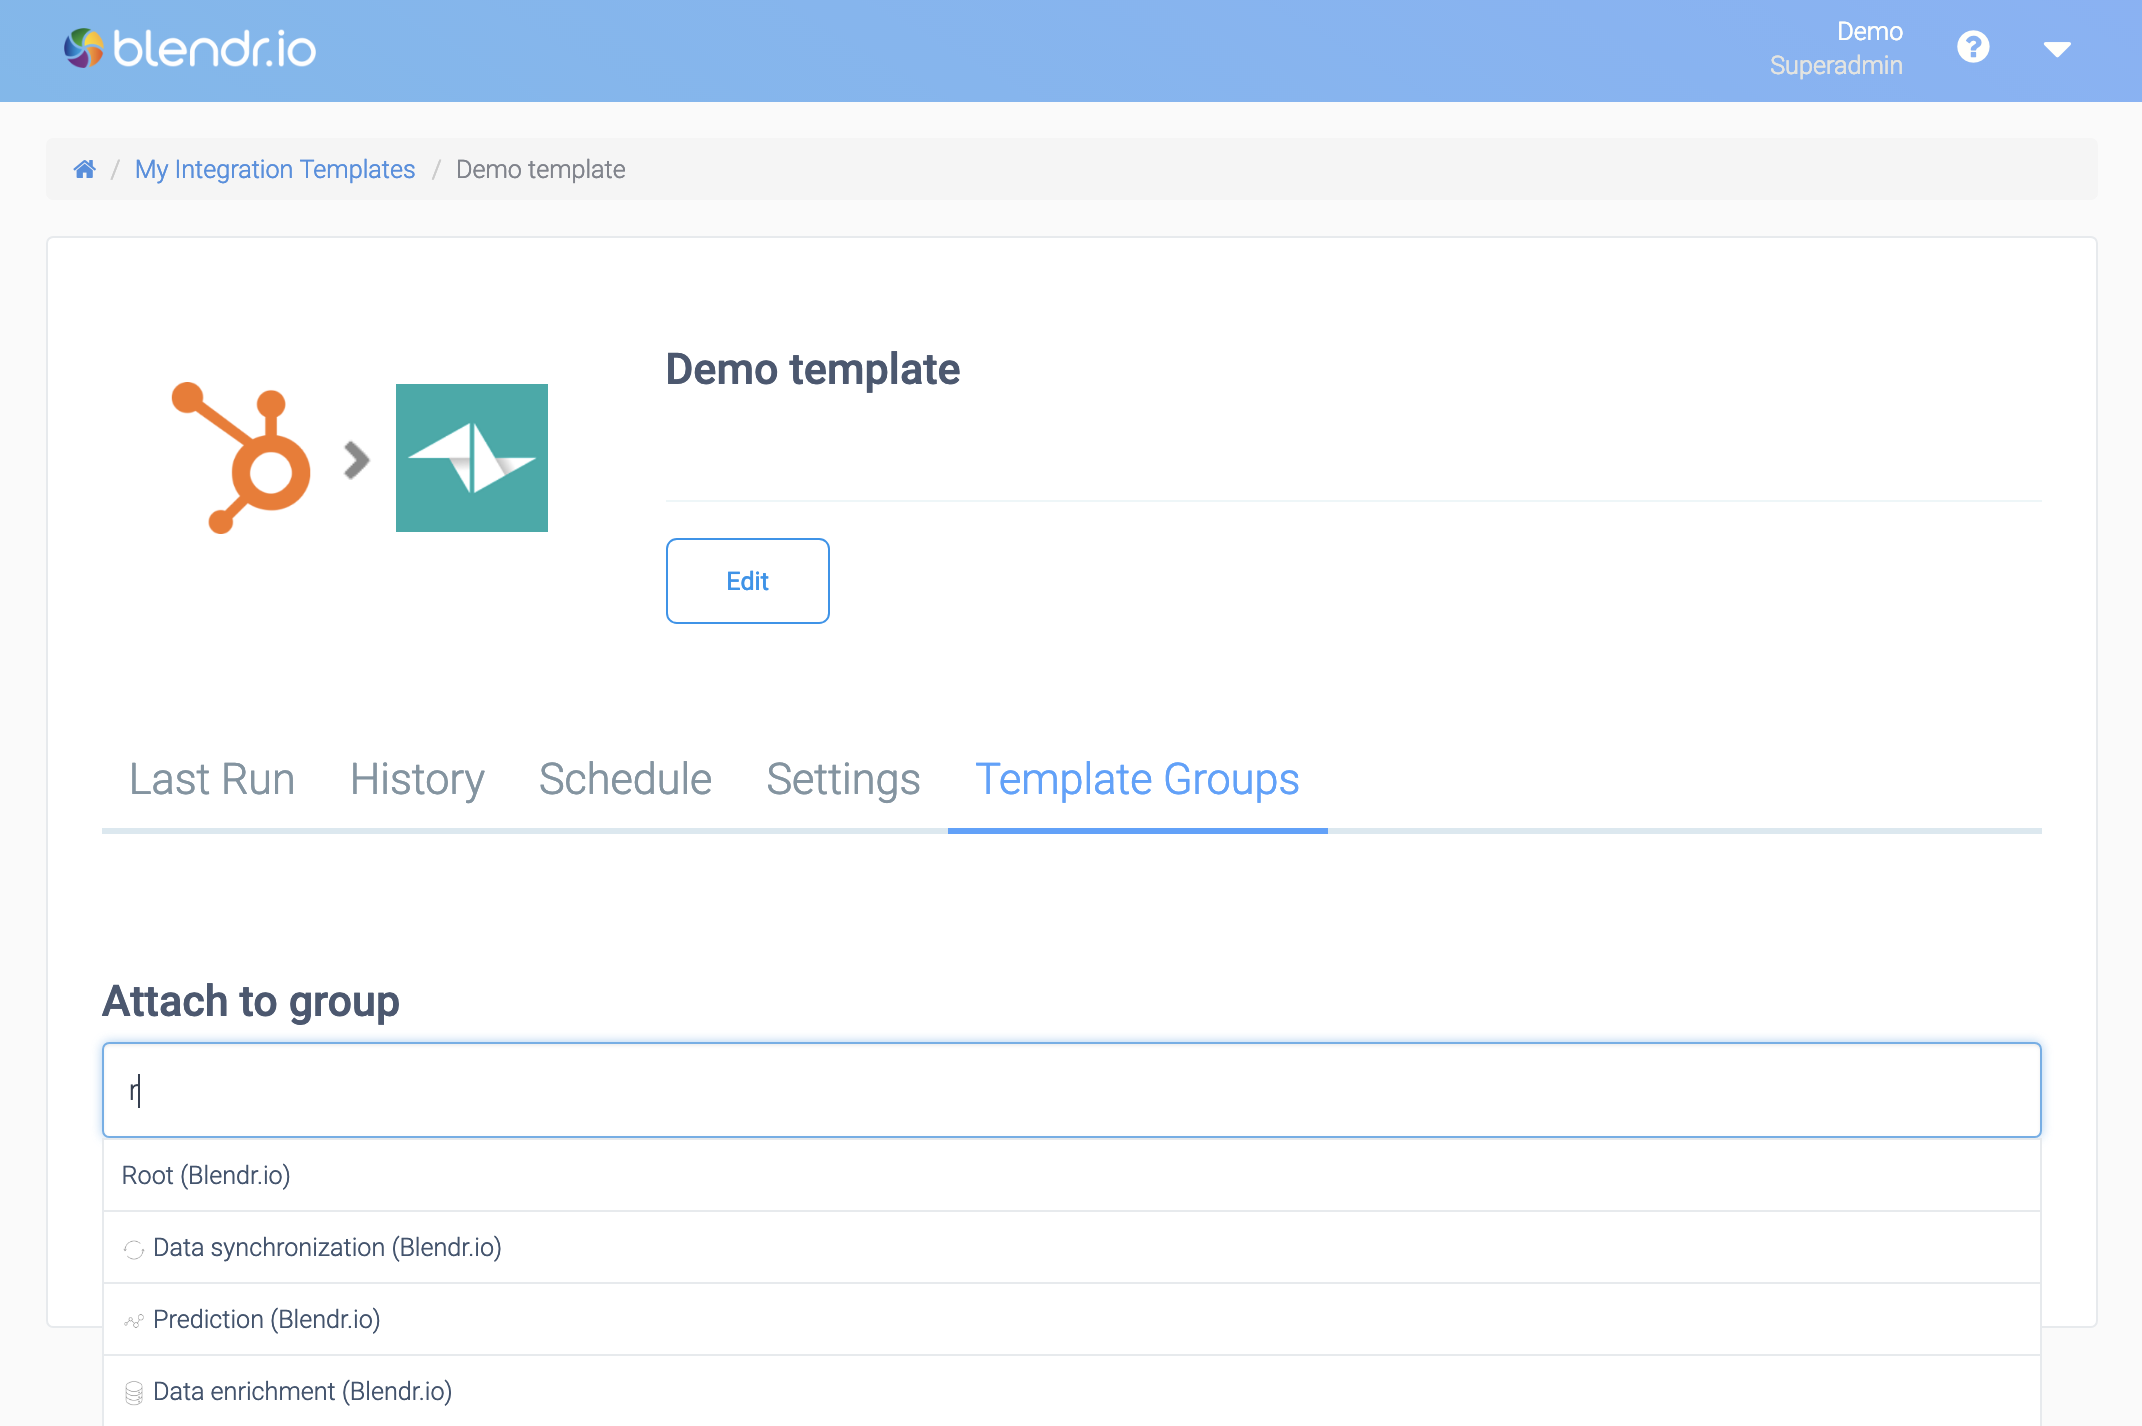
Add the template to a category (group)
Make sure to add the template to at least one category or Group to make it visible in your Hub. Start typing a category name to add it, e.g. Root
to add it to the main page of the Hub:
Attaching a template to a group.
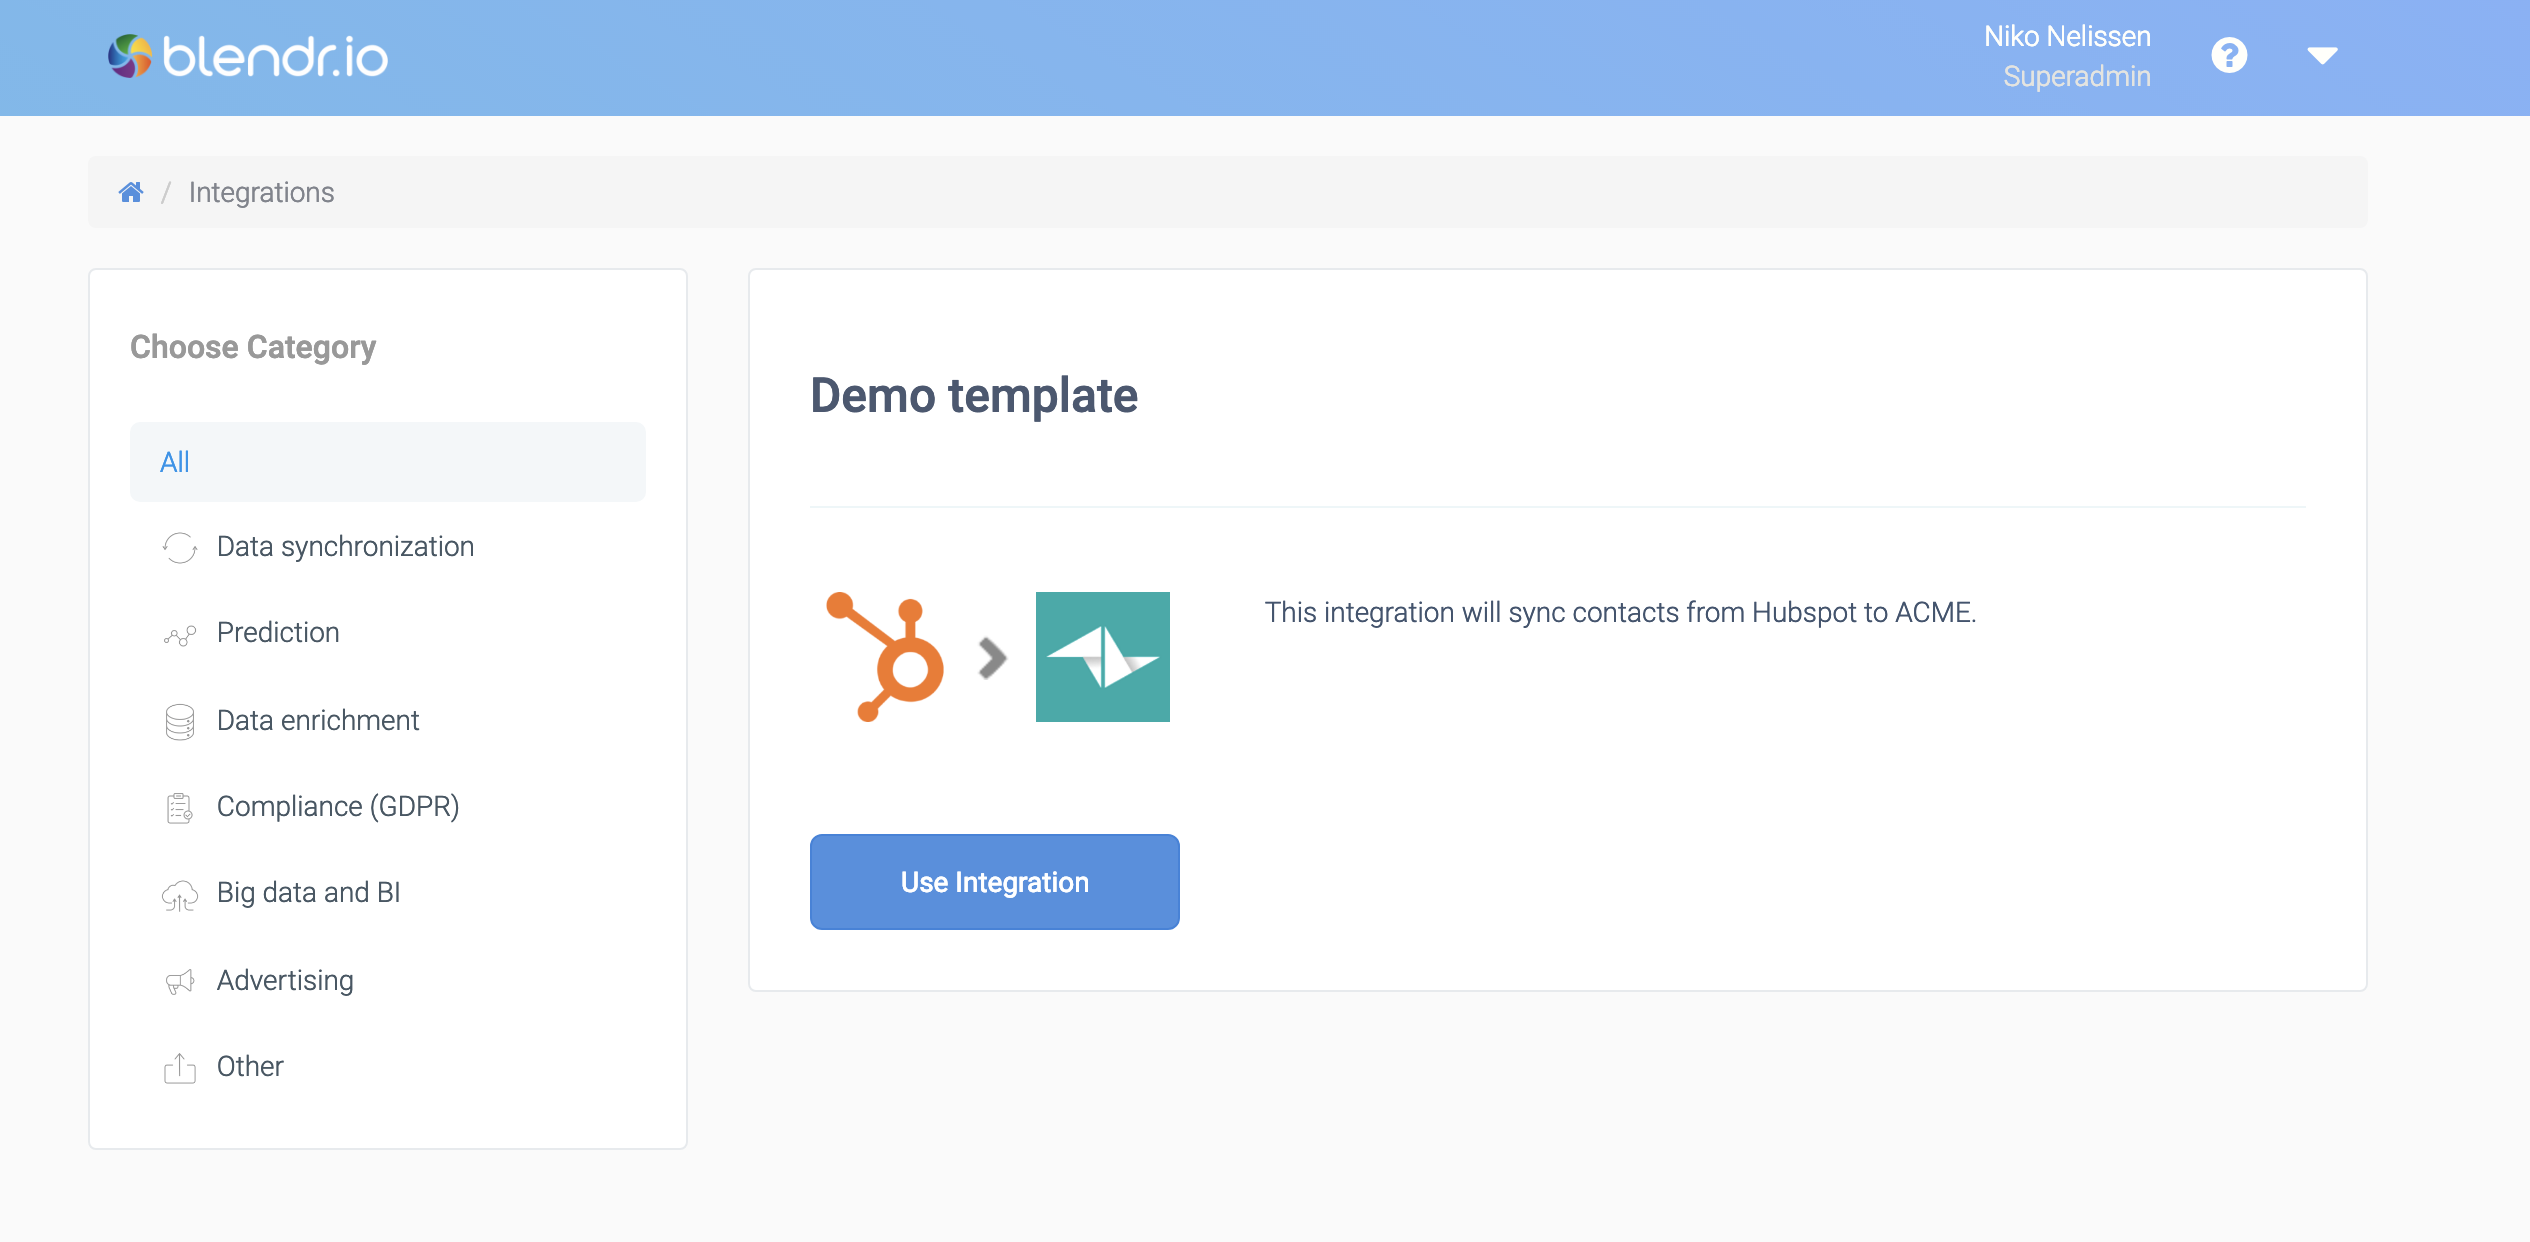
Your template in your Hub for customers
Your customer will now be able to find the integration in your Hub or Market Place:
The integration within the Hub.

The user can click the integration and click on Use integration
on its detail screen:
Using an integration.
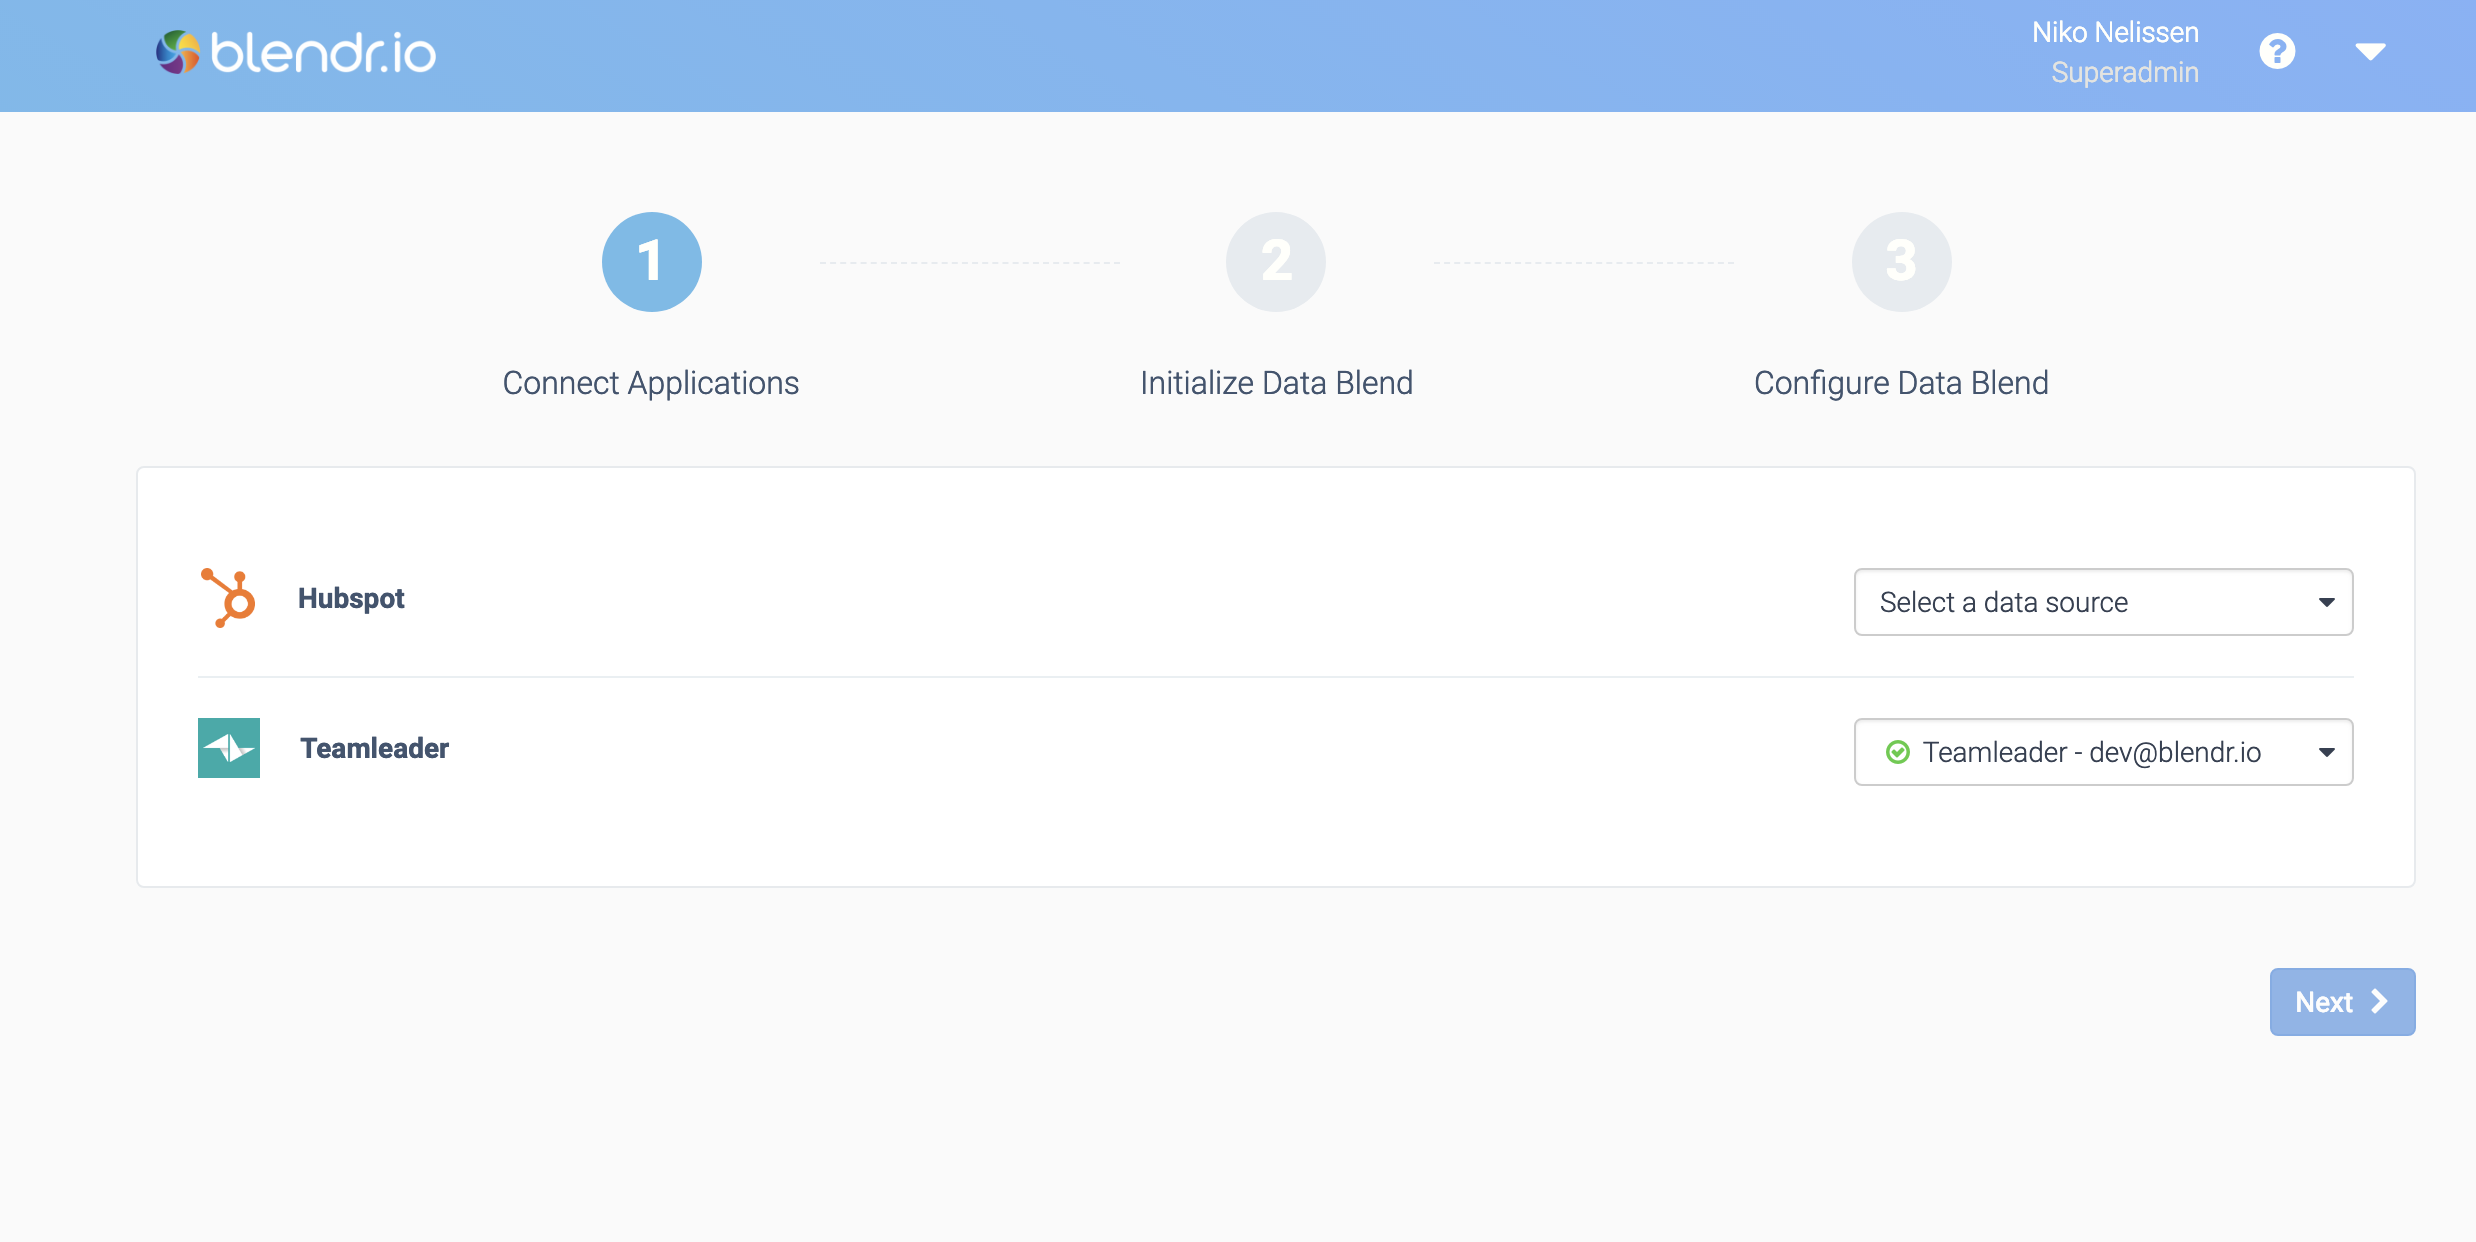
The user will now have to connect the tools used in the integration, and then complete the Setup Wizard (including the Settings Wizard):
Connecting the integration's tools.
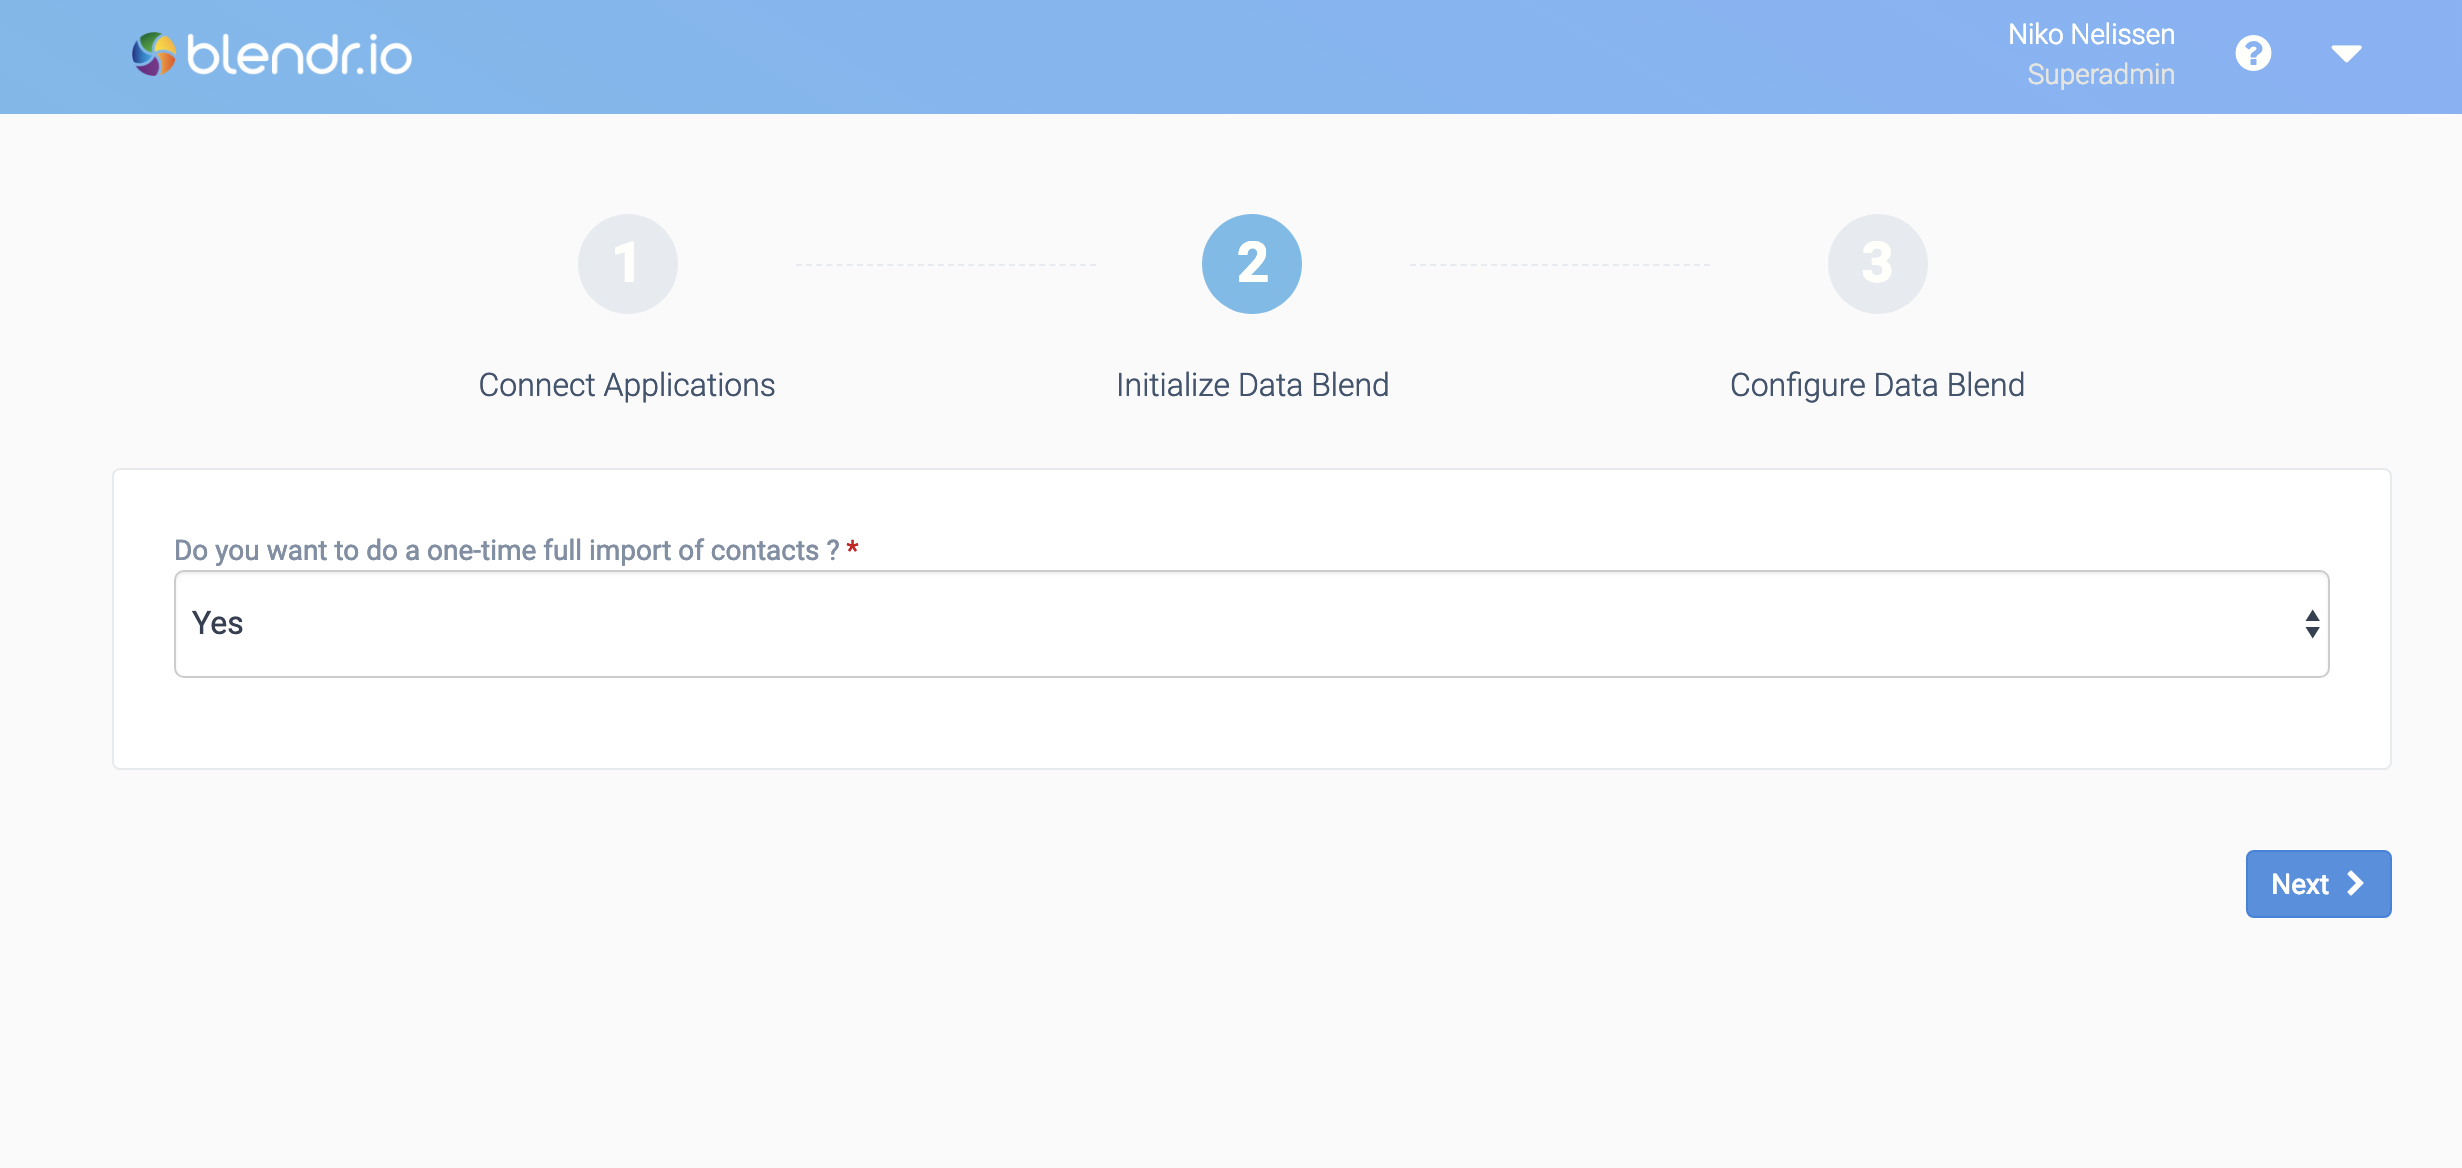
Initializing a Data Blend.
Once this is done, the integration is live, and running according to its Schedule or triggered by Webhooks. The user can click on Settings
at any point in time to change the Settings of the integration. The user can disable the integration or delete it to fully remove it from its account.
Pushing updates of templates to customer accounts
An instance of a template (automation or Bundle of automations) is always a copy of that template in the customer account, so it will never be updated automatically after a template has been updated in the SaaS admin account.
You can find an overview of all instances of a template under the tab Instances
on the template home page:
Template instances.
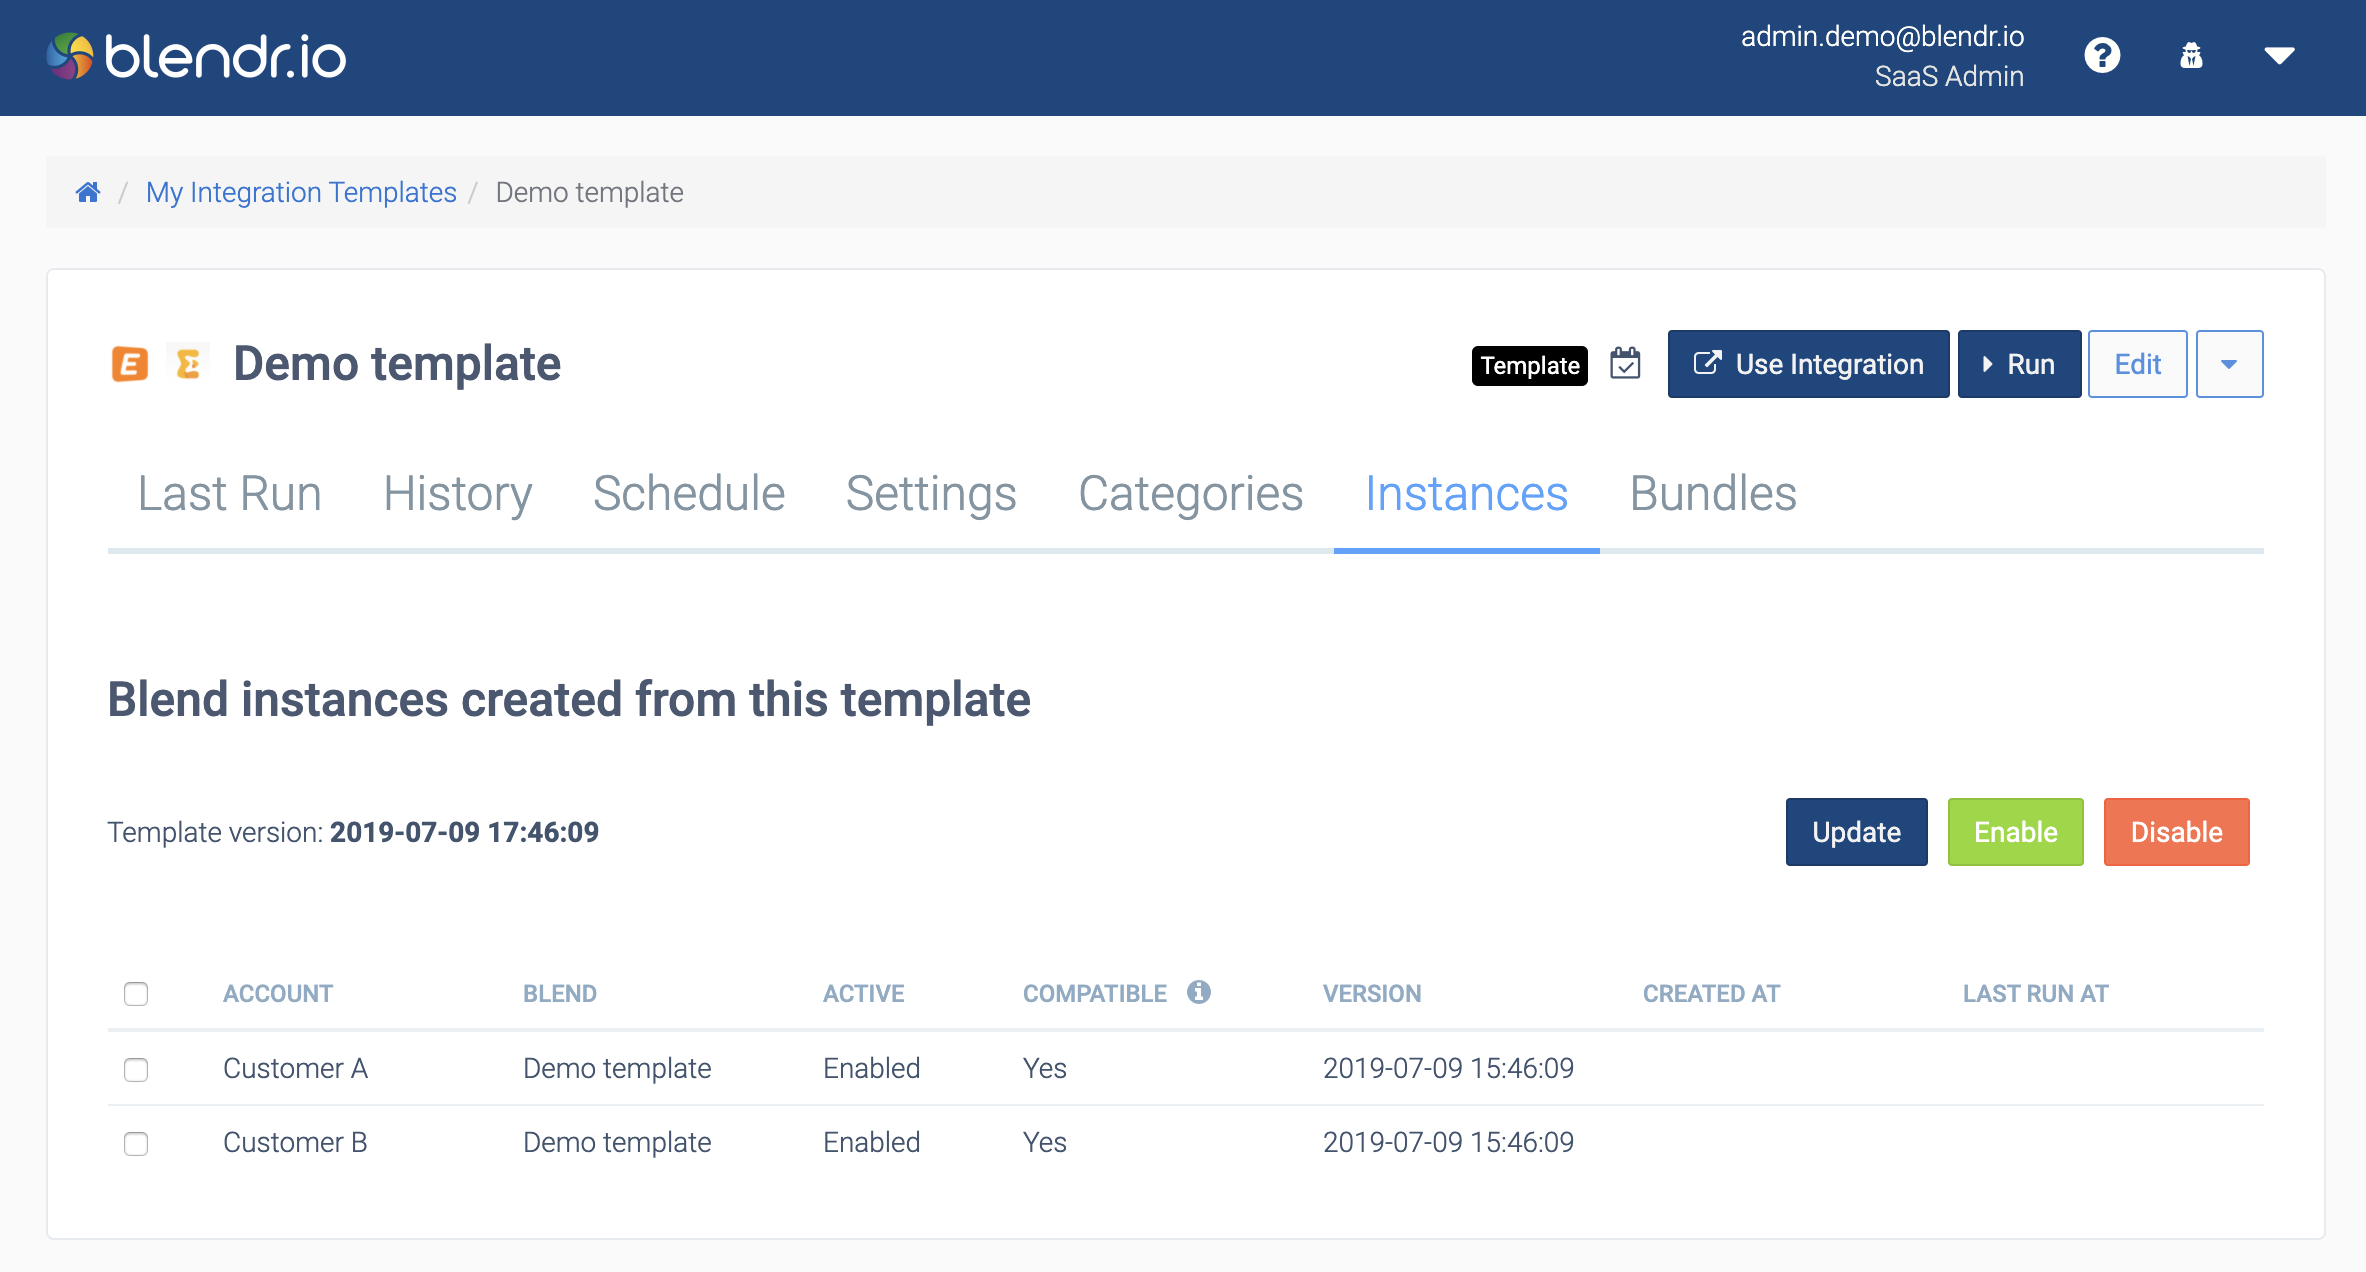
The list will show which version a customer is using (date & time) and if the instance is still compatible, meaning it can be updated to the current (new) version. To update the instances in customer account, you can select one or more instances with the checkboxes, or click Select all
. Next click the Update
button.
There are two reasons why an instance is not compatible anymore with the current version of the template:
- The automation was manually changed in the customer account. Note: this includes any change that was made to the automation (
Save
was clicked or automation was executed manually inside the automation editor which automatically saves the Blend). - The automation has different persisted inputs, e.g. a new required field was added in the Setup or Settings flow in the template.
What to do when an update is needed and the current instance is not compatible?
- You can make changes manually in the automation inside the customer account.
- You can remove the instance and install it again. Templates should be created best on patterns that will e.g. avoid duplicates, so doing a full rerun of the template should not cause issues in terms of the data being synced. More info: Design patterns overview.
Note that the pointers (from incremental blocks) of active automations will not be affected when you push a template update, the pointers will not be reset.
Did this page help you?
If you find any issues with this page or its content – a typo, a missing step, or a technical error – let us know how we can improve!