Skip to main content Skip to complementary content

Adding components to the Job

About this task

Now that the Job is created, components must be added to the design workspace, a tFileInputDelimited, a tLogRow, and a tFileOutputDelimited in this example.

There are several ways to add a component onto the design workspace:

  • Find your component on the Palette by typing the search keyword(s) in the search field of the Palette and drop it onto the design workspace.
  • Add a component by directly typing your search keyword(s) on the design workspace.
  • Add an output component by dragging from an input component already existing on the design workspace.
  • Drag and drop a centralized metadata item from the Metadata node onto the design workspace, and then select the component of interest from the Components dialog box.

This section describes the first three methods. For details about how to drop a component from the Metadata node, see Using centralized metadata in a Job.

You can also search Stitch connectors on the design workspace and in the Palette. The search result will lead you to the Stitch web page about the connector you select.
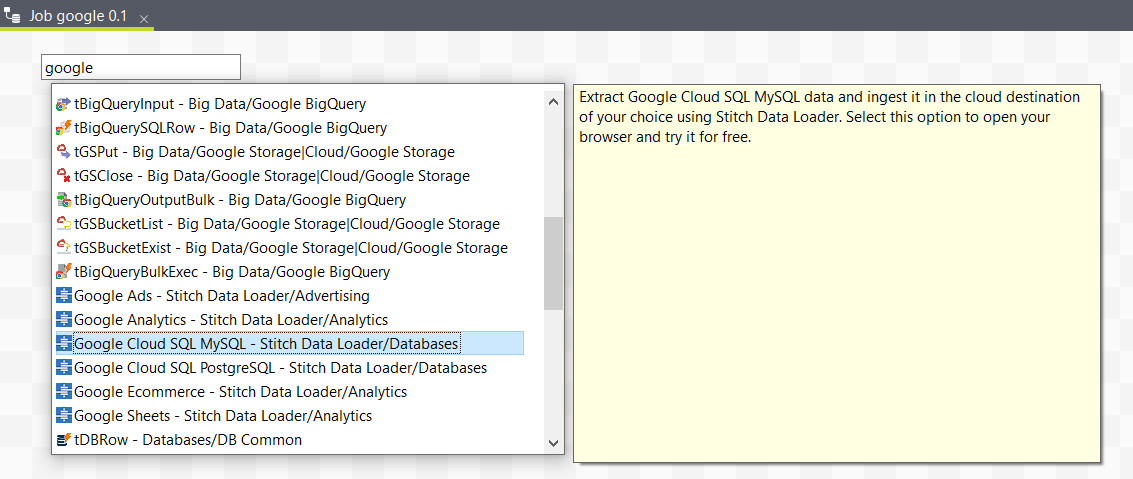
Search results for the term "Google" in the design workspace. The list contains the Google Cloud SQL MySQL - Stitch Data Loader/Databases connector.

Dropping the first component from the Palette

About this task

The first component of this example will be added from the Palette. This component defines the first task executed by the Job. In this example, as you first want to read a text file, you will use the tFileInputDelimited component.

To drop a component from the Palette, proceed as follows:

Procedure

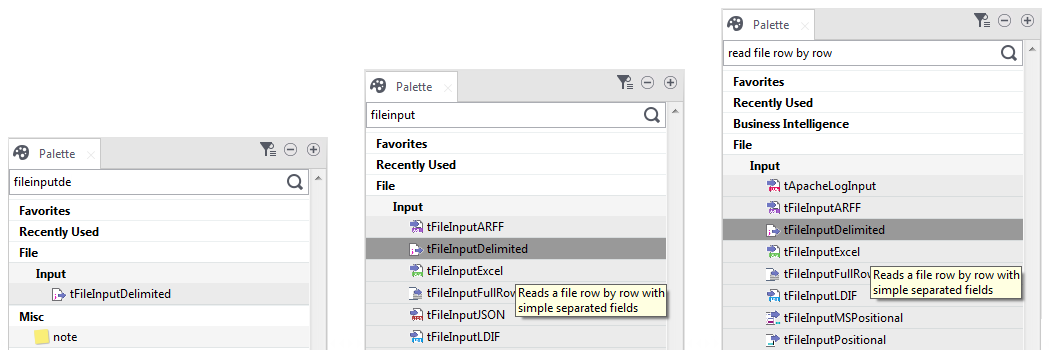
  1. Enter the search keyword(s) in the search field of the Palette and press Enter to validate your search.
    The keyword(s) can be the partial or full name of the component, or a phrase describing its functionality if you don't know its name, for example, fileinputde, fileinput, or read file row by row. The Palette filters to the only families where the component can be found. If you cannot find the Palette view in Talend Studio, see Changing the Palette layout and settings.
    Information noteNote: Components may not always have a prefix letter in the name. Therefore, as a best practice, you may want to simply specify the main body when searching for a component by its name.
    Palette view.
  2. Select the component you want to use and click on the design workspace where you want to drop the component.

Results

Note that you can also drop a note to your Job the same way you drop components.

Each newly-added component is shown in a blue box to show that it as an individual subJob.
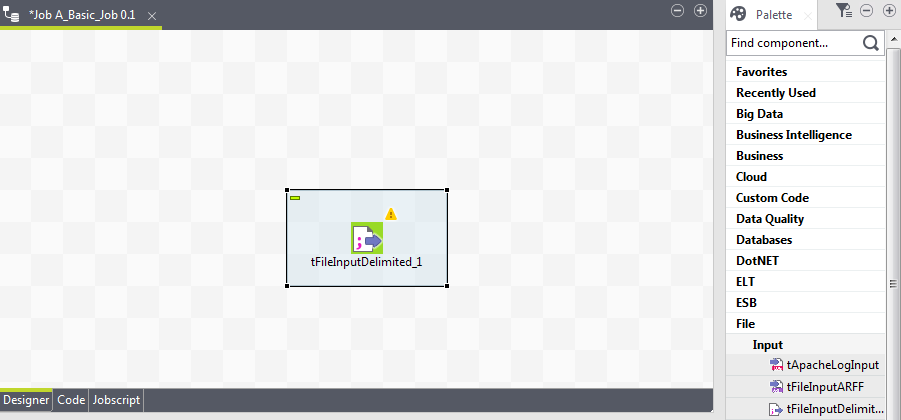
The Job in the design workspace.

Adding the second component by typing on the design workspace

About this task

The second component of the Job will be added by typing its name directly on the workspace, instead of dropping it from the Palette or from the Metadata node.

Prerequisite: Make sure you have selected the Enable Component Creation Assistant check box in the Talend Studio preferences. For more information, see Using centralized metadata in a Job.

To add a component directly on the workspace, proceed as follows:

Procedure

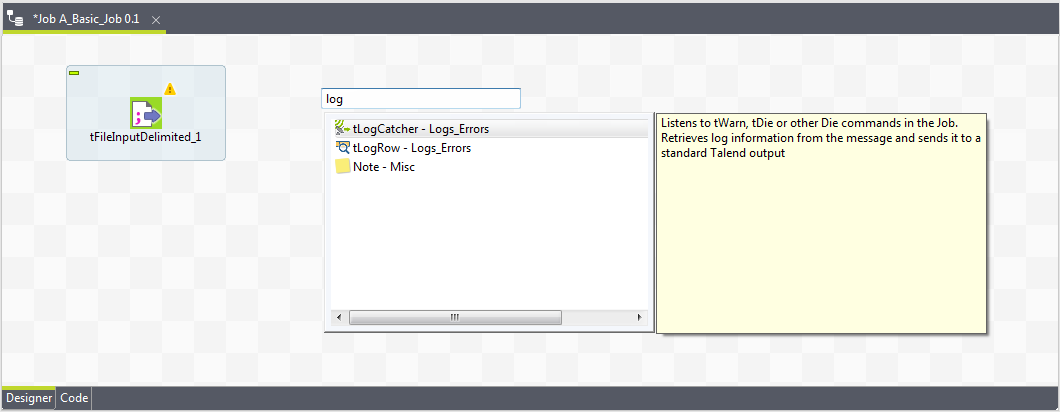
  1. Click where you want to add the component on the design workspace, and type your keywords, which can be the full or partial name of the component, or a phrase describing its functionality if you don't know its name. In this example, start typing log.
    Information noteNote: Components may not always have a prefix letter in the name. Therefore, as a best practice, you may want to simply specify the main body when searching for a component by its name.
    A list box appears below the text field displaying all the matching components in alphabetical order.
    Design workspace.
  2. Double-click the desired component to add it on the workspace, tLogRow in our example.

Adding an output component by dragging from an input one

About this task

Now you will add the third component, a tFileOutputDelimited, to write the data read from the source file into another text file. You will add the component by dragging from the tLogRow component, which serves as an input component to the new one to be added.

Procedure

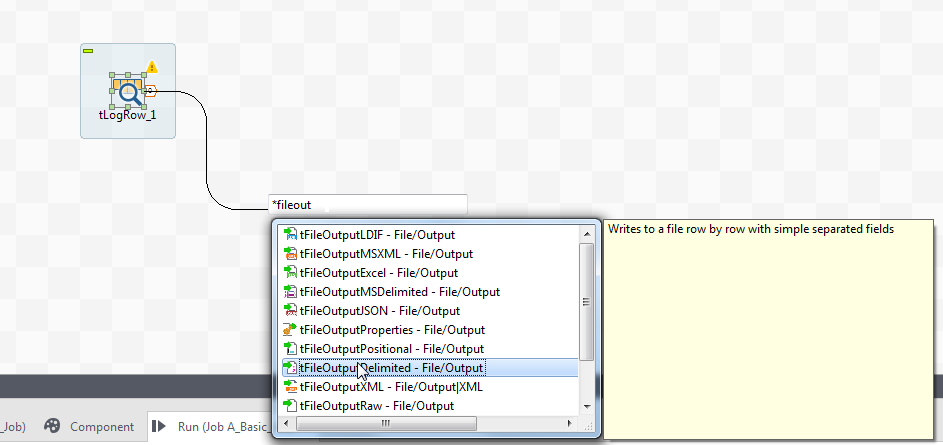
  1. Click the tLogRow component, and drag and drop the arrow icon displayed onto the design workspace.
    A text field and a component list appear. The component list shows all the components that can be connected with the input component.
    Design workspace.
  2. To narrow the search, type in the text field the name of the component you want to add or part of it, or a phrase describing the component's functionality if you don't know its name, and then double-click the component of interest, tFileOutputDelimited in this example, on the component list to add it onto the design workspace.
    Information noteNote: Components may not always have a prefix letter in the name. Therefore, as a best practice, you may want to simply specify the main body when searching for a component by its name.
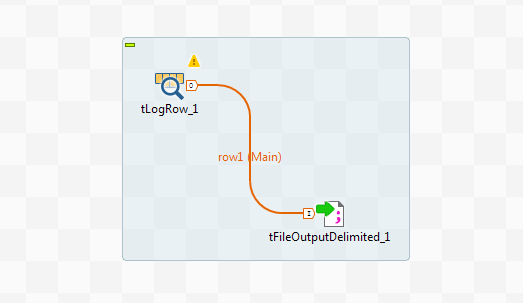
    The new component is automatically connected with the input component tLogRow, using a Row Main connection.
    Design workspace with the two components and a connection between them.

Did this page help you?

If you find any issues with this page or its content – a typo, a missing step, or a technical error – please let us know!