Step 3: Mapping the data using the tMap component
Procedure
-
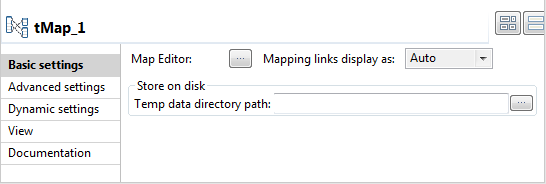
Drop a tMap component onto the
design workspace, and double-click it to open the Basic
settings view to set its properties.
-
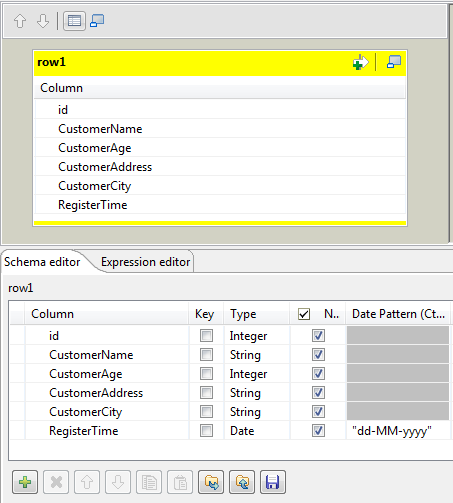
Click the plus button on the left to add six columns for the schema
of the incoming data, these columns should be the same as the following:
-
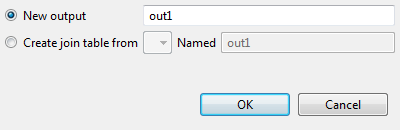
Click the plus button on the right to add a schema of the outgoing
data flow.
-
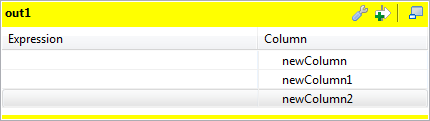
Click the plus button beneath the out1 table
to add three columns for the output data.
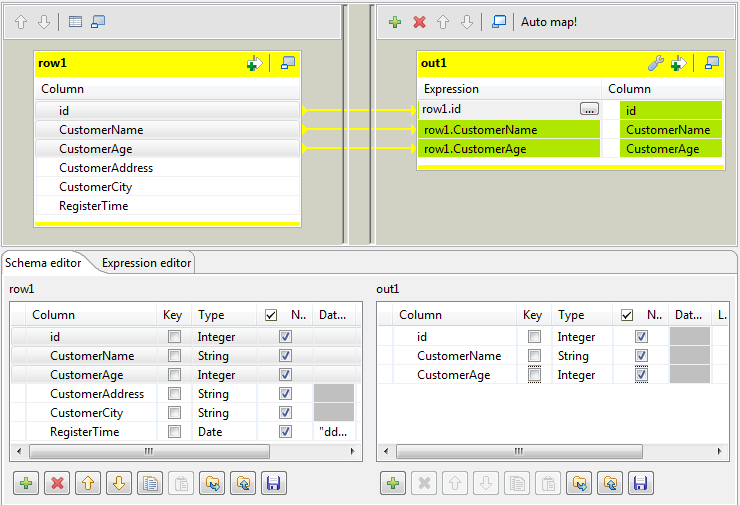
-
Drop the id, CustomerName and CustomerAge columns onto their respective line on the
right.