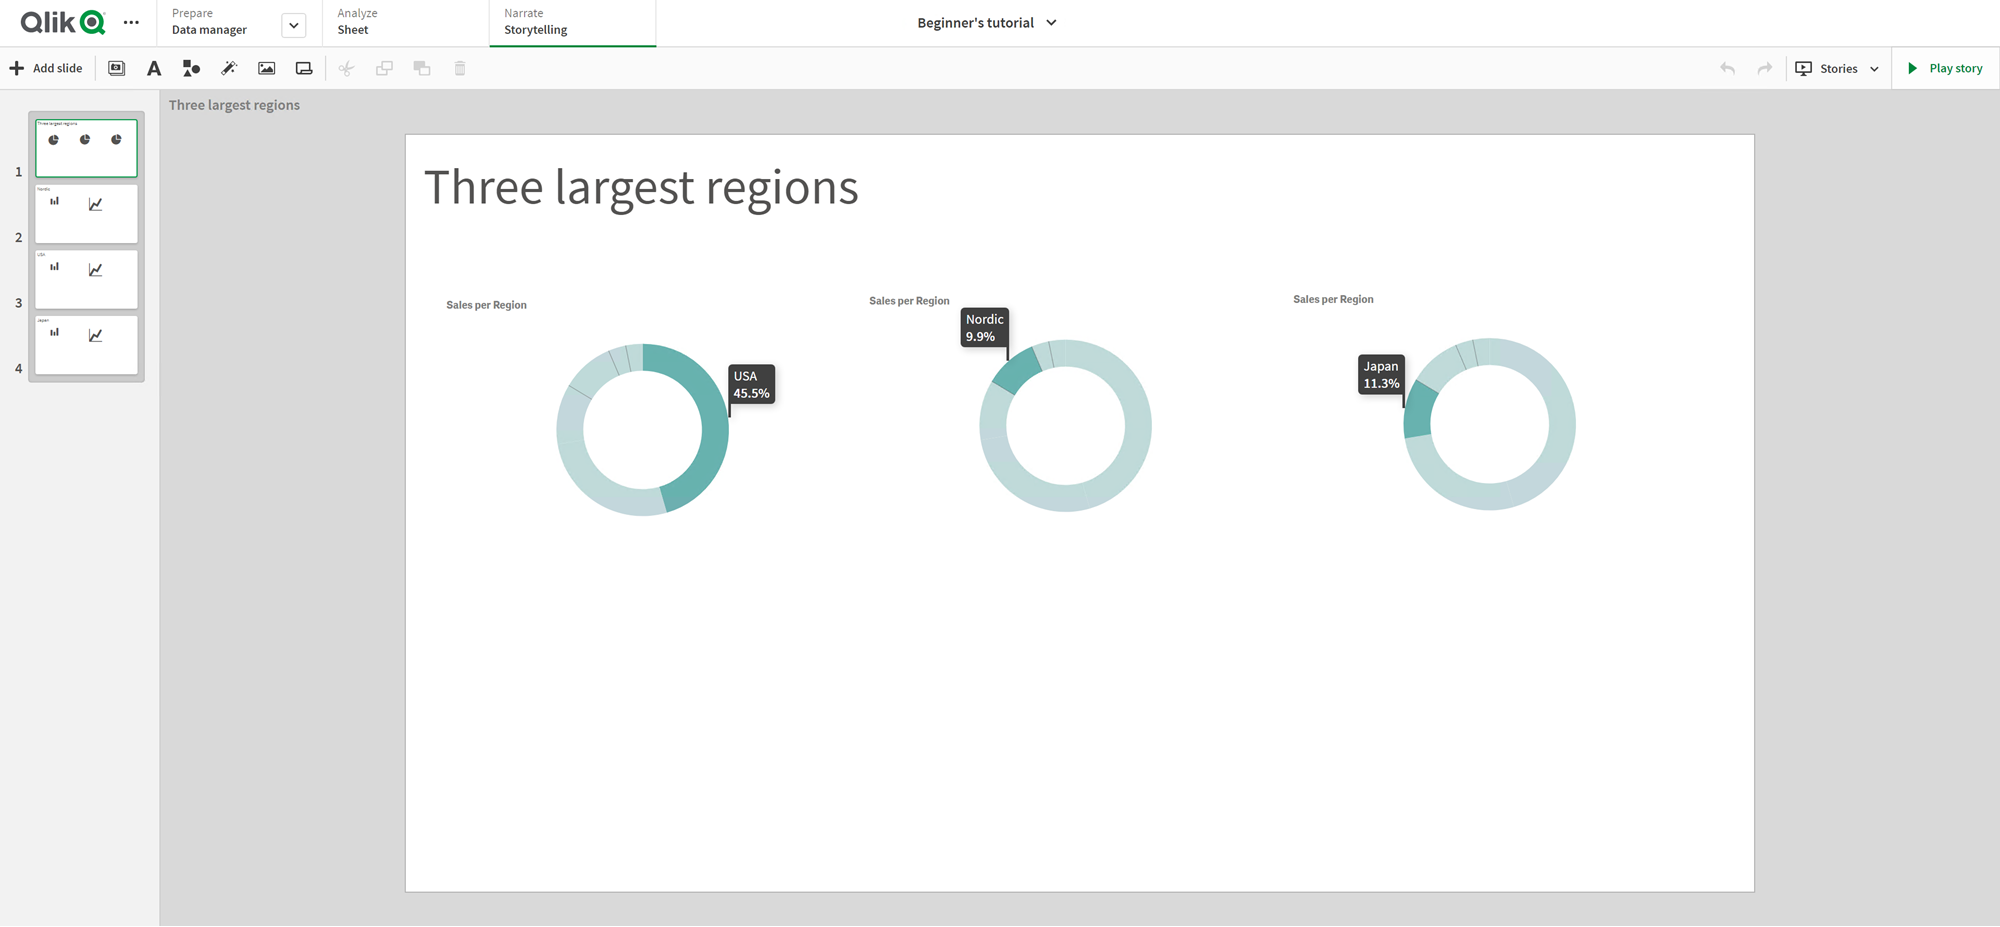
Storytelling view
Tell stories to share your data insights with an audience.
Click Storytelling under the Narrate tab in the navigation bar to create or open a story.
Storytelling view

Taking snapshots
Right-click on a visualization in a sheet to take a snapshot. The snapshot is saved to your snapshot library, which you can access from the sheet view or the storytelling view. You have to be in view mode to take a snapshot.
Take snapshot dialog

For information on adding a snapshot to a slide, see Adding a snapshot to a slide.
Creating new stories
Click Stories and then click Create new story.
Create new story button

See:
Using storytelling tools
Click a tool in the storytelling toolbar to add snapshot and effects to the slides in your story.

| UI item | Description |
|---|---|
|
|
Snapshot library with all your taken snapshots. |
|
|
Text objects with different text styles. |
|
|
Shapes library with a variety of shapes. |
|
|
Effects library with a set of visual effects to apply to your snapshots. |
|
|
Media objects with different types of media (such as images). |
|
|
Sheet library with sheets in the app which can be inserted as live data sheets in your story. |
| UI item | Description |
|---|---|
|
|
Lock the snapshot. |
|
|
Edit the snapshot. For more information, see Editing slides and Changing a snapshot's appearance. |
|
|
Replace the snapshot. For more information, see Replacing a snapshot on a slide. |
Playing stories
Play story button

See: Presenting stories
Touch gestures in storytelling view
The table describes the touch gestures that are used for navigating in storytelling view.
| Touch gesture | Description |
|---|---|
| Tap | Highlight a data point in a snapshot by applying an effect. |
| Double-tap | Edit a text object or an image. |
| Long-touch and release | Open the shortcut menu. |
| Long-touch and drag |
Move a slide to a new location in the timeline. Move an item on a slide. |
| Swipe |
Scroll the list in the snapshot library. Go to the next or previous slide when playing a story. |
