Skip to main content Skip to complementary content

Migrating Hadoop distribution

About this task

After setting up a connection to a given Hadoop distribution in Repository and reuse it in your Jobs, if you want to change the Hadoop distribution from one to another, you can create the target Hadoop cluster connection in the Repository and migrate the source Hadoop cluster connection to the target, for example:
  • Built-in Hadoop distribution to Spark Universal distribution
  • Hadoop Dynamic distribution to Spark Universal distribution
  • Spark Universal distribution n version to Spark Universal distribution n+1 version
  • Spark Universal distribution vendor A to Spark Universal distribution vendor B
Information noteWarning: A Job is migratable only if the following conditions are met:
  • The components in the Job reuse the Hadoop cluster connection in the repository. If the Property Type of a component is set to Built-in, the component is not migratable.
  • The target Hadoop cluster contains the same type of connections in the source distribution.

Procedure

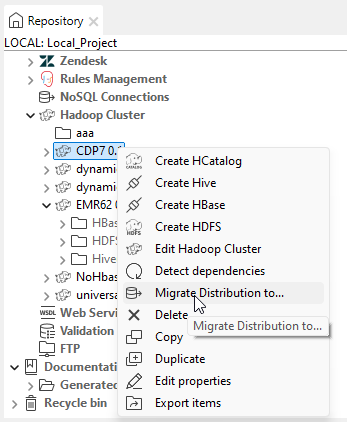
  1. Expand Metadata > Hadoop Cluster in the Repository tree view, right-click the Hadoop cluster connection you want to migrate and select Migrate Distribution to... from the contextual menu.
    "Migrate Distribution..." context menu.
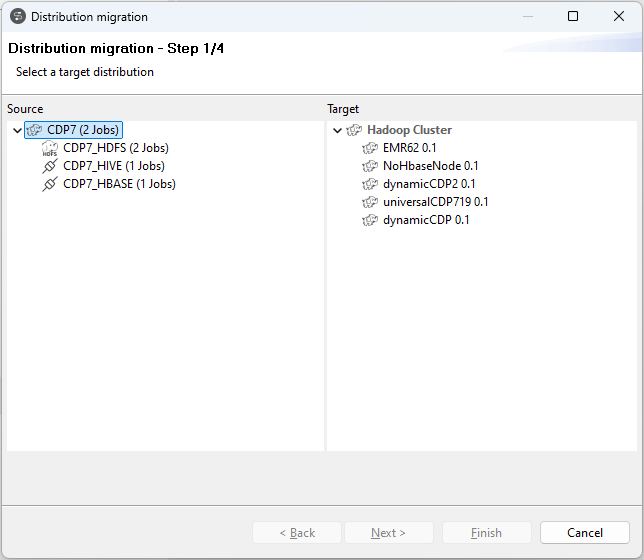
  2. The distribution migration wizard opens.
    "Distribution migration - Step 1/4" dialog box.
    In the Source column of the wizard, the source Hadoop cluster connection is shown with the number of Jobs they are reused in. In the Target column, select the Hadoop cluster you want to migrate to. Click Next to go to the next step.
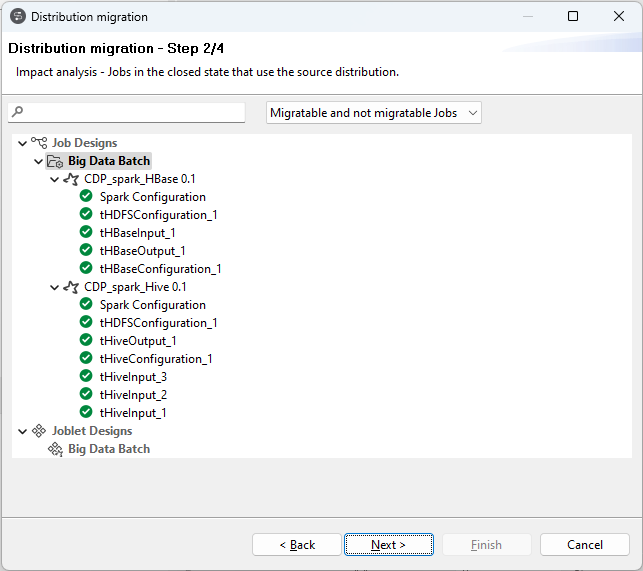
  3. All Jobs in the closed state that use the Hadoop cluster connection are displayed in the wizard.
    "Distribution migration - Step 2/4" dialog box.

    Each component is marked with a OK or Warning icon indicating if it is migratable or not.
    You can use the search field to filter the Jobs or select from the drop down list to show all migratable and not migratable Jobs. Click Next to go to the next step.
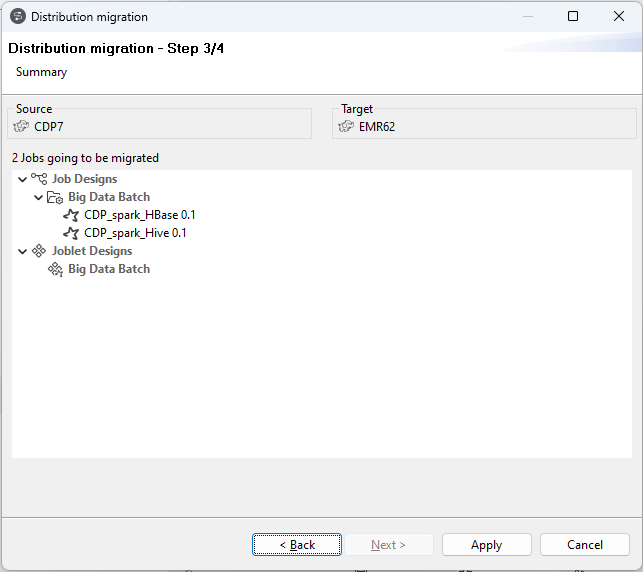
  4. A summary of migratable Jobs is shown in the wizard. Click Apply to perform the migration.
    "Distribution migration - Step 3/4" dialog box.
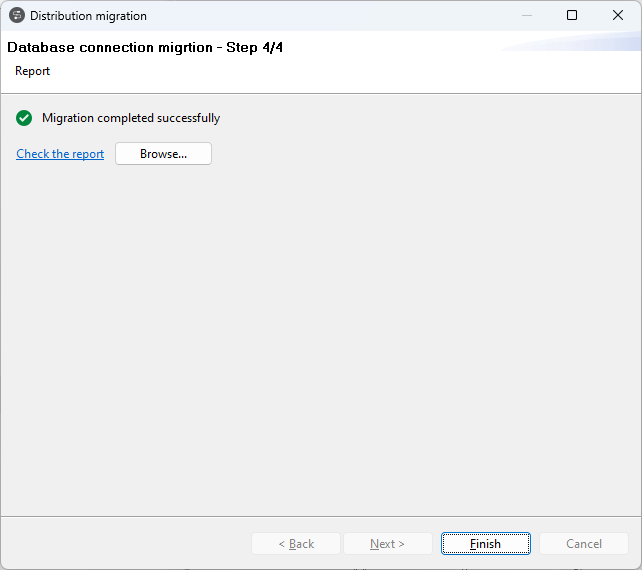
  5. The migration report page is shown. You can click the Check the report link to open the report, or click the Browse button to go to the <Studio_Home>\workspace\report\massUpdate directory where the report is saved.
    "Distribution migration - Step 4/4" dialog box.
    The migration report is in CSV format containing the following information of the migrated Jobs:
    Distribution migration report.

Did this page help you?

If you find any issues with this page or its content – a typo, a missing step, or a technical error – please let us know!