Skip to main content Skip to complementary content

Install and configure ActiveMQ

Procedure

  1. Use ssh into EC2 instance with putty, then create the folders /opt/talend and /opt/talend/activemq.
    sudo mkdir -p /opt/talend/activemq
    sudo chown ec2-user:ec2-user /opt/talend/activemq
  2. Create the folder /opt/efs/kahadb, then change the owner to ec2-user.
    sudo mkdir /opt/efs/kahadb
    sudo chown ec2-user:ec2-user /opt/efs/kahadb
  3. Go into the directory /opt/talend/activemq, then execute the following command to download ActiveMQ 5.14 distribution from Internet.
    cd /opt/talend/activemq
    wget https://archive.apache.org/dist/activemq/5.14.0/apache-activemq-5.14.0-bin.tar.gz
  4. Extract the downloaded archive.
    tar xvfz apache-activemq-5.14.0-bin.tar.gz
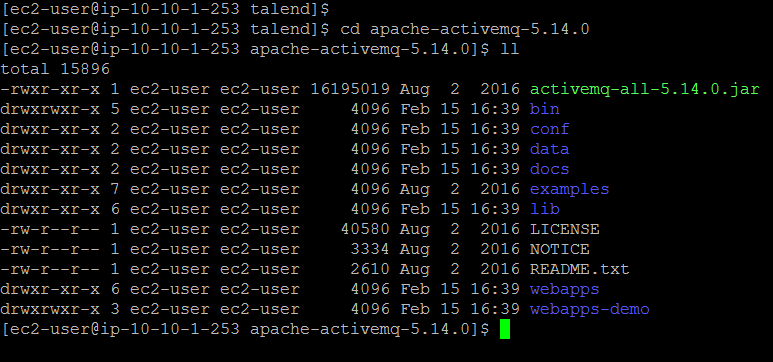
  5. A directory apache-activemq-5.14.0 is created by the extraction. Enter that directory and verify that it contains several files and directories as per below:
  6. Go into the conf directory then edit activemq.xml file to setup the KahaDB directory:
    • Locate the KahaDB section under PersistenceAdapter element and update the KahaDB configuration as per below:
      • old: <persistenceAdapter> <kahaDB directory="${activemq.data}/kahadb"/> </persistenceAdapter>
      • new: <persistenceAdapter><kahaDB directory="/opt/efs/kahadb"/></persistenceAdapter>
    • Save and close the file.

Did this page help you?

If you find any issues with this page or its content – a typo, a missing step, or a technical error – please let us know!