
Create the Elastic File System
In this section, you will create the EFS file system to be used by ActiveMQ.
Procedure
-
In Configure file system access:
- VPC: Select Talend VPC.
- Select the only subnet for Talend VPC. Information noteNote: In this example, you only have 1 subnet called Public subnet – eu-west-1a - ActiveMQ.
- Remove all default security group added by default then Select the
security group EFS for ActiveMQ Security Group.
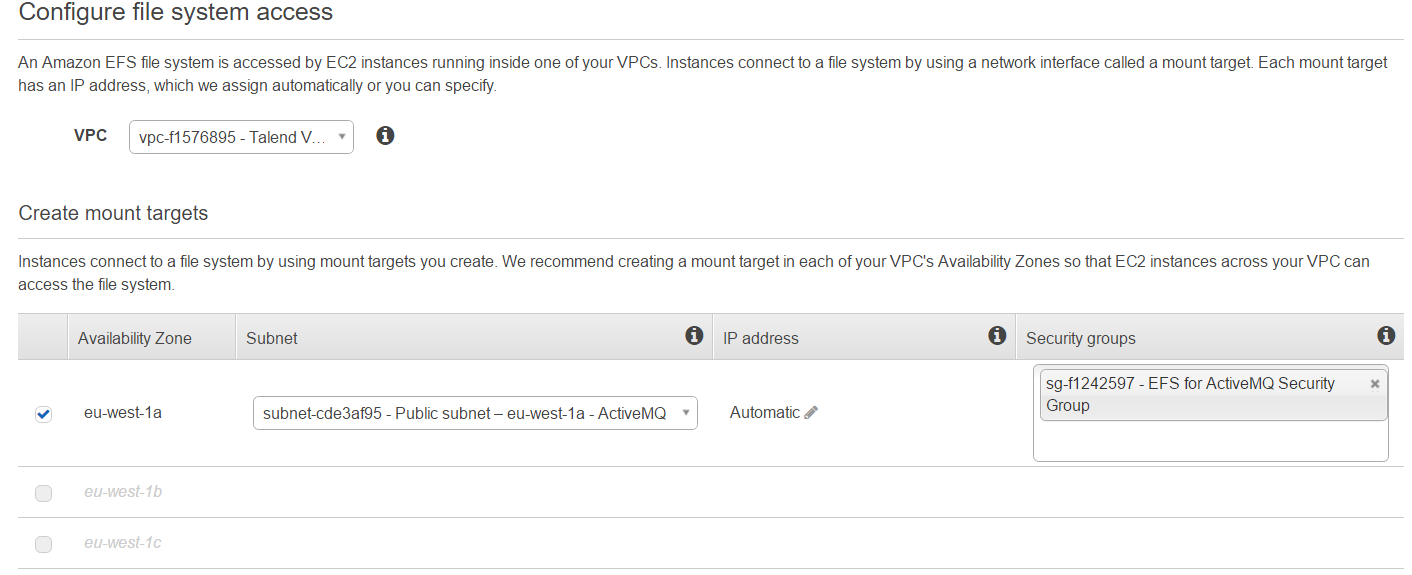
- Click Next Step.
-
In Configure optional settings:
- Add any relevant tags you want. Add at least a name tag with value Talend ActiveMQ EFS.
- Performance mode: leave General Purpose (default).
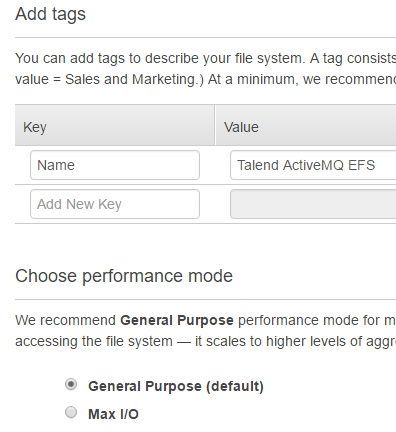
Click Next step.
-
Click Create File System.
Congratulations! You just have created your first Elastic File System on AWS in Ireland region. It was pretty easy and straightforward. This EFS File System will be used to share data between the ActiveMQ brokers.
Our AWS console now displays the new file system with a link to a page describing the mount instructions for EC2.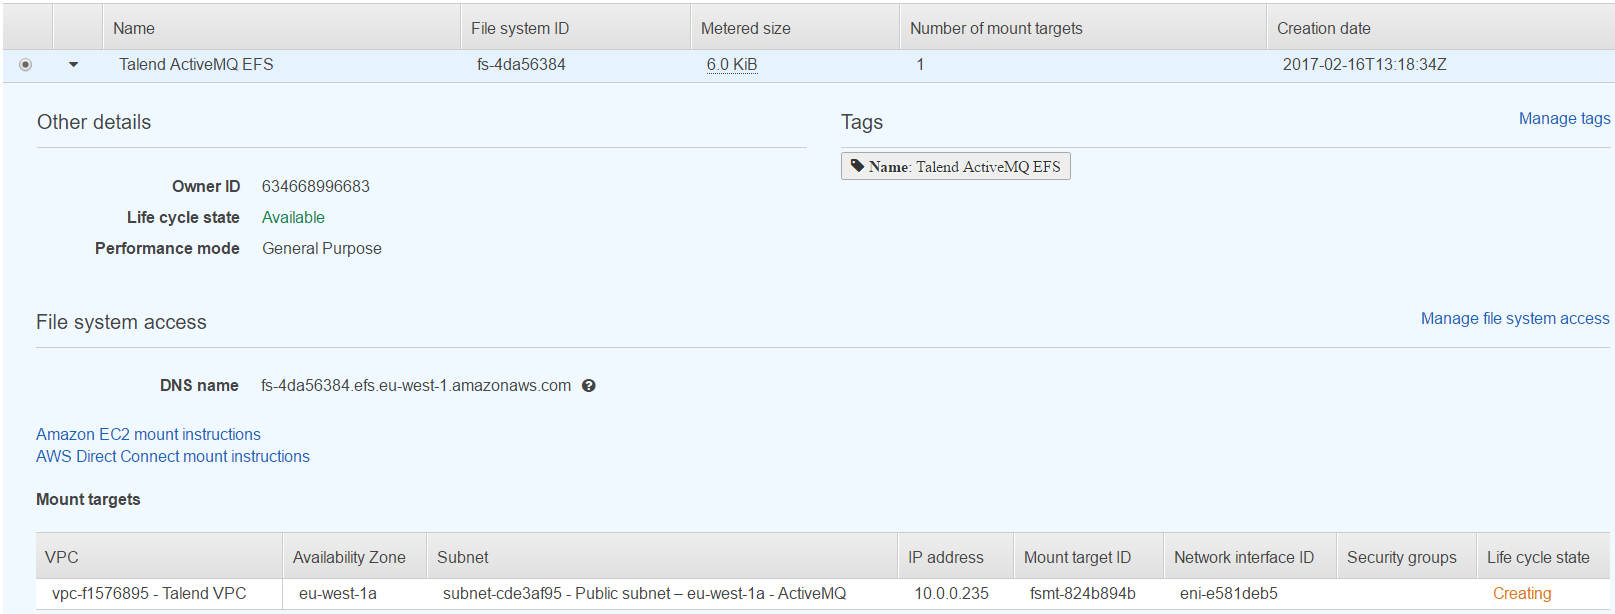
-
Click on the link Amazon EC2 mount instructions to
display the following information:
Information noteTip: We suggest you to copy/paste the instructions in your favorite text editor as you will need it when setting up the EC2 instance
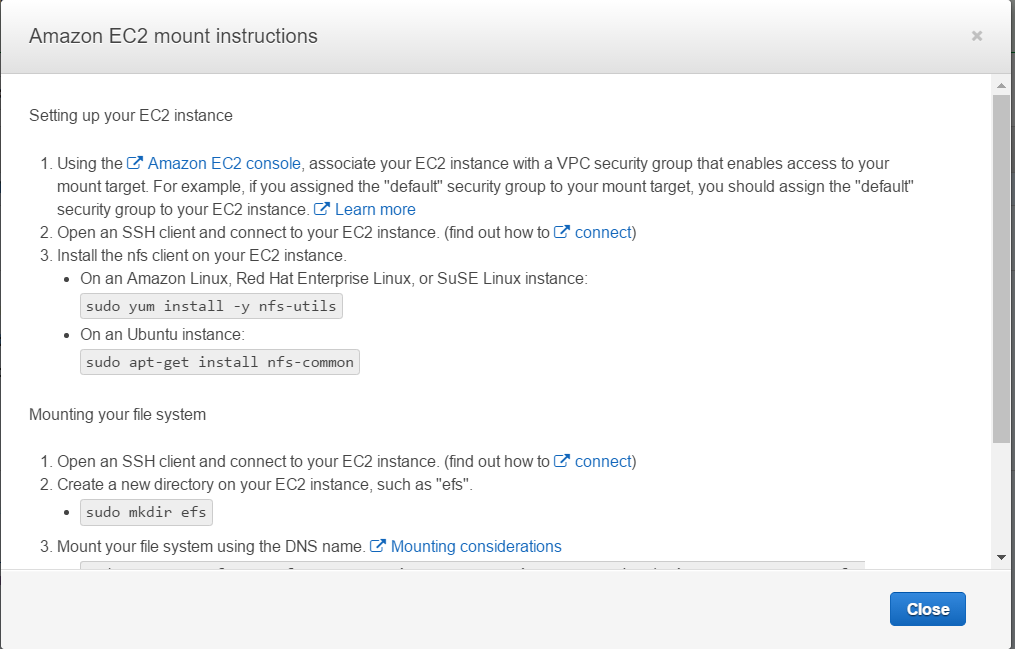 These instructions and the command inside will help to configure your EC2 instances with ActiveMQ to access this shared file system.Information noteNote: But before you do this configuration, you need to setup your EC2 instances and install ActiveMQ.