
The second way to get data into QlikView and Qlik Sense is through a QVX file. The flow for requesting data and then saving it to a QVX file is depicted below.
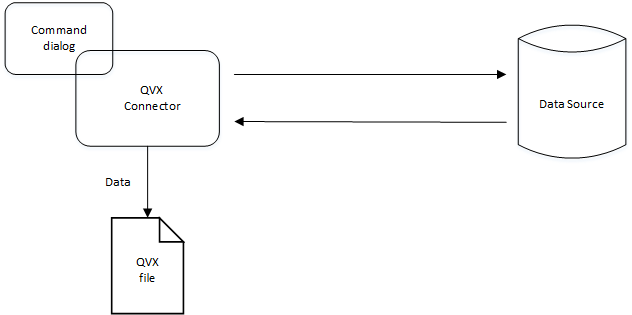
After the QVX file has been created, it can be read into QlikView or Qlik Sense using a load script.
To start a connector that creates a QVX file after receiving data from the data source, create an application that calls the method public void RunStandalone(string parentString, string pipeName, string connectString, string targetPath, string standaloneQuery). An example of such a method call can be found in Standalone.cs within the QvEventLogConnectorElaborate example. A call to RunStandalone() results in data being requested from the data source, sent back to the QVX connector, and then saved to a QVX file specified by targetPath as shown in the following code example:
Standalone.cs
private void generateButton_Click(object sender, EventArgs e)
{
// ...
new QvEventLogServer().RunStandalone("", "StandalonePipe", _connectString, _sPath, query);
// ...
}
When the QvEventLogConnectorElaborate is launched standalone, it does not receive any arguments. Instead, it requires the input of some mandatory information from a user dialog.
Required input from this dialog is:
- Connection information
- Target path for the QVX file
- SQL statement.
When all input has been provided, the user executes the data fetching by clicking Generate whereby a new instance of QvxServer is created and the RunStandalone() method is called.
The connector sends a request to the data source, which returns the specified data and saves it to a QVX file that can be read into QlikView or Qlik Sense later on.
After the QVX file has been created, it is time to load the QVX file into QlikView or Qlik Sense. This is typically done using a load script like the following:
LOAD *
FROM C:\ElaborateQvxFile.qvx (qvx);