General
A common problem today is how to deploy applications in a network environment where the users have limited rights, and how to deploy applications for a specific group of users. This section briefly describes how to deploy Microsoft Windows Installer (.msi) packages with group policies in an Active Directory environment.
The QlikView .msi packages require version 2.0 or higher of the Windows Installer service to be installed on the destination workstations.
Deploying the MSI Package
When the .msi file has been obtained, it must be placed in a shared folder on the network. Make sure that all users and/or machines that are to install the application have read access to the folder. When the package has been made available to the users and/or machines, the Group policy object that will advertise the installation package can be created.
The package can be advertised to each user or each machine. Use the User Configuration>Software Settings container to advertise the package per user, and the Computer Configuration>Software Settings container to advertise per machine. Both containers are located in the Group Policy Object editor.
If the package is advertised per user, it can be either assigned or published. A package that is advertised per machine can only be published.
To publish a package per user means that it is listed (that is, advertised) in the Add programs from your network list in the Add/Remove programs dialog.
Each user must click the Add button to complete the installation.
To publish a package per machine means that the package is installed and accessible to all users on that machine the next time the machine is rebooted.
An advertised package that is assigned is also listed in the Add programs from your network list and can be added from there. This option also offers a few more ways to activate the installation package:
- Shortcuts (if the installation package adds any) on the desktop and/or Start Menu: The shortcuts are added and the installation package can be executed by clicking the appropriate shortcut.
- File association: The installation program is executed when the user tries to open a file that is associated with the advertised application.
There are a few more ways to execute the installation when it is advertised as assigned, but they are not applicable to any QlikView installations and therefore beyond the scope of this document.
Advertising
To advertise means that the administrator gives the installation package permission to execute on an account with locked down permissions.
When the package is advertised, there are so called “entry points” loaded onto the destination system. Entry points are typically shortcuts, file associations, listing in the Add/Remove Programs dialog, and so on.
Step-by-step Guide
This section provides a step-by-step guide for creating a group policy for advertising of the QlikView plugin .msi package on a number of machines in the Active Directory.
Proceed as follows to create a group policy:
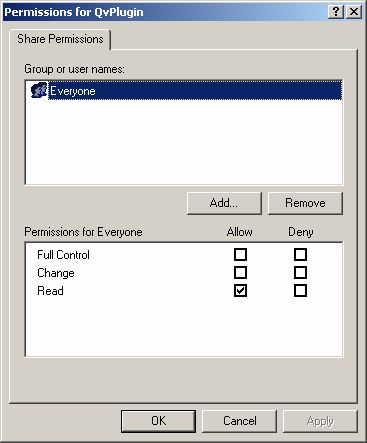
- Browse to the folder containing the .msi package. Share the folder with the network users with permission to install the package.
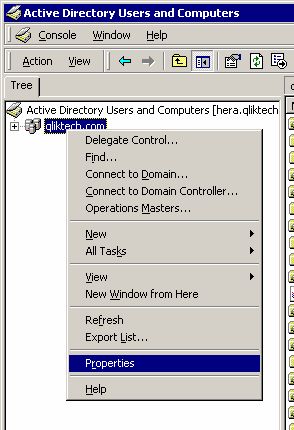
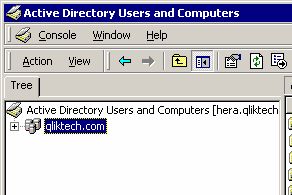
- Open Active Directory Users and Computers and highlight the Organizational Unit (OU) where the package is to be deployed.
- Right-click and select Properties.
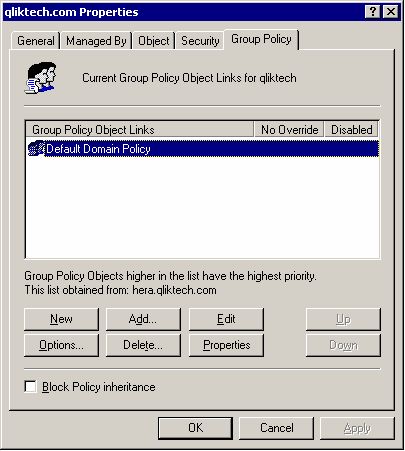
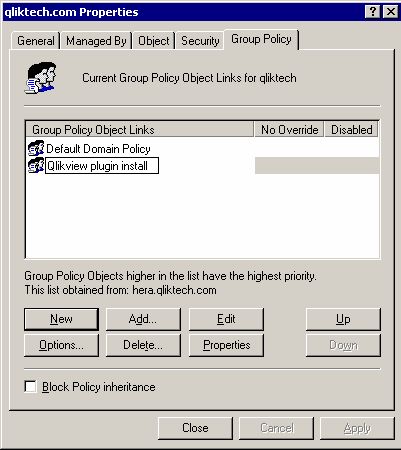
- Go to the Group Policy tab, click New, and give the group policy object an appropriate name.
- Highlight the new group policy object and click Edit.
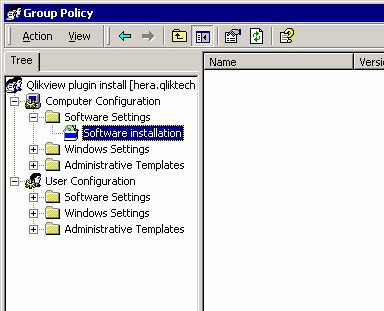
- Expand Computer Configuration>Software Settings or User Configuration>Software Settings, depending on how the package is to be deployed. In this case, Computer Configuration>Software Settings is selected.
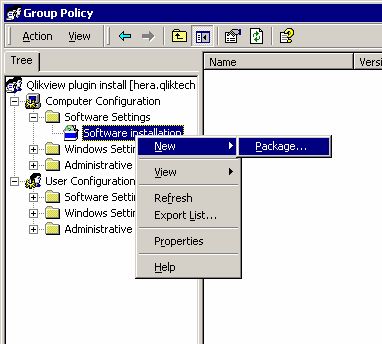
- Right-click Software installation and select New>Package... A pop-up window, asking where to locate the installation package, is displayed.
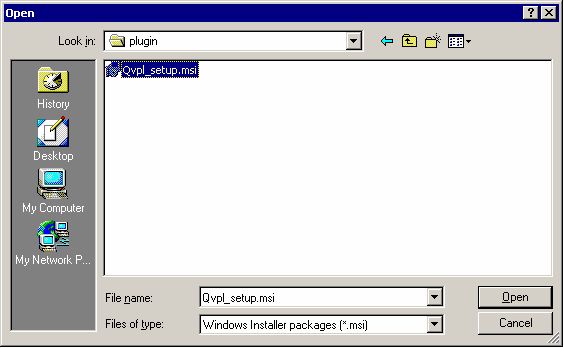
- Browse to the installation package (in this case, QvPluginSetup.msi), select it, and click Open.
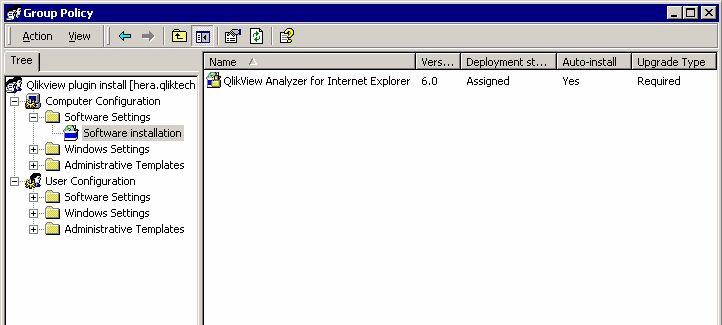
- Select the deployment method Assigned and click OK. Since the installation is to be applied to the Computer Configuration, only the Assigned deployment method can be used.
- The deployment rule is now ready for use. All machines in the OU get this deployment automatically. What actually happens is that when a machine is rebooted, the installation program is executed, so that any user that logs on to a machine in that OU can run the installed program. The rule can be applied to many different OUs.