
Proceed as follows to install QlikView Workbench:
-
Download the installation program, QlikViewWorkbench_x64Setup.exe or QlikViewWorkbench_x86Setup.exe from Product Downloads.
- Start the installation program.
- The installation program unpacks the files and computes the space needed for the installation. A welcome screen is then displayed. Click Next to continue.
- Select the language profile to use during the installation. Click Next to continue.
- The software license agreement is displayed. Read it and select I accept the terms in the license agreement. Click Next to continue.
- Specify the User Name and Organization for which the installation is to be personalized. Click Next to continue.
-
Select the setup type.
Complete: installs all program features.
Custom: lets you chose the program features to be installed.
Click Next to continue.
-
This step is only applicable if Custom setup was selected in previous step.
If you want to omit a feature from being installed, open the context menu for that feature (Workbench or QProxy) and This feature will not be available.
Click Next to continue.
-
The default installation path is displayed. If another path is to be used, click Change... and select or enter a path. Click Next to continue.
Default value: C:\Program Files\QlikView\Workbench
-
Enter the path to the QvAjaxZfc virtual directory on the web server, that is, either QlikView Web Server or Microsoft Internet Information Services (IIS).
Default value: http://<mycomputer>/QvAjaxZfc/
- Click Test URL to confirm the path to the directory. If the test was successful, click Next to continue.
- The software is now ready to be installed. Click Install to continue.
- After the installation is done, click Finish to complete the installation process.
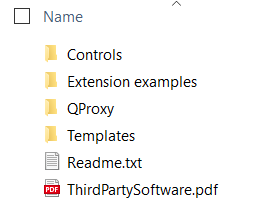
After the installation, the installation path contains the following files and folders: Controls, Extension examples, QProxy, Templates, a Readme file, and a third-party software legal document.
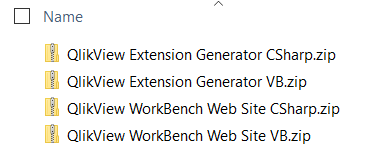
The templates that come with QlikView Workbench are installed in C:\Program Files\QlikView\Workbench\Templates\QlikView: QlikView Extension Generator CSharp.zip, QlikView Extension Generator VB.zip, QlikView WorkBench Web Site CSharp.zip, and QlikView WorkBench Web Site VB.zip.
To add QlikView Project templates to Visual Studio so that they are available when creating a new web site, follow the steps in the Readme file.