
Installing Qlik GeoAnalytics server
This guide covers the installation of the Qlik GeoAnalytics Server software, which is required for local hosting of map services for Qlik GeoAnalytics. The Server also needs to be configured with a data package, for which there is a separate guide (see Install and configure map data below).
This installation is for:
- Windows 11 or later
- Windows 2016 or later
The Qlik GeoAnalytics server must be installed on a separate server from the Qlik Sense Enterprise on Windows server.
Note that specified keys and paths are examples, and need to be modified for each installation.
This guide serves as an overview, consult the installation guides for each individual product for more detail.
Prerequisites
- Review Qlik GeoAnalytics server requirements for information on required Memory, CPU and disk space specifications.
- Ensure you have 64-bit Java, version 25 or later, installed on the server. You can get free Java OpenJDK from Adoptium or Red Hat Developer, or a commercial license at Oracle.
- The Server communicates using both HTTP and HTTPS, so ensure those ports (default 80 and 443) are open on the server device.
Download
Download the QlikGeoAnalytics server standalone installation files from Product Downloads.
Please also download the latest "GeoAnalytics Data Package" (one or more zip files) available at the same download site.
For more information, see Downloading installation files.
Install
Run the Qlik GeoAnalytics server installation program. Parameters set during installation can be changed afterward by rerunning the same installer, or edited directly in the config file at C:\ProgramData\Qlik GeoAnalytics Server\config.ini (if you do make any changes, restart the Qlik GeoAnalytics server service).
To upgrade a GeoAnalytics server to the latest version, run the latest version of the installer. Configurations from the previous installation will be loaded (including data package services).
Configuring a proxy connection for license checks
You can force the connection used to verify and update the signed license key to go through a specific proxy.
- To do this, edit C:\ProgramData\Qlik GeoAnalytics Server\server3\config\ServerSettings.xml as follows:
<?xml version="1.0" encoding="UTF-8"?>
<ServerSettings ...>
	...
	<LicenseBackend>
		<Proxy hostname="example.com" port="1234" type="HTTP" />
	</LicenseBackend>
</ServerSettings>
Where type is either HTTP or SOCKS depending on proxy type.
- Basic authentication is supported and can be specified by setting the user and password attributes on the Proxy tag.
- The server must be restarted for these changes to take effect.
Memory configuration
During installation “Max memory” must be configured. GeoAnalytics operations and route database require significant memory to be allocated, and your recommended maximum memory configuration depends on what data package you will use with the server. Also note that the Java environment itself may use more system memory and exceed the maximum you specify. For the Map data package, 2 GB is sufficient. For Enterprise data packages, 24 GB is recommended. Consult the readme file in the data package for more information on memory consumption.
The memory configuration can be changed by rerunning the same installer, or by opening the Java tab in the Configure Service desktop program. Changes will come into effect after restarting the service under the General tab.
HTTPS
If you use HTTPS to communicate with your QlikGeoAnalytics server, you will need a certificate for your site name (a self-signed cert will not work). The server must have the certificate and private key bundled in either the Java KeyStore or the PKCS12 (.pfx, .p12) format.
In order to install the certificates, you can export existing certs from the Windows Certificate Manager by right-clicking them, and selecting All Tasks > Export. Ensure that it is configured to export the private key, and on the Export File Format screen, select PKCS #12, and to include all certificates in the certification path. Then set a password and save it to a location where it can be accessed by the QlikGeoAnalytics server. Additional HTTPS-related security settings like HSTS can also be enabled; see Advanced settings below for more details.
Passwords
Only characters in the ASCII character set are supported in passwords. This applies to all passwords set during installation, including administrator, API and Keystore passwords.
Adding the Qlik GeoAnalytics server license
- Log into the Qlik GeoAnalytics server Admin Interface from the start menu, or in browser at http://localhost:<port>/ravegeo/admin/, using the port specified during installation (default: 80).
- Enter the administrator user name and password created in the server installation.
- Go to the License section, and add the license by pasting the license code you received from Qlik into the text area. Click
- Click Submit to activate.
Information noteIf you have a Signed License key with offline support see, Activate Qlik products without internet access. It will work immediately without contacting any Qlik servers.Information noteIf you have a normal key it will validate the license against Qlik's license servers upon entry, and once per day thereafter to check if the license has been updated. If more than three days pass without a successful license sync, it will be considered invalid until next successful sync. You can force an update check by clicking Refresh.
- If you have a LEF license, first paste your LEF control number in the text field, then click Add License to activate.
Information noteIf the server has internet access, it will contact the Qlik license servers daily to verify the LEFis valid. You can force an update check by clicking Refresh. If you do not have a license for QlikGeoAnalytics server, please contact a Qlik reseller.
Install and configure map data
In order to provide the map services required by GeoAnalytics and/or Qlik Sense Map object, you need to add and configure a GeoAnalytics Data Package in the GeoAnalytics Server Admin Interface now. This is described in the GeoAnalytics data package installation manual (pdf) which can be found as an attachment to the release notes page:
Please look for "GeoAnalytics" or "GeoAnalytics Data Package" in the products drop down.
Map data files and the Qlik GeoAnalytics Data Package Installation is available at the Product Downloads. Follow the guide to install and configure the required map data.
If you perform a map data upgrade, make sure you have configured enough memory for the new data package. See the data package's README file for memory requirements.
Verify the installation
To verify that the installation succeeded, check that it is possible to display a map.
In the Qlik GeoAnalytics server administration interface, go to WebMap5 Module - > Diagnostics - > (default) - > Test page. The test should display a sample map that looks like this example:
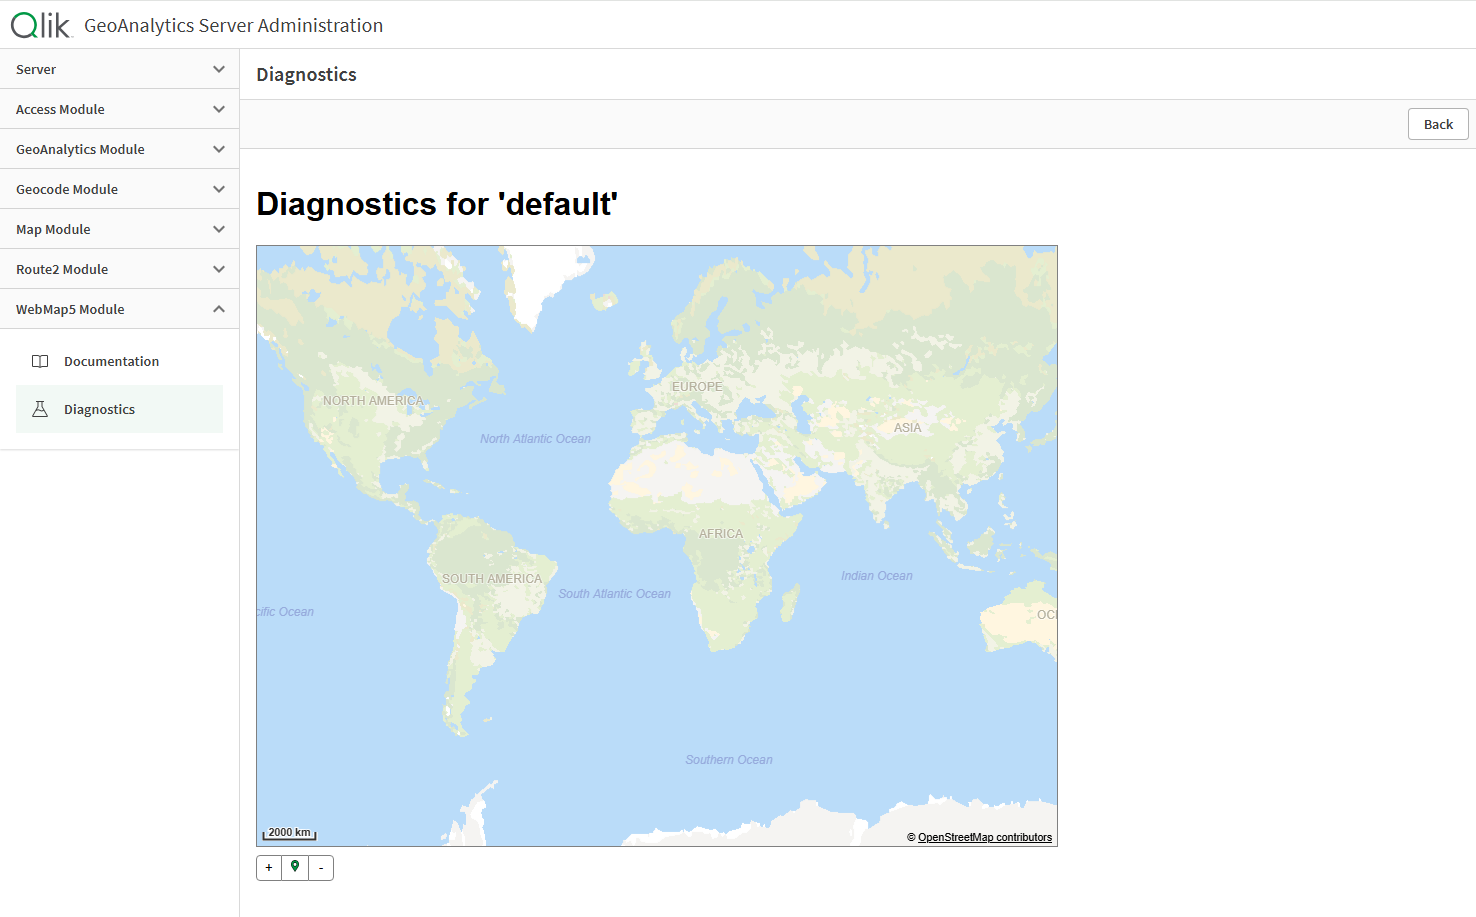
If your installation is not working properly, check the log at: Server - > Logs and reinstall if necessary.
Using GeoAnalytics with Qlik Sense map
From Qlik Sense April 2018, the built-in Map chart can be used with GeoAnalytics server in an on-premise solution, but GeoAnalytics Data Package 18.04 or newer is required.
Install the data package according to the installation guide, ensuring you include the optional configuration steps to enable support for Qlik Sense Map.
Navigate to your Qlik Sense installation location, and edit the file mapconf.json to set the URL for the map server (serverUrl), and to enter the Sense user key you selected during data package installation in (serverKey).
For example:
{
"serverUrl":"https://mysite.com ",
"serverKey":"abcdefg"
}
Using GeoAnalytics server with Qlik GeoAnalytics
When installing Qlik GeoAnalytics extensions and/or connectors for Qlik Sense/QlikView, use the serial number of your GeoAnalytics server LEF (the first row of the LEF, a 16 digit code) as your license key.
Set the default server URL for extensions and connectors to your local GeoAnalytics server location, instead of the default (e.g. https://maps.qlikcloud.com):
- For Qlik Sense Server, edit the file ../Extensions/ideviomap/settings.js to define the location: { "server": "https://myurl.com" }
- For Qlik Sense Desktop, the default URL can be changed on Step 3 of the GeoAnalytics installation/setup.
- For QlikView Server and QlikView Desktop, edit the file ../Extensions/Objects/ideviomap/settings.js to definte the location: { "server": "https://myurl.com" }
- For the connector, set the serverURL in the file IdevioGeoAnalyticsConnector.exe.config which is located by default at:
- C:\Program Files\Common Files\Qlik\Custom Data\QvIdevioConnector (for Qlik Sense)
- C:\Program Files\Common Files\QlikTech\Custom Data\QvIdevioConnector (for QlikView)
Advanced settings
Editing C:\ProgramData\Qlik GeoAnalytics Server\config.ini allows you to enable more advanced settings and features such as HSTS. These options can be added anywhere in the config file.
|
Setting |
Type |
Default |
Description |
|---|---|---|---|
|
stsMaxAgeSeconds |
Integer |
-1 |
Disabled if value is negative. If value is positive, enables HSTS and sets max-age to the specified value. |
|
stsIncludeSubdomains |
Boolean |
false |
Enables includeSubDomains on the HSTS header. |
|
disableGzip |
Boolean |
false |
Disables GZIP compression if enabled. |
|
disableRemoteAdmin |
Boolean |
false |
Disables access to the admin GUI from other computers if enabled. |
|
sslKeystoreType |
String |
- |
Certificate key store type. Set to pkcs12 to use PKCS#12 certs in Java 7. |
Pseudo-anonymization for IP address/referrer information in logs
You can configure the GeoAnalytics server settings to offer pseudo-anonymization for IP addresses/referrer information. When this feature is enabled, logged referrer headers will be stripped down to only contain protocol, host, and port number. IPv4 addresses will be masked such that the last octet will be set to 0, and IPv6 addresses will set the last 80 bits to 0. To enable this feature, add an attribute named anonymizeLogging to the root tag in the file C:\ProgramData\Qlik GeoAnalytics Server\server3\config\ServerSettings.xml and set it to true.
Troubleshooting
If the server fails to start, check for errors is the server log files, located at C:\ProgramData\Qlik GeoAnalytics Server\server3\logs. Each log file can offer different information:
| Log file | Description | Check if |
|---|---|---|
|
daemon.[date].log |
Server service log |
Service does not start |
| jetty.log |
Jetty log |
Service or server fails to function |
| main.log | Main server log | Server cannot be reached, or GeoAnalytics functionality does not work |
Service does not start after install
Check the log folder for the file jetty.log. If the file exists, open it and find the end of the file. If the error “java.net.BindException: Address already in use: bind” is present, that means another program is currently using the port you selected for Qlik GeoAnalytics server. Either disable/reconfigure that other program, or change the port configuration for Qlik GeoAnalytics server.
Service fails with error code 1/daemon log displays errors related to Win32
These errors can occur if the service is using 32-bit Java on a 64-bit system. Ensure that you have 64-bit Java installed, and then either:
- Uninstall all versions of 32-bit Java if not needed.
- Force the service to use 64-bit Java by opening the Configure Service tool. Go to the Java tab, uncheck Use default, and as Java Virtual Machine select ..\bin\client\jvm.dll (jre\bin\server\jvm.dll if you use JDK), which is located in the Java home folder, usually ..\Program Files\Java\[java version].