
Discovering the Source Database or Landing Zone
Discovery can either be performed on the source database defined for the Qlik Replicate task or in the landing zone. The decision where to perform the discovery is determined by several factors, as explained in the following table:
| Factor | Discover the Landing Zone | Discover the Source Database defined for the Qlik Replicate task |
|---|---|---|
|
The source tables selected in the Qlik Replicate task contain foreign keys that you want to maintain in the Compose project. Information note
Qlik Replicate does not support foreign key replication. |
- |
✔ |
|
The source database defined for the Qlik Replicate task is not natively supported by Qlik Compose. |
✔ |
- |
|
The selected source tables contain keys that are not relevant to the data warehouse (e.g. surrogate keys and business keys) |
✔ |
- |
|
A transformation defined for the Qlik Replicate task means that not all of the columns will be replicated to the landing zone. In this case, you should discover the landing zone since this is the data that you eventually want to appear in your data warehouse. |
✔ |
- |
To generate the model by discovery:
- Open your project.
-
To generate the model from within Compose:
-
In the Model panel, select Discover from the drop-down menu in the top right corner.
OR
In the Manage Model window, click the Discover toolbar button.
The Discover window opens.
-
Select whether to discover the source database or the landing zone and then click OK.
Note that the suffix "_landing" denotes the landing zone whereas the actual source database appears without the suffix.
Information noteWhen discovering directly from Microsoft SQL Server source, TIME will be discovered as STRING(16). As well as being mapped this way in Replicate, this will also maintain accuracy when a TIME column is defined with high precision.
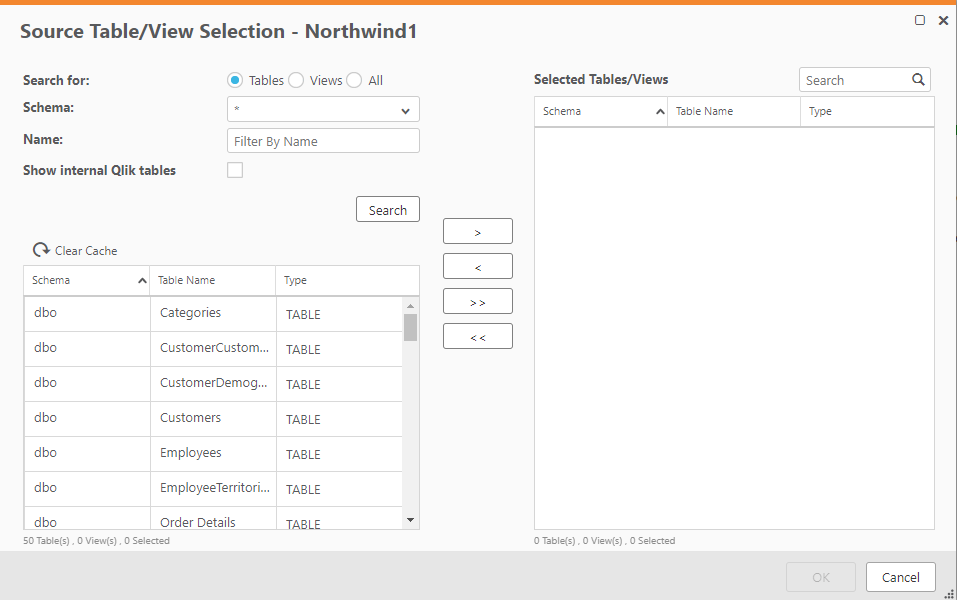
The Source Tables/Views Selection - Name window opens.
-
-
Choose one of the following Search for options:
- To list tables only, select Tables.
- To list views only, select Views.
- To list tables and views, select All.
- If you also want the internal Qlik tables to be included in the search results, select the Show Internal Qlik Tables check box. This may be useful for debugging, but is not usually not necessary.
- To display all tables/views, click Search.
-
To only display tables/views whose names contain a specific string, type the string in the Name field and then click Search.
The tables/views will be displayed in the Results list.
-
In the Results list, select the source tables and/or views on which to base the model or click the >> button (Add All) to add all of the tables in the schema.
Information noteYou can select multiple tables/views by holding down the [Shift] (sequential selection) or {Ctrl] (non-sequential selection) button.
-
To add the selected tables/views, click the > (Add) button.
Information noteIf you add a table that already exists in the model with the same name, then the new table is added with the name: source_table_name_01 (or source_table_name_02 if the name source_table_name_01 already exists, and so on).
If the table contains attribute domains that differ from existing ones but have the same name, they will also be appended with the _01 suffix.
-
Click OK to generate the model from the selected tables/views.
The Generating Model from [model name] window opens.
A progress bar indicates the current model generation progress. For each stage of the model generation process, a corresponding message appears in the Messages list.
- After the model has been generated, click Close.
- Repeat Steps 2-9 to discover additional sources.