Source wizard: Add data
The source wizard provides a common point of entry for users to add Flat File, JDBC, JSON, Mainframe, and XML sources to Qlik Catalog. As selections are made, the wizard requires information specific for the source type. Note the examples below are for a JDBC scenario, data discovery and requirements vary according to source. Refer to individual source type topics for source-specific ingest specifications..
To add data to either an Existing Source or a New Source initiate the source wizard by selecting Add Data from sources or entities grid.
Add data to Qlik Catalog
Source wizard is initiated by selecting Add Data.
Adding To existing source
On the first screen of the wizard, a modal displays with choices to: Add To existing source or To new source. For this example, we will select To existing source, then Next.

Source
- Select Source Name (an existing source) from dropdown
-
Entity Level: Specify level of data management (see System Settings: Level Control).
The default level for the source will populate in the dropdown and this can be modified and applied to new entities.
- Base Directory: This is the directory where data will be stored in file system. [This value is specified in core_env property: localfile.base.dir.source.connection. This property limits access and browsing to this directory. A subdirectory displays in this field.]
- Groups: Select Groups Select group(s) requiring access from the dropdown options. At least one group must be added for the data to be discoverable.
Click Next.

Entities & Fields
-
Select available new entities to add to the source. Entities already added to the source are disabled.
Expand the
 caret to the left of the entity names to view and select field columns for the entities.
-
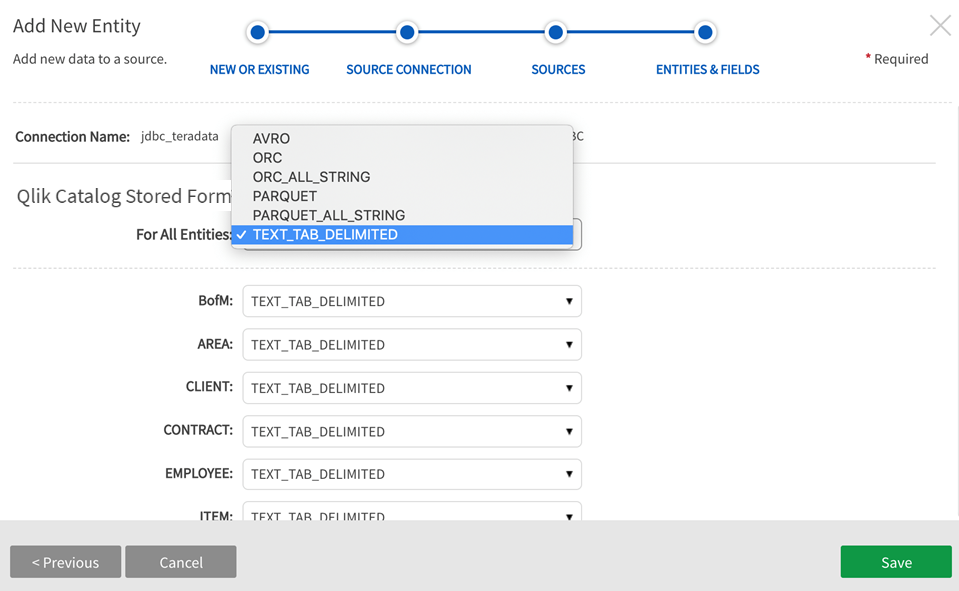
Choose appropriate Stored File Format either For All Entities or select format for each individual entity. Save the entities to the source.
Information noteThis step is skipped for single node entities; where stored format type is always TEXT_TAB_DELIMITED.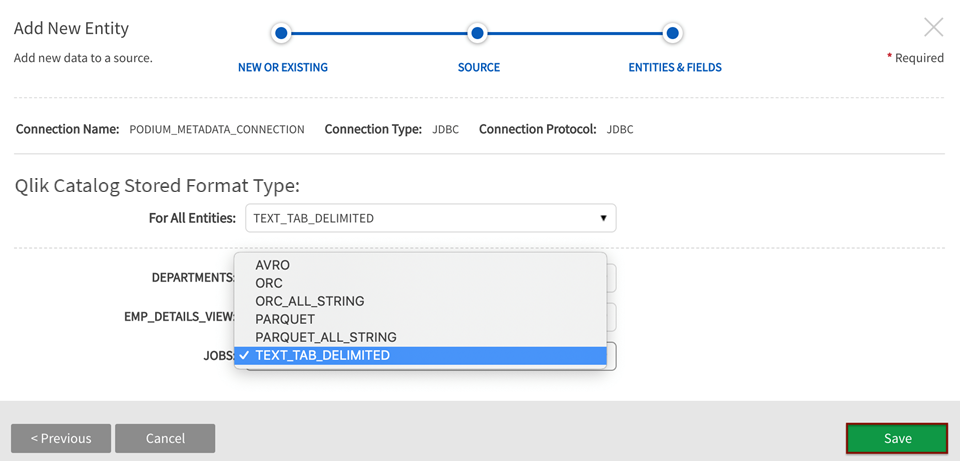
Adding To new source
Select To new source, then Next.

Source Connection
Add to new source: Source Connection screen

-
Choose Connection from pre-defined source connection dropdown to connect to external sources

- Default Entity Level: Specify level of data management (see Administration>System Settings: Level Control)
- Select Source Hierarchy: Choose from pre-defined source hierarchies
- Inbound Protocol: Pre-defined inbound protocol auto-populates for the selected source connection
-
Base Directory: Enter the directory where data will be stored in file system. Select the subfolder icon to browse file system directories. [This directory value is specified in core_env property: localfile.base.dir.source.connection]
Note that if the folder does not exist in a directory, users can create a new folder in the file browser field.
- Groups: Select group(s) requiring access from the dropdown options. At least one group must be added for the data to be discoverable.
- Click Next.
Select folder icon to browse directories
If creating a new folder, type in a new directory level and then select Ok, or select a pre-existing base folder

Select Next once all SOURCE CONNECTION fields are complete

Sources
-
Select new sources available through this source connection

Entities & Fields
-
Select which new entities to add to the source. Sources can be renamed at this stage. Select available new entities to add to the source.
Expand the
 caret to the left of the entity names to view and select field columns for the entities.
-
Choose appropriate Internal file format either For All Entities or select format for each individual entity.
Information noteThis step is skipped for single node entities; where stored format type is always TEXT_TAB_DELIMITED.