Adding a group
The first step when adding a group is to choose a group domain type (such as local, Active Directory, Qlik_Sense) from the domain dropdown, then select Add Group. This action opens the group administration panel.
Note that Active Directory groups can only be imported into Qlik Catalog (not added through the UI).
Add group selection

STEP 1: Add a New Group, Select Sources
- Enter the new Group Name
- Select Sources (available sources and datasets are listed) or check Select All.
Name a group and select sources

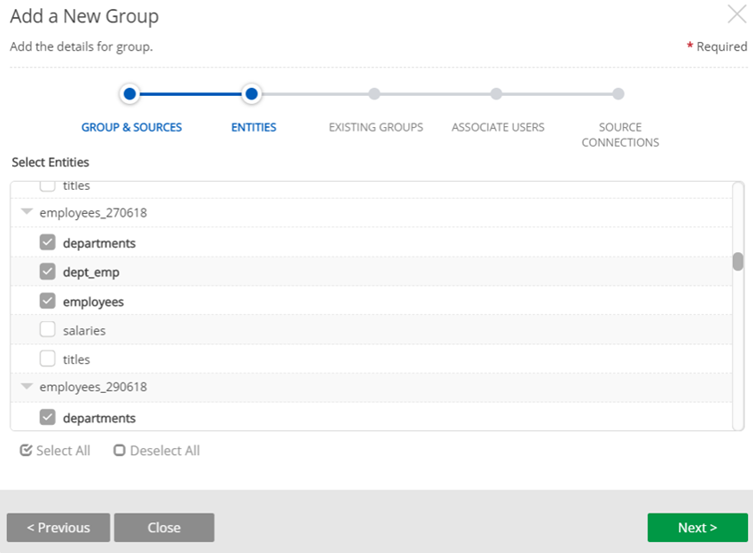
STEP 2: Select and add entities. (All available entities for sources and datasets selected are visible.) Entity selection can be made by selecting individual entities or Select All.
Select entities

STEP 3: Select and add existing groups to the new group; display addable groups by clicking the group row dropdown. This step provides the ability to assign personnel to projects by functional groups or on a per project basis.
As groups are added they are appear as Sub-groups.
Add subgroups to the group

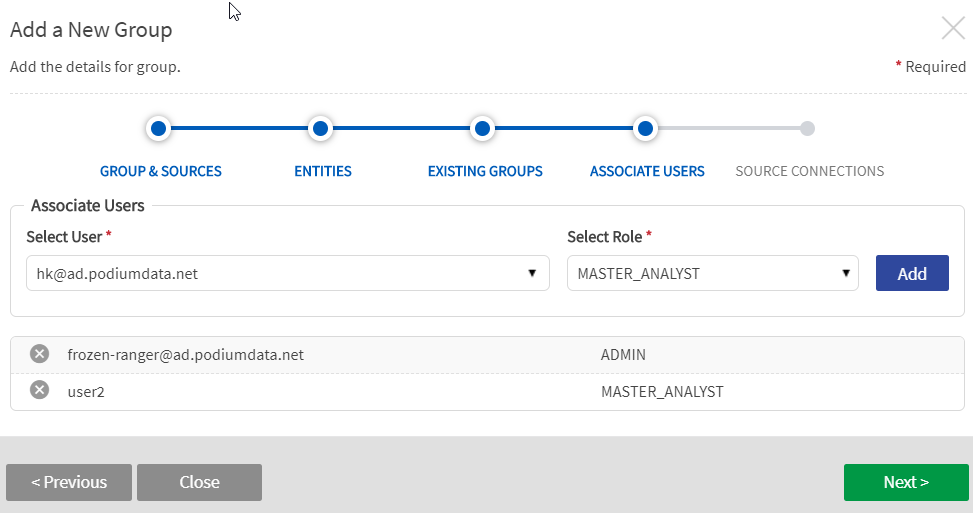
STEP 4: Associate users and define roles
- Select users to be associated with the new group.
- Define each user's access level for the group. Select User and Select Role with the appropriate access level. Default roles include Admin, Analyst, Master Analyst, Master Analyst Obfuscator. For more information on these roles and associated permissions, see Roles and permissions.
Associate users and define roles

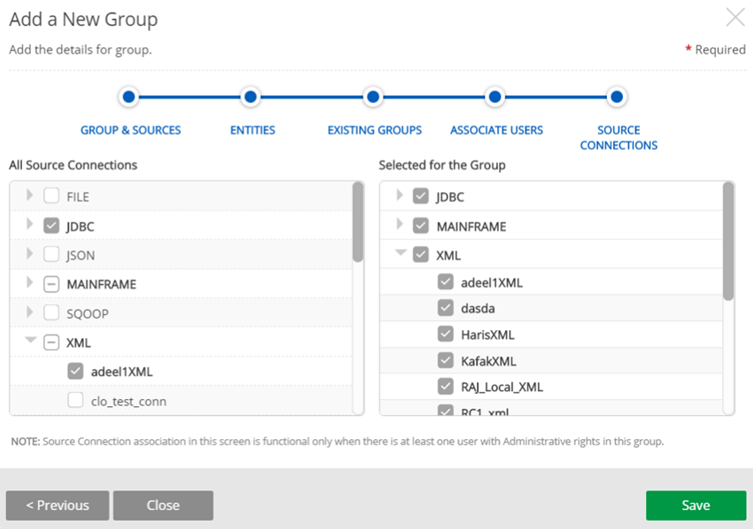
STEP 5: Add Source Connections
- Select All Source Connections that will be associated with and accessible to the group. The left list contains a list of all available source connections, grouped by source connection type (File, JDBC, mainframe, Sqoop, XML). As the admin user selects source connections, the list to the right populates.
- Save the group.
Add source connections

