JDBC: Existing Source
Adding new JDBC entities to existing sources
Select radio button: To existing source
This will kick off the Add Data wizard to define a new entity within an existing source.
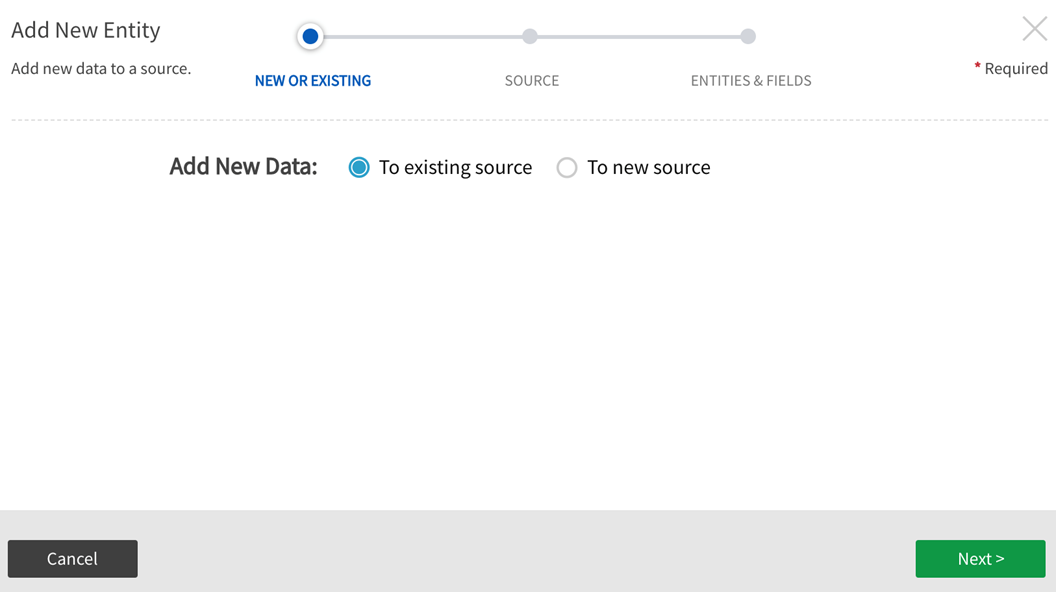
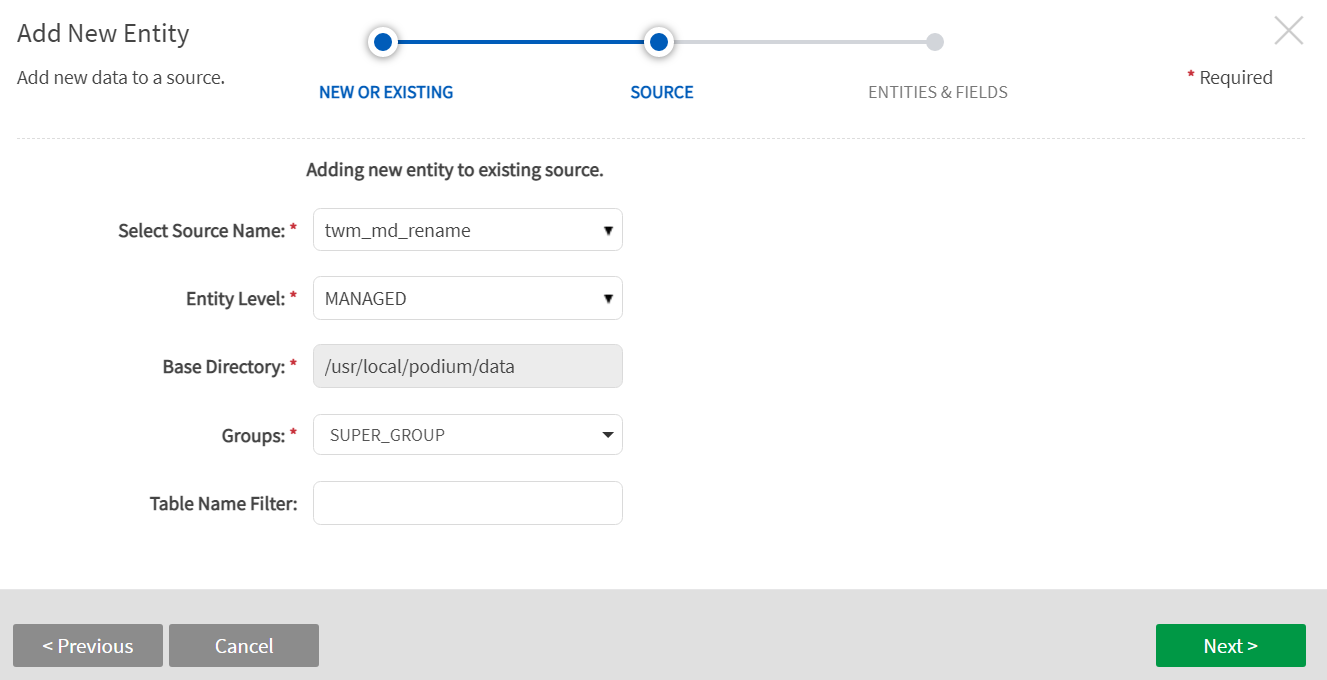
Source Connection
Select Source Name from dropdown. This is the source that the new entity will be added to.
Entity Level: Specify level of data management (see System Settings: Level Control)
The default level for the source will populate in the dropdown and this can be modified and applied to new entities.
Base Directory: Pre-defined. This is the directory where data will be stored in file system. [This value is specified in core_env property: localfile.base.dir.source.connection. This property limits access and browsing to subdirectories of the specified location.]
Groups: Select Groups Select Group(s) requiring access from the dropdown options. At least one group must be added for the data to be discoverable.
Table Name Filter:
When adding entities to a JDBC source, table names can be filtered interactively. This mechanism can be useful when there is a large amount of tables in a schema. Filtering is accomplished through one of three pattern types:
| Filter mode | Description | Example | ||
|---|---|---|---|---|
| Plain | An implicit wildcard is added before and after an alphanumeric entry. Case-sensitive. |
|
||
| SQL |
Explicit SQL-like filtering syntax is invoked with the prefix SQL: or sql: For the example provided, "%" matches any multi-character string that comes before "Z" (case-sensitive); |
|
||
| Regex |
Explicit regular expression filtering is invoked with the prefix REGEX: or regex: For the example provided, "." matches any character (except for line terminators); "?" matches the previous character between zero and one times, as many times as possible (greedy); Alternative matches (ex: (log|tag)) match a piece of text that contains either the word "log" or "tag". log: matches the characters log literally (case sensitive)tag: matches the characters tag literally (case sensitive); $ asserts position at the end of the string, or before the line terminator right at the end of the string (if any). The results shown are examples of entity names that include the search pattern.
|
|
Click Next.
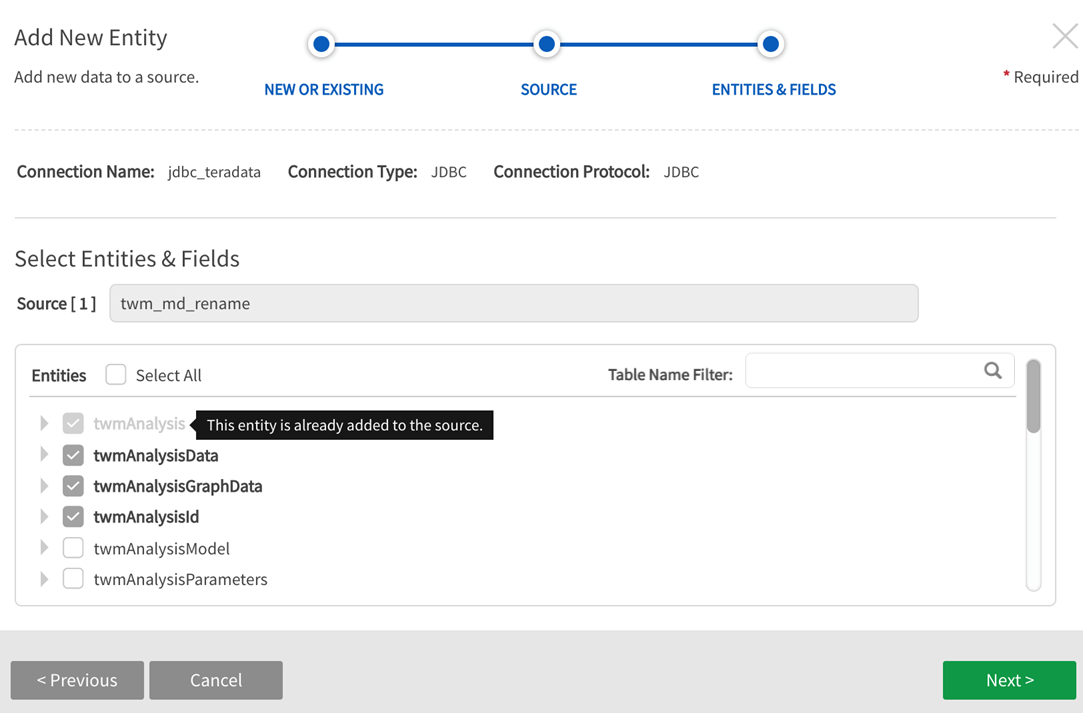
Sources, Entities, Fields
The chosen source displays with available entities that can be added. Select the sources of interest.
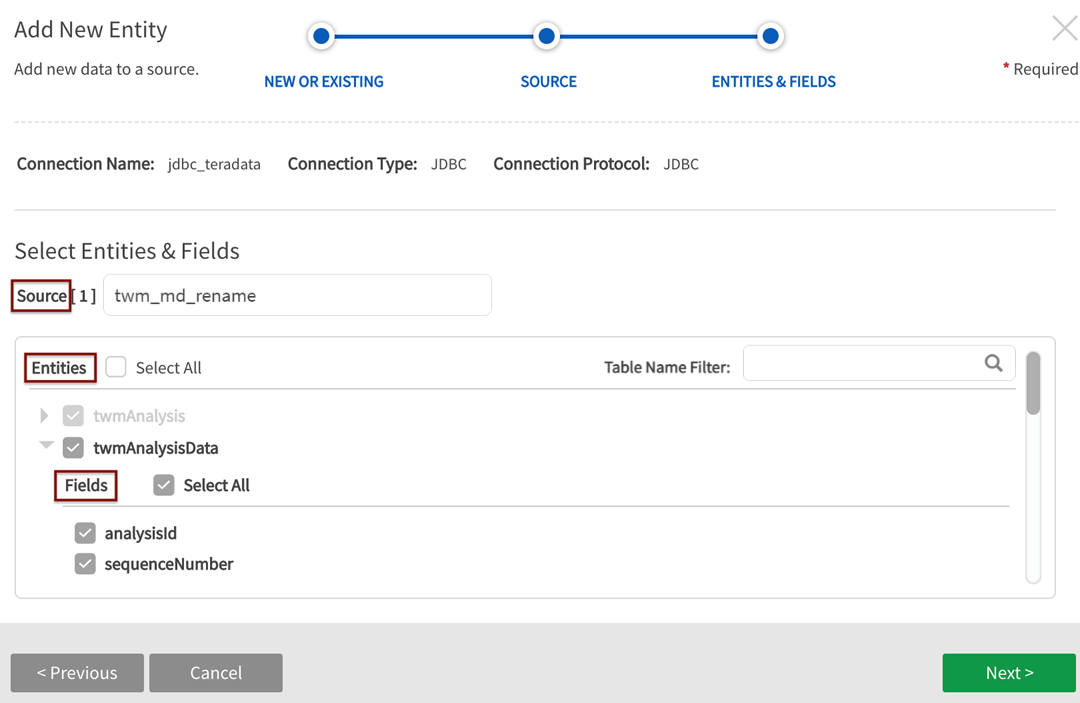
Expand the  caret to the left of the entity titles to reveal available fields for those entities. Select all fields or a subset. Note that when adding entities to already existing sources—neither sources, entities, or fields can be renamed in the wizard but they can be renamed in source grids (external source, external entity, external field) grids after data has been loaded (the objects will automatically display in discover [internal objects] with new names).
Click Next.
Sources and Entities
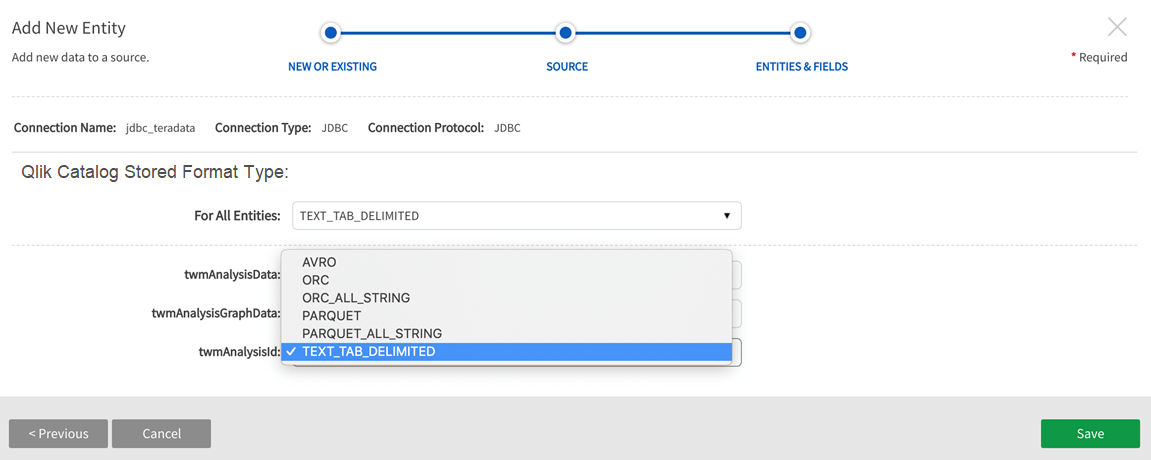
Entities and Fields—Expand the Entities to display available Fields
Options include:
- AVRO
- ORC
- ORC_ALL_STRING
- PARQUET
- PARQUET_ALL_STRING
- TEXT_TAB_DELIMITED
Qlik Catalog Stored Format Type step is skipped for Single Server environments where Stored Format Type is always TEXT_TAB_DELIMITED.
Load Data to the Entity. Once the entity has been saved, navigate to Entities screen in Source to load the data.
Select Load from the More dropdown.

