Creating a new binding
- Cloud API Services Platform
- Cloud Data Fabric
- Data Fabric
- Data Services Platform
- ESB
- Qlik Cloud Enterprise Edition
- Qlik Talend Cloud Enterprise Edition
- Qlik Talend Cloud Premium Edition
- Real-Time Big Data Platform
Procedure
-
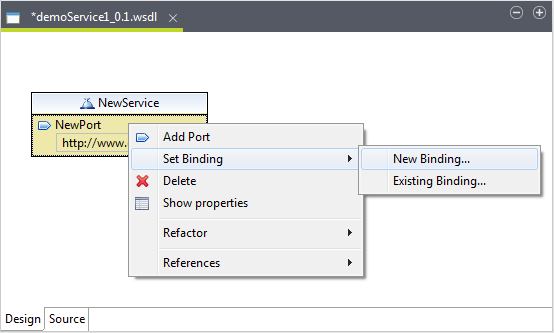
Right-click the port and select Set Binding > New Binding.
-
The New Binding dialog box is displayed. Type in the name of
the binding in the Name field. The name must be unique among
all bindings defined within the enclosing WSDL file. Click
OK.
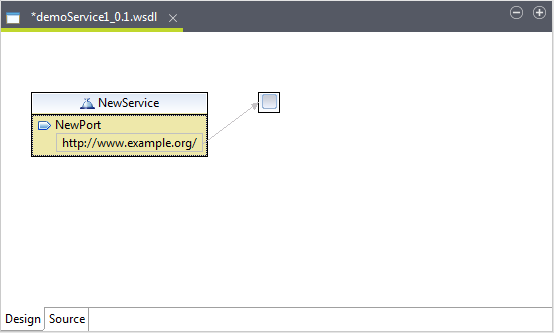
The new binding is created in the design workspace and connected to the port.
-
Click the binding you just created in the design workspace to show its
Properties view.

-
To specify the name of the binding, type it in the Name field or click the bulb icon beside the
Name field to invoke the rename
refactoring.
When clicking on the bulb icon, a Save All Modified Resources dialog box displays prompting you to save all modified resources before proceed.
 Click OK and the Rename wizard appears.
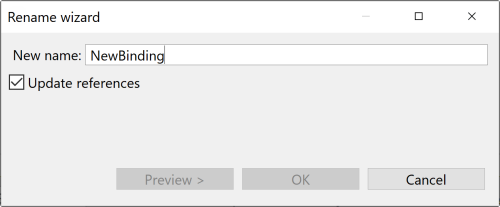 Type in a new name in the New name field. Select the Update references check box to propagate this change to the enclosing WSDL file. Click Preview to view the original source and the refactored source.
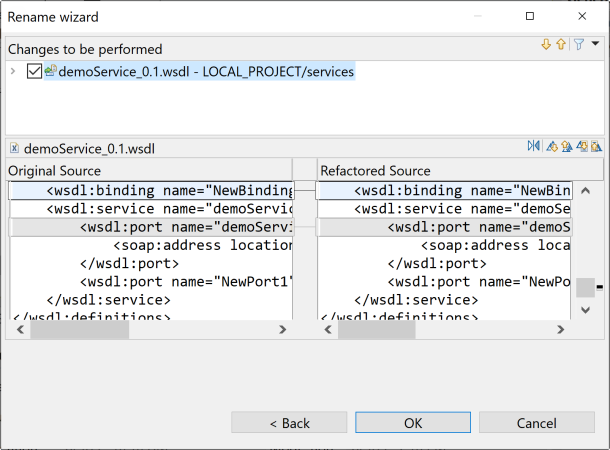 Click OK to validate the change and close the dialog box.
 -
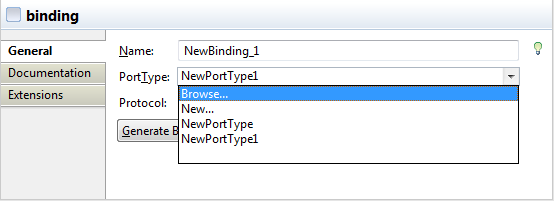
Click the PortType field to set the
port type of the binding. You can select the port type you want from the
list which contains the port types in your current file, select
New... to open the New PortType wizard and create a new port
type, or select Browse... to open the
Specify Port Type wizard. For
more information, see Setting a port type.
-
Click the Generate Binding Content...
button to show the Binding Wizard and
specify the details of the binding.
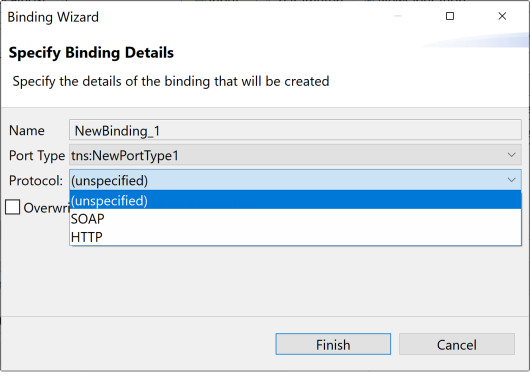 The Name field shows the name of the binding to be specified. The PortType field shows the port type that the binding references. You can also select the port type you want from the list which contains the port types in your current file. Select the binding options you want to use in the Protocol list. The options are SOAP and HTTP. Use the SOAP protocol when you want to exchange structured and typed information. Use the HTTP protocol when you want your application client to just request or update information.If you select SOAP you can then select the encoding style you want to use:
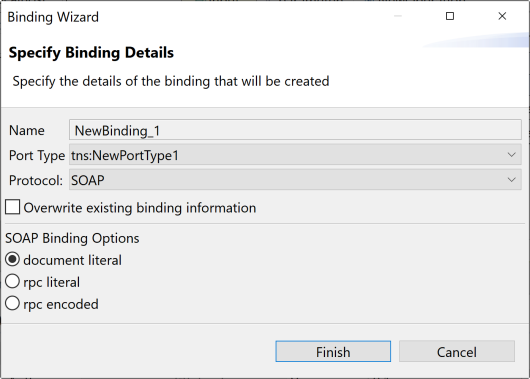
- document literal. Document style messages, literal encoding. Use this style of binding when you want to send SOAP messages that can be validated by an XML validator. All the data types in the SOAP message body are defined in a schema, so the WSDL parts must point to schema elements.
- rpc literal. RPC style messages, literal encoding. Use this style of binding when you want to specify the operation method names in your SOAP messages so a server can dispatch the specified methods. Data types must be defined, so the WSDL parts must point to XSD types.
- rpc encoded. RPC style messages and SOAP encoding. Use this style of binding when you want to encode data graphs in your SOAP messages so a server can deserialize the object data. Data types must be defined, so the WSDL parts must point to XSD types.
If you select HTTP you can select whether to create an HTTP getter or setter.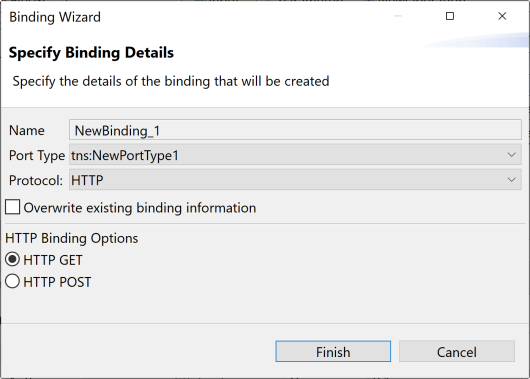
- HTTP GET. A GET request fetches data from a Web server based on an URL value and a set of HTTP headers. Use this method when you want to retrieve information specified in the request.
- HTTP POST. A POST request sends additional data to the server, specified after the URL and the headers. Use this method when you want to send data enclosed in the body of the request.
Select the Overwrite existing binding information check box if you are modifying an existing binding.Information noteNote: Changes of service elements are not automatically propagated to bindings. You need to regenerate the binding content and select the Overwrite existing binding information check box in the binding wizard to reflect changes in the WSDL.Click Finish to validate your specification and close the wizard. -
Type any information about the binding you want the user to read in
the Documentation tab.
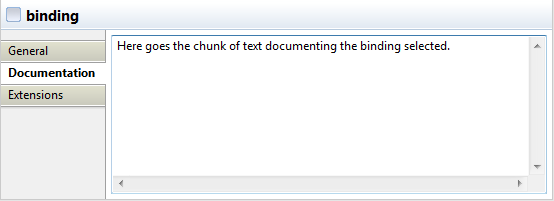
- To manage extensions, click the Extensions tab. You can either add, sort, or remove extensions.
Did this page help you?
If you find any issues with this page or its content – a typo, a missing step, or a technical error – please let us know!
