Using Route Resources
- Cloud API Services Platform
- Cloud Data Fabric
- Data Fabric
- Data Services Platform
- ESB
- MDM Platform
- Qlik Cloud Enterprise Edition
- Qlik Talend Cloud Enterprise Edition
- Qlik Talend Cloud Premium Edition
- Real-Time Big Data Platform
The Route designer allows you to created external Resources that can be used in Routes, for example, an XQuery file for camel-saxon, a WSDL file for camel-cxf, and so on. This section will show you how to create a Route Resource and how to use it in a Route.
Creating a Route Resource
- Cloud API Services Platform
- Cloud Data Fabric
- Data Fabric
- Data Services Platform
- ESB
- MDM Platform
- Qlik Cloud Enterprise Edition
- Qlik Talend Cloud Enterprise Edition
- Qlik Talend Cloud Premium Edition
- Real-Time Big Data Platform
About this task
To create a new Route resource:
Procedure
-
In the Repository of the
Integration
perspective, right-click the Resources node and select Create Resource from the contextual menu.
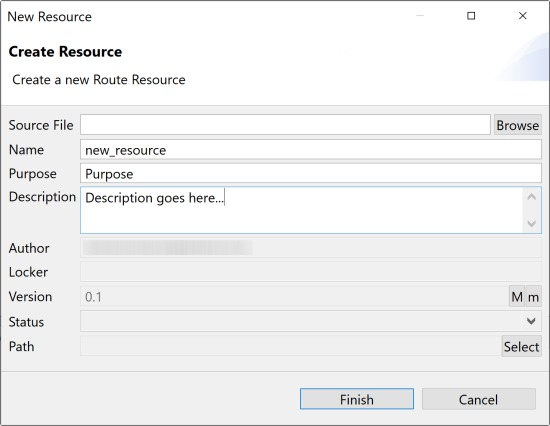
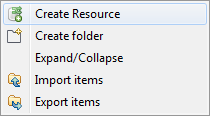 The New Resource wizard opens to help you define the main properties of the new Route Resource.
-
Enter the Resource properties:
Field Description Source File The path to a local or remote file to create the Resource from an existing file. Name The name of the new Resource. A message comes up if you enter prohibited characters. Purpose The purpose of the Resource or any useful information regarding the Resource use. Description Resource description. Author A read-only field that shows by default the current user login. Locker A read-only field that shows by default the login of the user who owns the lock on the current Resource. This field is empty when you are creating a Resource and has data only when you are editing the properties of an existing Resource. Version A read-only field. You can manually increment the version using the M and m buttons. For more information, see Managing Job and Route versions. Status A list to select from the status of the Resource you are creating. Path A list to select from the folder in which the Resource will be created. -
Click Finish to create the Resource.
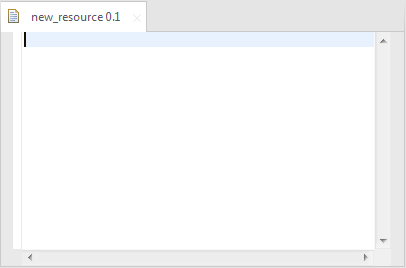
If you create the Resource from scratch, an empty Resource opens in the editor on the design workspace.
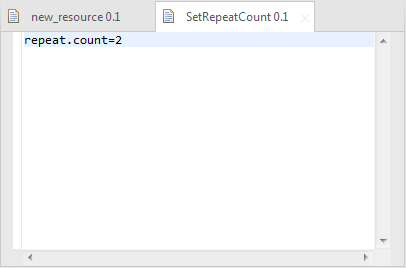
 If you create the Resource from an existing file, the content of the source file is displayed in the editor on the design workspace.
- Edit the code of your Resource and save it.
Managing Route Resource versions
- Cloud API Services Platform
- Cloud Data Fabric
- Data Fabric
- Data Services Platform
- ESB
- MDM Platform
- Qlik Cloud Enterprise Edition
- Qlik Talend Cloud Enterprise Edition
- Qlik Talend Cloud Premium Edition
- Real-Time Big Data Platform
Procedure
-
You can create many versions of the same Route Resource. To do that:
- Close your Route Resource if it is open on the design workspace, otherwise, its properties will be read-only and thus you can not modify them.
-
In the Repository tree view, right-click your
Route Resource and select Edit properties in
the drop-down list.
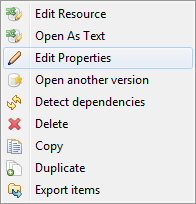
The Edit properties dialog box is opened.
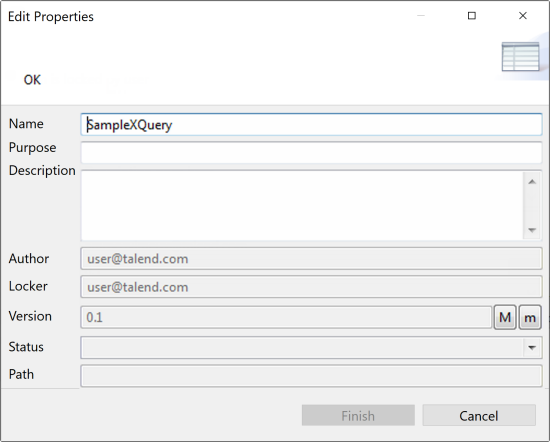
- Next to the Version field, click the M button to increment the major version and the m button to increment the minor version.
- Click Finish to validate the modification.
Information noteNote: By default, when you open a Route Resource, you open its last version. -
To change the version of your Route Resource, you can also:
- Close your Route Resource if it is open on the design workspace, otherwise, its properties will be read-only and thus you can not modify them.
-
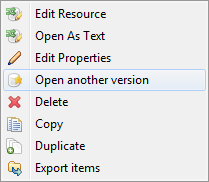
In the Repository tree view, right-click your Route Resource and
select Open another version in the context menu.
-
In the dialog box, select the Create check
box and click the M button to increment the
major version and the m button to increment the
minor version.
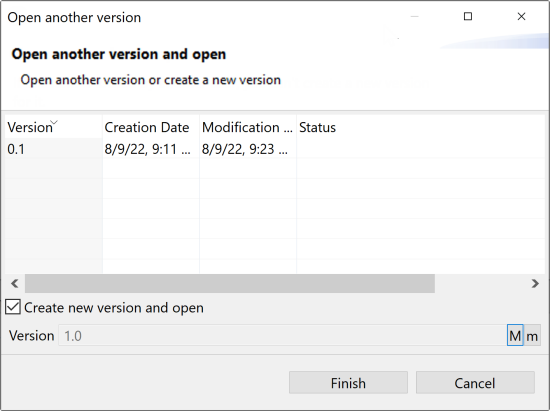
- Click Finish to validate the modification and open this new version of your Route Resource.
-
You can also save a Route Resource and increment its version in the same time, by
clicking File > Save as....
Information noteNote: This option does not overwrite your current Route Resource. It saves your Route Resource as another new Route Resource with another version.
-
You can access a list of different versions of the Route Resource. To do that:
-
Right-click it in the Repository tree view and select
Open another version in the context menu.
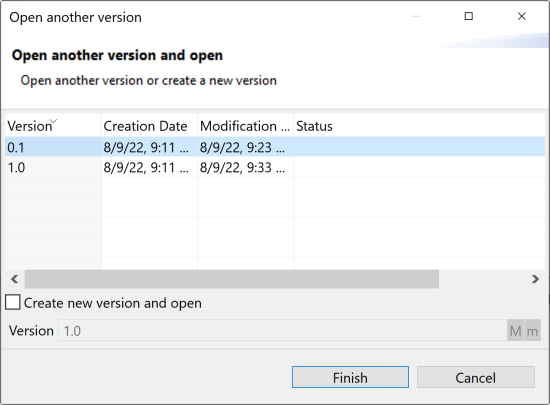
- Select the version of the Route Resource you want to edit and click Finish to open it in the design workspace.
-
Right-click it in the Repository tree view and select
Open another version in the context menu.
Using a Route Resource
- Cloud API Services Platform
- Cloud Data Fabric
- Data Fabric
- Data Services Platform
- ESB
- MDM Platform
- Qlik Cloud Enterprise Edition
- Qlik Talend Cloud Enterprise Edition
- Qlik Talend Cloud Premium Edition
- Real-Time Big Data Platform
Procedure
-
To manage the Route Resources in a Route, double-click the Route to open it in the
design workspace and click the Dependencies tab to show
the Manifest editor.

- To add a Resource, in the Resources area, click
Add... and select the Resource you want from tree view in
the dialog. Click OK.
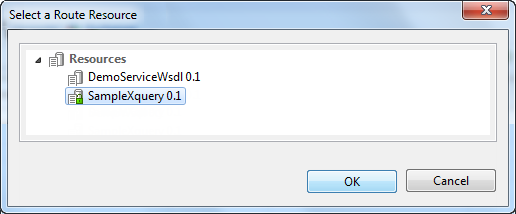
Once added, you can choose from the different versions of the Resource by clicking the Version field in the Resources table and select the one you want to use from the drop-down list.

- To remove a Route Resource from the Route, select it from the list and click Remove. You can not remove a built-in Route Resource.
- To copy the path of a Route Resource, select it in the table and click Copy Path so that you can use it in the Route.
- To add a Resource, in the Resources area, click
Add... and select the Resource you want from tree view in
the dialog. Click OK.
-
Click OK to validate your modifications.
Information noteNote: Route Resources used in Routes cannot be deleted from the repository.
When exporting a Route, the Route Resources that are called in the Route are exported together with the Route into the ESB Runtime KAR file. For more information about how to export Routes, see Building Routes.
Did this page help you?
If you find any issues with this page or its content – a typo, a missing step, or a technical error – please let us know!
