Skip to main content Skip to complementary content

Creating a project

A project is the highest physical structure for storing all different types of items. Once you launch Talend Studio and before you start a data integration Job, a Route, or any other tasks, you need first create or import a project.

Creating a project at initial Talend Studio launch

Procedure

  1. Launch Talend Studio and connect to a local repository.
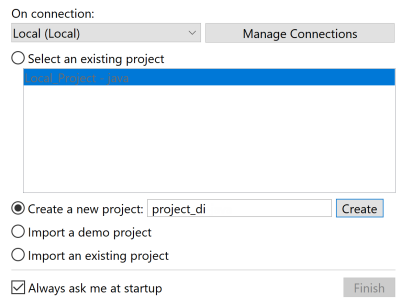
  2. On the login window, select the Create a new project option and enter a project name in the field.
    Login window of Talend Studio.
    Information noteNote: Bear in mind:
    • A project name is case insensitive
    • A project name must start with an English letter and can contain only letters, numbers, the hyphen (-), and the underscore (_)
    • The hyphen (-) character is deemed as the underscore (_)
  3. Click Finish to create the project and open it in Talend Studio.

Creating a new project after initial Talend Studio launch

About this task

To create a new local project after the initial startup of Talend Studio, do the following:

Procedure

  1. On the login window, select the Create a new project option and enter a project name in the field.
    Login window of Talend Studio.
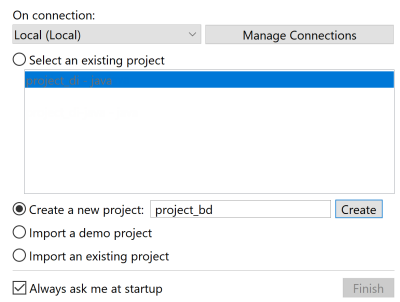
  2. Click Create to create the project. The newly created project is displayed on the list of existing projects.
    Login window of Talend Studio.
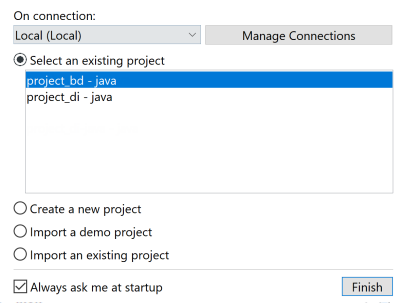
  3. Select the project on the list and click Finish to open the project in Talend Studio.
    Later, if you want to switch between projects, on the Talend Studio menu bar, use the combination File > Switch Project or Workspace.

Did this page help you?

If you find any issues with this page or its content – a typo, a missing step, or a technical error – please let us know!