Launching an EC2 instance for Talend Administration Center and
Nexus
In this article, the Talend Administration Center and Nexus
repository have been installed on the same EC2 instance.
Procedure
Connect to EC2 console in any region and click on Launch
Instance.
Choose AMI: Microsoft Windows Server 2012 Base for this demo. Any Talend
supported OS type can be used in this demo.
For further information, see the online publication about compatible Operating
Systems.
Select m4.large (or m4.xlarge if a more performing machine is needed) and configure
Instance details:
Network: Choose your VPC (use default if you don’t
have specific VPC configured)
Subnet : No preference
Auto-assign Public IP : Disable (you will configure Elastic
IPs later to use static IP address)
Other options as default
Add Storage : use Size 50 GiB and General Purpose SSD Volume Type (give you enough
disk space for OS and Talend
installation).
Add Tag : Key:Name –
Value:TalendRuntimeAutoScaling-TAC&Nexus
Configure Security Group: Create a new Security Group as below (only for this demo,
you should have more strict rules in real case).
Inbound:
Outbound:
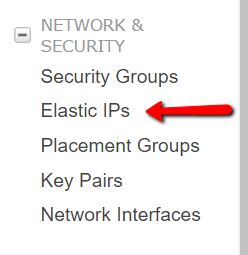
Launch the EC2 instance once all configured. Once the instance created in EC2
dashboard, select the Elastic IPs option on AWS EC2 interface
to configure static IP address for Talend Administration Center EC2
instance.
Select Allocate new address and then choose the new created
Talend Administration Center EC2
Instance Id. Once configured, you will find similar
allocation information as shown below:
Did this page help you?
If you find any issues with this page or its content – a typo, a missing step, or a technical error – please let us know!