
Step 3: Reference file definition, remapping, inner join mode selection
Procedure
-
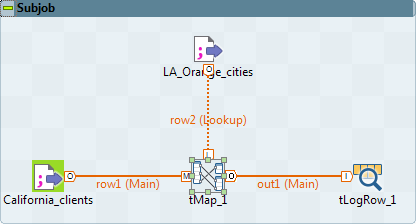
Then link this component to the tMap
component.
-
Now let's define the join between the main flow and the reference
flow.
In this use case, the join is pretty basic to define as the City column is present in both files and the data match perfectly. But even though this was not the case, we could have carried out operations directly at this level to establish a link among the data (padding, case change...)
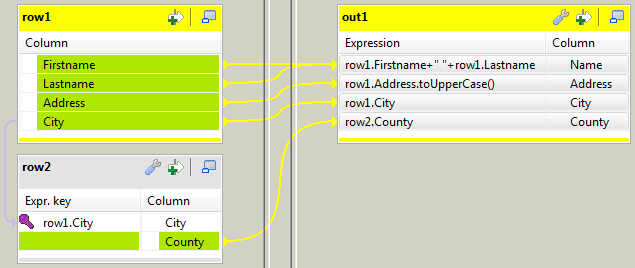
To implement the join, drop the City column from your first input table onto the City column of your reference table. A violet link then displays, to materialize this join.
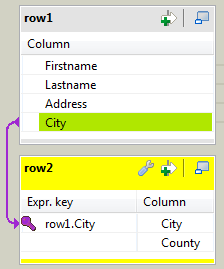
Now, we are able to use the County column from the reference table in the output table (out1).
-
Eventually, click the OK button to
validate your changes, and run the new Job.
The following output should display on the console.
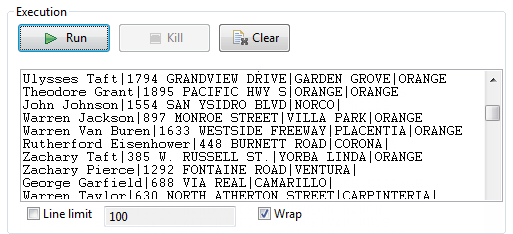
As you can notice, the last column is only filled out for Los Angeles and Orange counties' cities. For all other lines, this column is empty. The reason for this is that by default, the tMap implements a left outer join mode. If you want to filter your data to only display lines for which a match is found by the tMap, then open again the tMap, click the tMap settings button and select the Inner Join in the Join Model list on the reference table (row2).