Adding a policy or template by uploading the content from a file or a URL
Procedure
-
From the toolbar on the Policies tab,
click Add to show the configuration panel
to the right.
Example

-
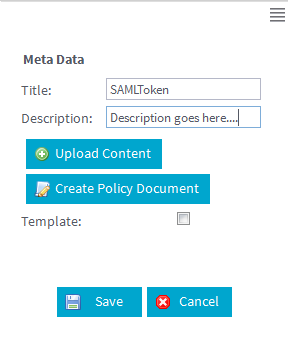
Enter the following information as necessary.
Field
Description
Title
Type in a name that identifies the policy in the Administration Center.
Description
Provide any useful information regarding the policy.
Template Select this check box to save the policy as a template. Category This option appears when the Template check box is selected. Specify a new category for the policy template or select an existing category from the drop down list. -
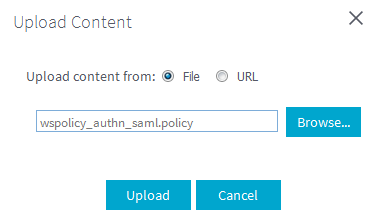
Click the Upload content button to upload
the content of a policy file. The Upload
Content dialog box appears, allowing you to upload the
policy from a File or a URL.
Example
 To upload the content from a file, browse to or enter the path where the file is located.To upload the content from a URL, enter the URL in the field.Click Upload to upload the content and close the dialog box or Close to cancel it.
 -
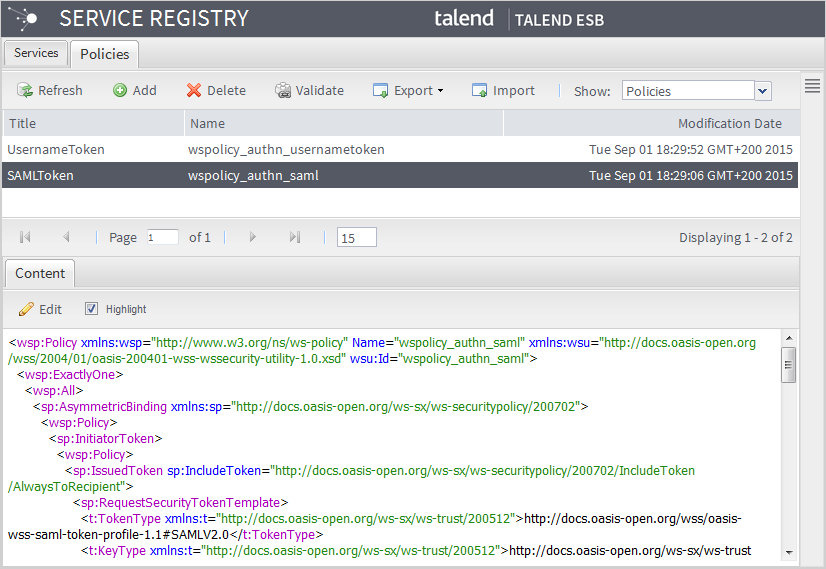
The content of the policy is shown in the Content tab on
the lower half of the Service Registry page. Click
Save to validate the creation or
Cancel to cancel it.
The newly created policy is shown under the Policies or Templates type as you specified.
Example

Did this page help you?
If you find any issues with this page or its content – a typo, a missing step, or a technical error – please let us know!
