Getting started building visualization extensions
Creating the container
Create a folder that will contain your assets. The folder should be created in the following location: C:\Users\[UserName]\Documents\Qlik\Sense\Extensions\.
Example:
C:\Users\[UserName]\Documents\Qlik\Sense\Extensions\SimpleHelloWorld
Creating the QEXT file
The next step is to create a QEXT file in the folder we just created and name it exttut-01-helloworld.qext.
It should contain the following information:
{
"name" : "Simple Hello World 01",
"description" : "Extension Tutorial, Simple Hello World.",
"icon" : "extension",
"type" : "visualization",
"version": "0.1",
"author": "Qlik"
}Creating the main script file
Then it is time to create the main script file. This is also placed in the same folder as the QEXT file and we name it exttut-01-helloworld.js. Paste the following code into the script file and then save it:
define( [
'jquery'
],
function ( $ ) {
'use strict';
return {
//Paint resp.Rendering logic
paint: function ( $element, layout ) {
var $helloWorld = $( document.createElement( 'div' ) );
$helloWorld.html( 'Hello World from the extension "SimpleHelloWorld"<br/>' );
$element.append( $helloWorld );
}
};
} );Testing the visualization extension
Now is a good time to test your visualization extension.
Do the following:
- Open Qlik Sense Desktop.
- Open an existing app or create a new one.
- Open an existing sheet or create a new one.
-
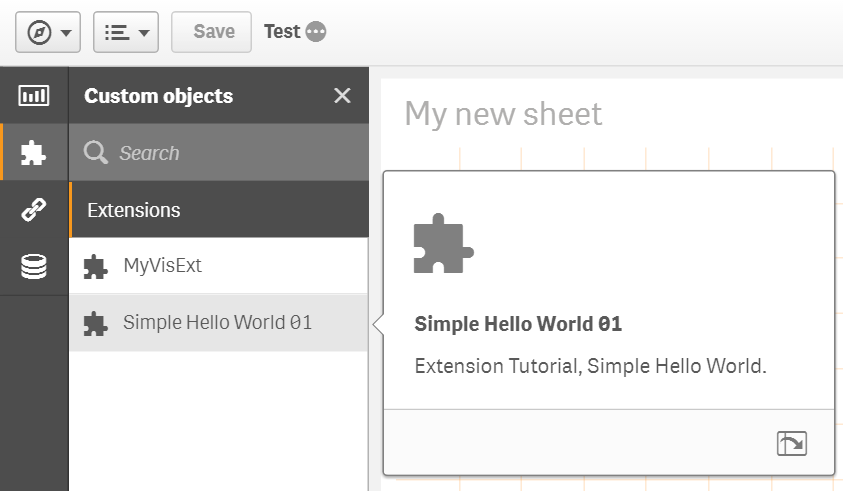
Go to Edit mode. The visualization extension should be visible in the library.

- Drag and drop the visualization extension onto the sheet and exit Edit mode.
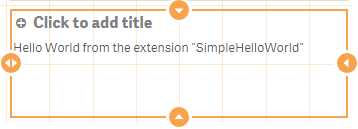
You should see something like the following:

Fine tuning the visualization extension
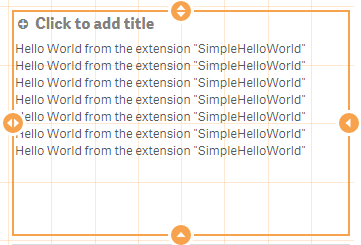
If you resize the visualization extension or the browser window you will realize that some thing is wrong since the output gets multiplied.

This happens because the paint method is called every time the visualization extension is rendered and therefore resizing the visualization extension triggers the paint method. This means that a new $helloWorld object is appended to $element on every resize.
//Paint resp.Rendering logic
paint: function ( $element, layout ) {
var $helloWorld = $( document.createElement( 'div' ) );
$helloWorld.html( 'Hello World from the extension "SimpleHelloWorld"<br/>' );
$element.append( $helloWorld );
}There are several ways of solving this and we will introduce two of these below.
Remove existing content
You can remove all child nodes of $element at the beginning of the paint method, using the jQuery empty() method. Add the following line at the beginning of paint.
$element.empty();Detect if your new node already exists
Use the layout object to get the unique id of the current object to prevent conflicts if you are using the same object several times on a sheet. You can detect if your new node already exists by adding the following code:
var id = layout.qInfo.qId + '_helloworld';
var $helloWorld = $( '#' + id );
if ( !$helloWorld.length ) {
console.log( 'No element found with the given Id, so create the element' );
$helloWorld = $( document.createElement( 'div' ) );
$helloWorld.attr( 'id', id );
$helloWorld.html( 'Hello World' );
$element.append( $helloWorld );
} else {
console.log( 'Found an element with the given Id, so just change it' );
$helloWorld.html( 'Hello World' );
}