
Adding data warehouse projects
Adding a new project is the first task you need to undertake in order to work with Qlik Compose.
There are two types of project:
- Data Warehouse - for ingesting data from multiple sources and creating analytics-ready data marts.
- Data Lake - for ingesting data from multiple sources and moving it to a storage system for analytics.
This topic guides you through the steps required to set up a data warehouse project. For instructions on setting up a Data Lake project, see Adding data lake projects.
You can set up as many projects as you need, although the ability to actually run tasks is determined by your Compose license.
Adding a Data Warehouse project
To add a new Data Warehouse project:
-
Click the New Project toolbar button.
The New Project wizard opens.
-
In the Project Name tab, specify the following and then click Next:
-
Name: The project name.
Warning noteProject names cannot contain the following characters: /\,&#%$@=^*+"'`~?<>:;[]{} as well as all non-printable characters (below 0x20). The project name can contain a single dot, but it cannot be the first or last character. - Environment Type: Optionally, change the default environment type.
- Environment Title: Optionally, specify an environment title.
For information about the environment settings, see Environment tab.
Warning noteThe following names are reserved system names and cannot be used as project names: CON, PRN, AUX, CLOCK$, NUL, COM1, COM2, COM3, COM4, COM5, COM6, COM7, COM8, COM9, LPT1, LPT2, LPT3, LPT4, LPT5, LPT6, LPT7, LPT8 and LPT9.
-
- Select Data Warehouse as your project type and then click Finish.
-
The project panels will be displayed.
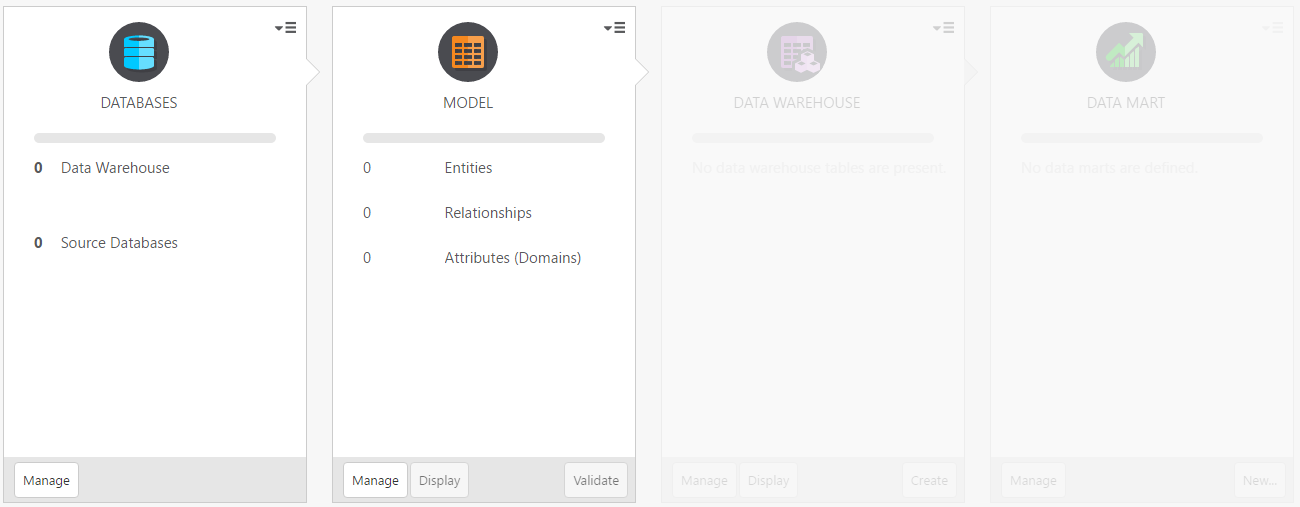
- Add at least one source database and a data warehouse as described in Setting up Landing Zone and Data Source connectionsand Setting up a data warehouse connection respectively.
- Create a model as described in Creating and managing the model .
- Set up the data warehouse as described in Creating and managing the data warehouse .
-
Set up the data mart as described in Creating and managing data marts .