Import into a Model
Steps
- Sign in as a user with at least the Metadata Management capability object role assignment on the model you are going to import to.
You may Create a new empty model (a new empty model) or one that is for the Data Mapping Script import bridge already . Importing creates a new version of the model.
- Go to MANAGE > Configuration and select the data mapping script model you plan to import into or create a new model using the Data Mapping Script import bridge.
- Go to the Import Setup tab and browse to the location of a directory containing the data mapping scripts (uncompressed) to import and click SAVE.
- Click IMPORT.
- Go to the Operations widget in the banner and select the import operation to specify Show log.
- When completed, stitch the connections and click UPDATE and BUILD.
Example
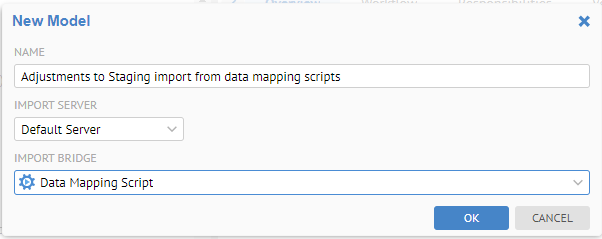
Sign in as Administratorand create a new model named “Adjustments to Staging import from data mapping scripts”. It should use the Data Mapping Script import bridge.


Uncompress the zip file produced earlier for the Adjustments to Staging data mapping export into a folder.
Browse for the folder for the Directory bridge parameter and click SELECT.


Click SAVE and then IMPORT.
Go to the Operations widget in the banner and select the Export data mapping… to Show log.

Note it is completed. You may review the log. Then, see the mappings that are imported:
Click the Connections tab (may need to refresh the browser) and stitch the connections to the original source and target models associated with the original data mapping model. Then click UPDATE and BUILD.

OPEN the model and click the Lineage tab.

Go to the Adj table in the Adjustments and trace lineage:

The end to end lineage trace is available as you have stitched it into the architecture.
