Create a Data Mapping
A data mapping model may contain many (any number of) mappings. You may also create a hierarchy of folders that each may contain any number of mappings.
Steps
Ensure proper permissions
- Sign in as a user with at least the Metadata Management capability object role assignmenton the Configuration you are in.
Create the model
- Go to the MANAGE > Configuration in the banner.
- Click the plus sign (New Model) under Manage Configuration
- Click Custom Model and select Data Mapping.
- Enter a NAME for the model and click OK.
- You may specify a Model scope, to restrict the object pickers to only those models you wish to include in the mapping.
- SOURCE MODELS: models included in the scope of the search and browse for sources of query and replication mappings
- DESTINATION MODELS: models included in the scope of the search and browse for sources of query and replication mappings
- Click Open.
Edit the folder structure
- You may then use the tabs and
- click on the Query Mappings tab or the Replication Mappings tab and click +CREATE to create a new mapping of that type directly at the root of the data mapping model
- or you may click on the Folders tab and click +CREATE to create a folder structure.
- Use the Overview tab and click +CREATE next to add either folders or mappings depending upon which section you are on.
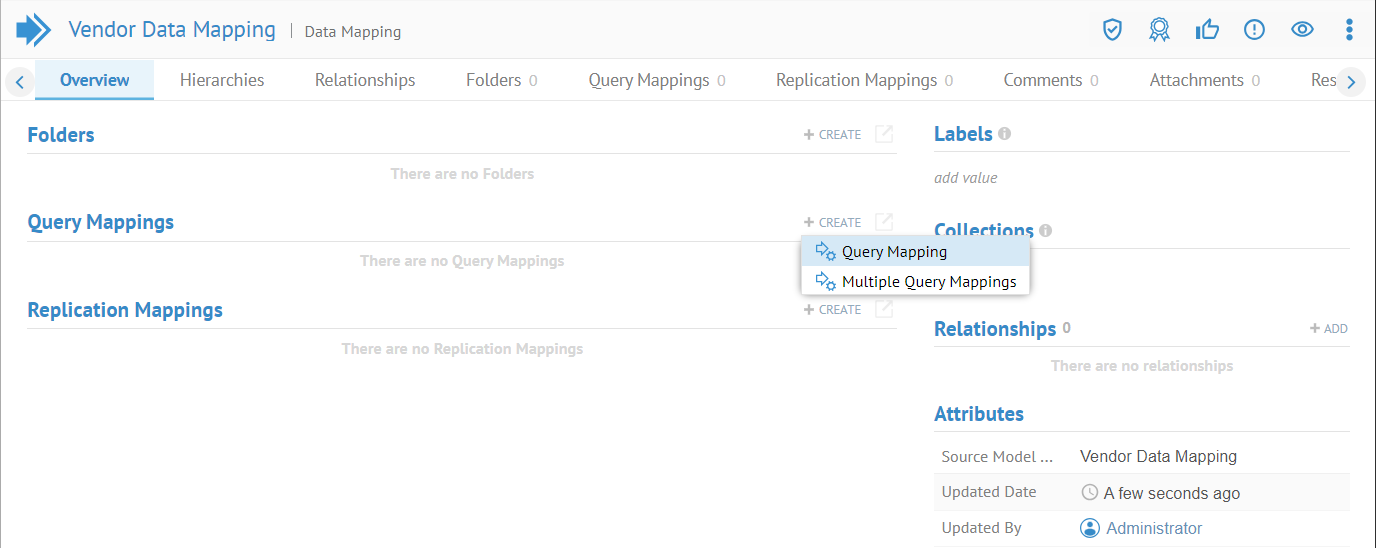
- For a Query Mapping you may choose one (one target table) or Multiple Query Mappings to create multiple mappings, one for each target table selected.
- If a query mapping, you must select the tables you will map to at this time.
If a replication mapping, you specify the target and source schemas later.
Example
Create a new data mapping model
Go to the MANAGE > Configuration in the banner. Click the plus sign select Data Mapping.

Click OK.
Enter a DEFINITION for the model and click SAVE.
Specify a Model scope, to restrict the object pickers to only those models you wish to include in the mapping. In this case, SOURCE MODELS should be the Staging DW model and the DESTINATION MODELS should be Adjustments.

Click SAVE.
Create a query mapping
Click OPEN to open the model and + CREATE in the Query Mappings section. Specify just one Query Mapping.

You must specify the target tables (i.e., MAP DESTINATION) up front as that is the scope of the specific query mapping.
Name the mapping “Vendor Payment” as that will be the target table.
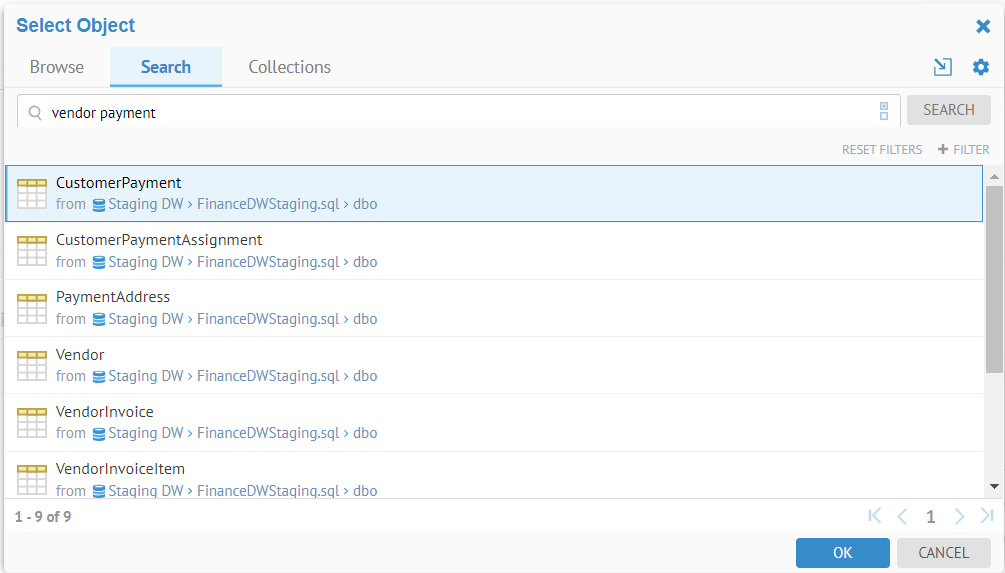
Since we know the name of the table we want (it is Financial Analysis / Staging DW.dbo.VendorPayment), simply go to the Search tab and enter the table name.

The model scope for the DESTINATION side was already set to Staging DW, so the pick list is short
Click OK.

And the result is the data mapping mode Overview tab with one query mapping.

