
Login
Last updated: 9/29/2026To sign in, you must have a valid username and password for native authentication, or already be authenticated when using external authentication.
Once authenticated, you will either be directly connected to your assigned configuration or will be able to pick a configuration and version of that configuration.
Steps
Enter the URL as defined for TDC.
Information noteThe Authentication page is shown
Enter your Username and Password and click LOGIN.
Information noteThis may take you to the TDC homepage if you have specified a default configuration setting (see below) or if you only have access to one configuration version.
Select a configuration.
Click Choose Version to select a version of that configuration.
Information noteYou may check the Automatically use this configuration by default checkbox to always enter this configuration on signing in with this account.
Example
Open a web browser and enter the URL as defined for TDC.

You are presented with the login page.
Enter your username and password.
You are then presented with the Select a configuration dialog.
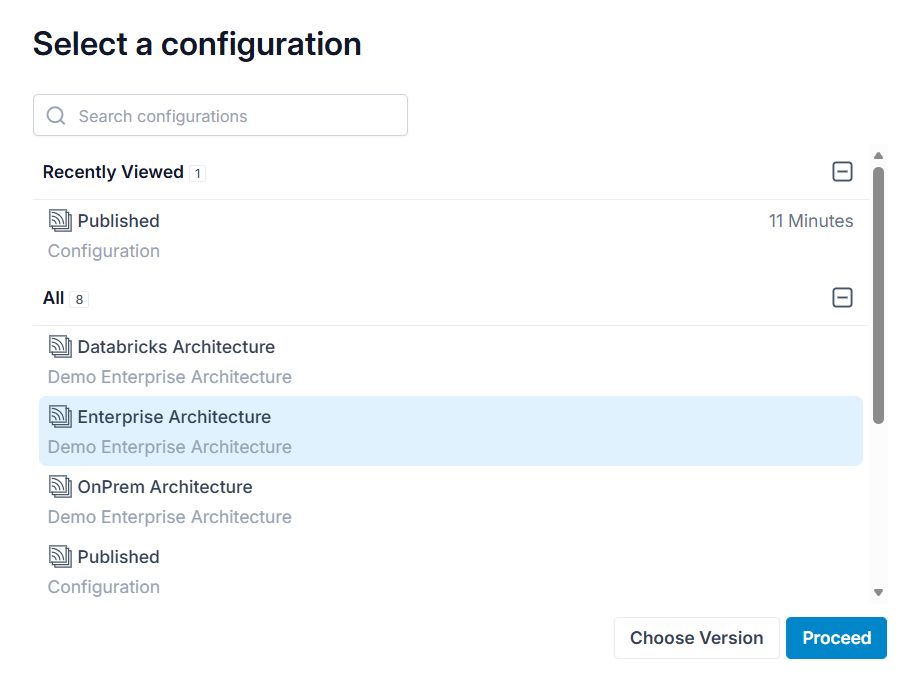
Select the Published configuration in the Demo Enterprise Architecture folder by double-clicking on that entry.
You now are at the homepage for that configuration.

The configuration is identified in the upper right of that banner.
Return to the Select a Configuration dialog by clicking on that configuration name in the banner and going to More.
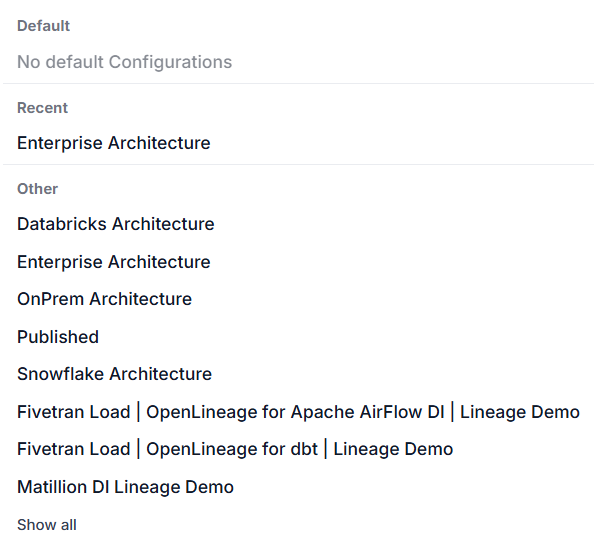
Select the Published configuration in the Demo Enterprise Architecture folder with a single-click this time and click CHOOSE VERSION.
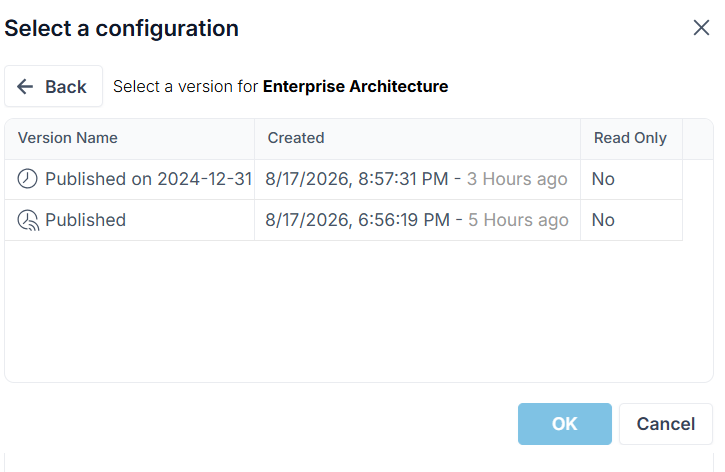
There are two versions of this configuration, one Published (what you are one now as it is the default) and one Published on 2024-12-31 (used for glossary workflow actions).
Click on the Published on 2024-12-31 version and check the Automatically use this configuration by default checkbox. Then click OK.
The configuration (and version) is identified in the upper right of that banner.
Click on your avatar in the upper right of the banner Log out. Then, log back in.

The configuration (and version) is identified in the upper right of that banner as you are returned to your new default.
Edit My User Account Details
After signing in, you may set or update the identifying details associated with the user account you signed in with.
Steps
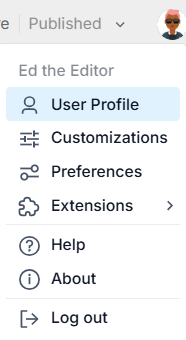
Click on the thumbnail picture of the signed in user in the upper right-hand of the UI.
Select User Profile.
Enter or update User account avatar.
Enter or update the fields provided:
FULL NAME: User full name
EMAIL: Email address for notification.
NOTIFICATION FREQUENCY to set how often you are notified of changes, which can be either:
Never
Weekly (Day of week)
Daily
Near Real Time
Information noteWith Daily notification, there is a scheduled job named Send scheduled notifications and the time of day when the notification occurs may be set there.
With Near Real Time notification, the frequency is based upon the batch time specified by the administrators.
DEFINITION: General information.
To reset the password (for a native user) enter the PASSWORD and RE-TYPE PASSWORD fields.
You may also review and analyze details about
the STATISTICS and ACIVITY STREAM.
Example
Sign in as any user (Stu is used here).
Click on the thumbnail picture in the upper right-hand and select User Profile.
Enter the Attributes (identifying information) in place.

Click the Manage Image menu and select Upload Image 
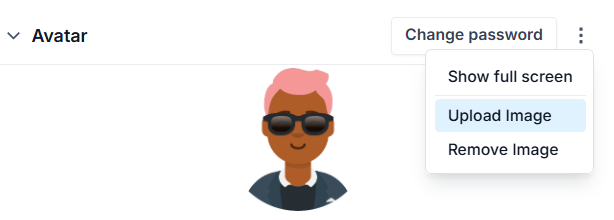
The user account is contained inside parentheses and the Full Name is displayed directly below the avatar image. Groups that a specific user belongs to are displayed below the user account.
You may also review and analyze details about the STATISTICS and ACIVITY STREAM
Edit My User Preferences
After signing in, you may set or update the preferences associated with the user account you signed in with.
Steps
Click on the avatar of the signed in user in the upper right-hand of the UI.
Select Preferences.
You may set the following preferences:
UPDATE THE CONFIGURATION AUTOMATICALLY WHEN IMPORTING NEW VERSION OF A MODEL: Applies only to manual imports, not scheduled or API based.
OPEN MONITORING DIALOG AUTOMATICALLY WHEN STARTING AN OPERATION: To show the actual dialog when starting an operation rather than just an animated icon in the header.
Example
Sign in as any user (Stu is used here).
Click on the thumbnail picture in the upper right-hand and select Preferences.

Click YES to UPDATE THE CONFIGURATION AUTOMATICALLY WHEN IMPORTING NEW VERSION OF A MODEL.
